The first and most basic resource you’ll come across in Satisfactory is iron. Though it’s as early-game as early-game gets, iron and its products never stop being integral to your production. This is why it’s really important to set up the best iron production system you can early.
5. Pure Mk1 Iron District
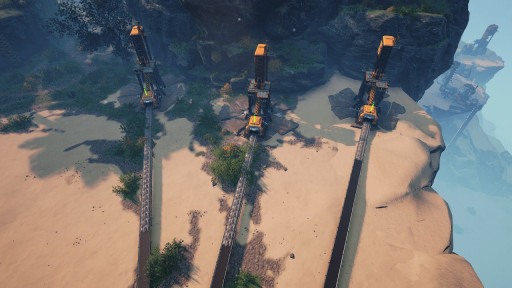
This marks the beginning of any Satisfactory playthrough. You’ll want to build a solid iron setup early that can be upgraded later.
Your best bet for a strong early iron mining setup is to find an area with at least 3 pure iron nodes close to each other. Some strong candidates are at the very north of the Northern Forest, the mid-east of the Northern Forest, or the center of the Dune Desert. The easiest way to find places like this is to go to a Satisfactory Calculator website (I use satisfactory-calculator.com) and find them on your own to better match your play style.
A Mk1 miner on a pure node produces 120 iron ore/minute. This perfectly fits a Mk2 conveyor belt’s speed (which costs iron to make, so hopefully you’re starting to see why iron is so important). If you make 3 of these (though some areas have the capacity for more), you’ll be producing 360 iron ore/minute, which is a lot for just starting.
Pure Mk1 Iron District Setup/Requirements:
- At least 3 pure iron nodes
- 3 Mk1 Miners (3 portable miners, 30 iron plates, 30 concrete)
- 12 Smelters (60 iron rods, 96 wire)
- Mk2 Conveyor Belts (1 reinforced iron plate/meter)
Reasons to Use this Setup:
- Produces at least 360 iron ingots/minute
- Cheapest item on the list, but highly productive
- Can be built nearly immediately (Tier 2)
4. Balanced Rotors
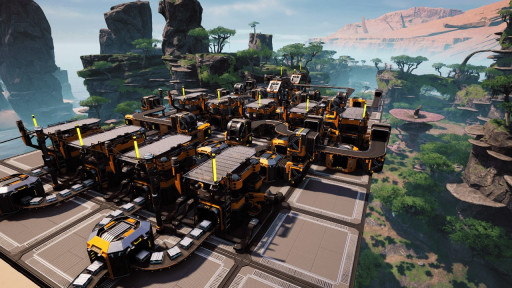
One of the many early-game iron products is the rotor, which takes an important place in later motor-related recipes. You’ll want to get a good start on rotors asap.
4 Rotors/minute can be crafted with 20 iron rods and 100 screws in an assembler. If we scale up to use 60 iron ingots/minute, we can make 8 Rotors. This is great for the early game, and can be expanded later when your Rotor need grows.
To make this design, you start by building 4 constructors to produce 60 iron rods. Take 50 of those iron rods and make 200 screws in 5 more constructors. Combine the remaining 10 rods and the 200 screws in 2 assemblers to make 8 Rotors/minute.
Balanced Rotors Setup/Requirements
- 60 iron ingots/minute
- 9 constructors (18 reinforced iron plates and 82 wire)
- 2 assemblers (16 reinforced iron plates, 8 rotors, and 20 cable)
- Can use Mk1 Conveyor Belts (1 iron plate/meter)
Reasons to Use this Setup:
- Can be built almost immediately (Tier 2)
- Very cheap design
- Produces a decent number for early game
- Easy to build multiple of
3. Competition-Ready Iron Wire
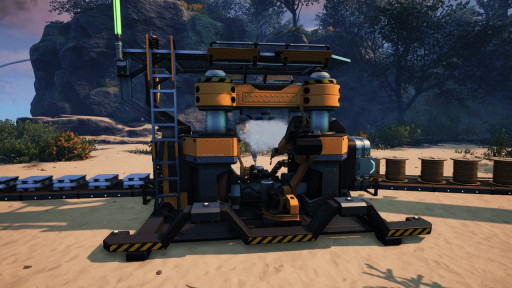
One of the more useful Alternate Recipes in Satisfactory is the Iron Wire, which can help supplement or even replace your copper production.
The basic recipe for Iron wire uses 12.5 iron ingots/minute and produces 22.5 Wire. These numbers are difficult to work with at grander scales, so we’ll be increasing production a bit.
This setup produces 90 Wire/minute and uses 50 iron ingots. These 50 iron ingots are split across 4 constructors.
Competition-Ready Iron Wire Setup/Requirements
- 90 iron ingots/minute
- 4 constructors (8 reinforced iron plates and 32 cable)
- Can use Mk1 Conveyor Belts (1 iron plate/meter)
Reasons to Use this Setup:
- Can be built essentially immediately (HUB Upgrade 3)
- Very cheap design
- Can be scaled up for later game
2. Ultimate Screw Production
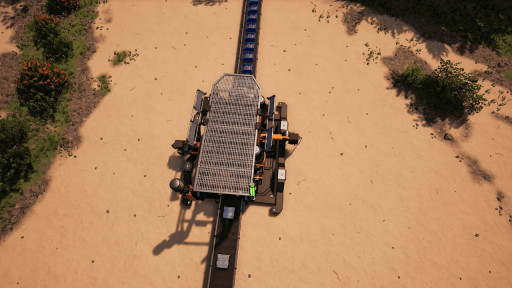
On my personal save file with a friend of mine, we’ve amassed approximately 1.2 million Screws in our storage. If you never want to run out of screws again, you’ll want to follow this guide.
The key to this design is using the Cast Screw Alternate Recipe. You can do it without, but the alternate recipe makes the design much more space and power efficient. The Cast Screw recipe uses 12.5 iron ingots/minute and produces 50 Screws.
My design produces 400 Screws/minute and uses 100 iron ingots. All you need is 8 constructors. If you use the original recipe to get the same number of Screws, most of the setup is the same, but you’d need 16 constructors instead.
Ultimate Screw Production Setup/Requirements:
- 50 iron ingots/minute
- 8 constructors (8 reinforced iron plates and 64 cable)
- Can use Mk1 Conveyor belts
Reasons to Use this Setup:
- Remains relevant in the later-game
- Can be built essentially immediately (HUB Upgrade 3)
- Very cheap design
- Can be scaled up for later game
1. Perfect Modular Frames
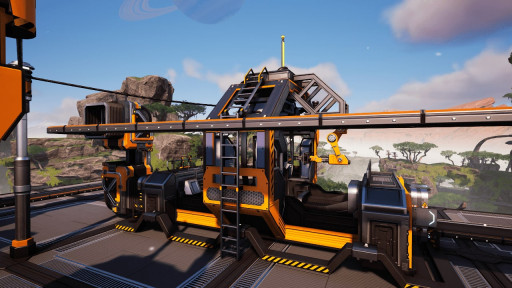
Modular Frames are one of the items that often plague Satisfactory playthroughs, as you never seem to have enough of them. This is the ideal setup you can repeat to keep production high.
Using 3 reinforced iron plates and 12 iron bars, an assembler can craft 2 Modular Frames/minute. We obviously want more than this, especially in the later-game. This setup uses 480 iron ingots/minute and produces 20 Modular Frames, but remember that all of these values can be divided down using underclocking to better fit your personal point in the Satisfactory experience.
Getting 120 iron rods is simple enough, as it just requires 120 iron ingots/minute split across 8 constructors. The 30 reinforced iron plates need 180 iron plates (270 iron ingots in 9 constructors) and 360 screws (90 iron rods in 9 constructors, which come from 90 iron ingots in 9 constructors). Wire those items into 10 assemblers and you’ll make 20 Modular Frames.
Perfect Modular Frames Setup/Requirements:
- 480 iron ingots/minute
- 35 constructors (70 reinforced iron plates and 280 cable)
- 10 assemblers (80 reinforced iron plates, 40 rotors, and 100 cable)
- At least Mk3 Conveyor Belts (1 steel beam/meter), though Mk4 is recommended (1 encased industrial beam/meter)
Reasons to Use this Setup:
- Remains perfectly relevant in this state in the late game
- The most productive item on this list
- Can be scaled down using underclocking/overclocking

