![[GUIDE] How to Complete Your First BL4 Run in Bloodborne [GUIDE] How to Complete Your First BL4 Run in Bloodborne](/sites/default/files/styles/responsive_image_600xauto/public/2021-11/bloodborne_starting_class.jpg.webp?itok=sKYFD7n9)
Introduction
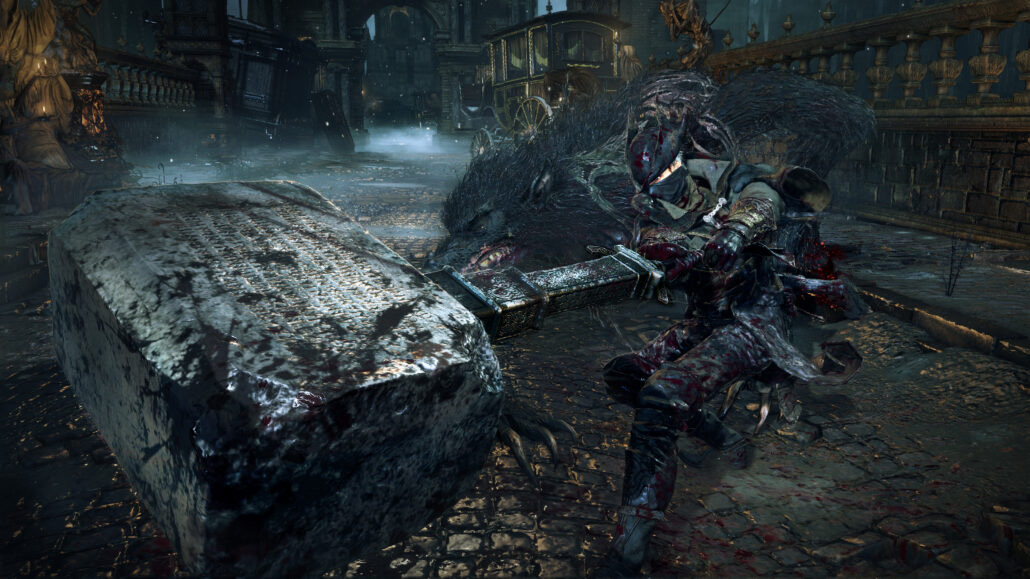
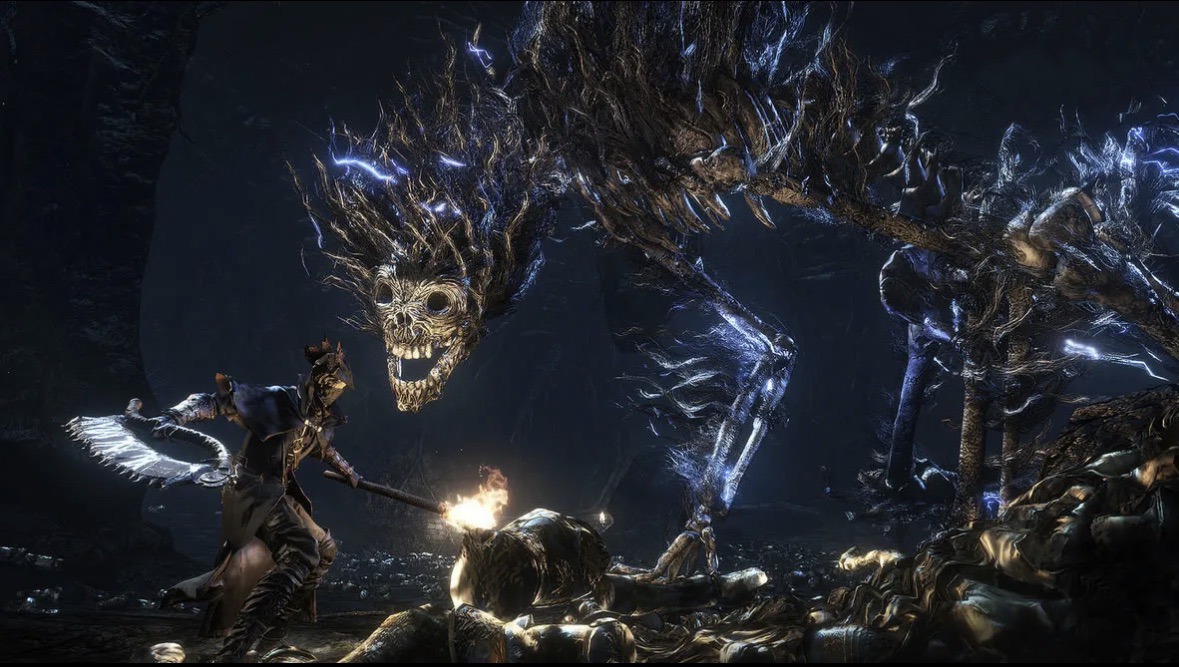
Bloodborne is one of those games that are really hard. Like, insanely, impossibly, break-your-controller-level of difficult. Most players put in dozens of hours of exploring, grinding and dying to bosses, all for the rewarding sense of accomplishment when you finally defeat the final(?) boss. This sense of accomplishment can be even further increased by attempting what is called a BL4, or a blood level 4 run. This means that you create a fresh profile using the Waste of Skin class (lowest starting level), and beat the game without levelling up, relying only on weapon upgrades, weapon buffs, and strategy. This guide will cover the non-optional bosses, each route between bosses, as well as the Yharnam Sunrise ending, so we have the fastest path to the credits. All of the map images are credited to Fextralife.
Starting information:

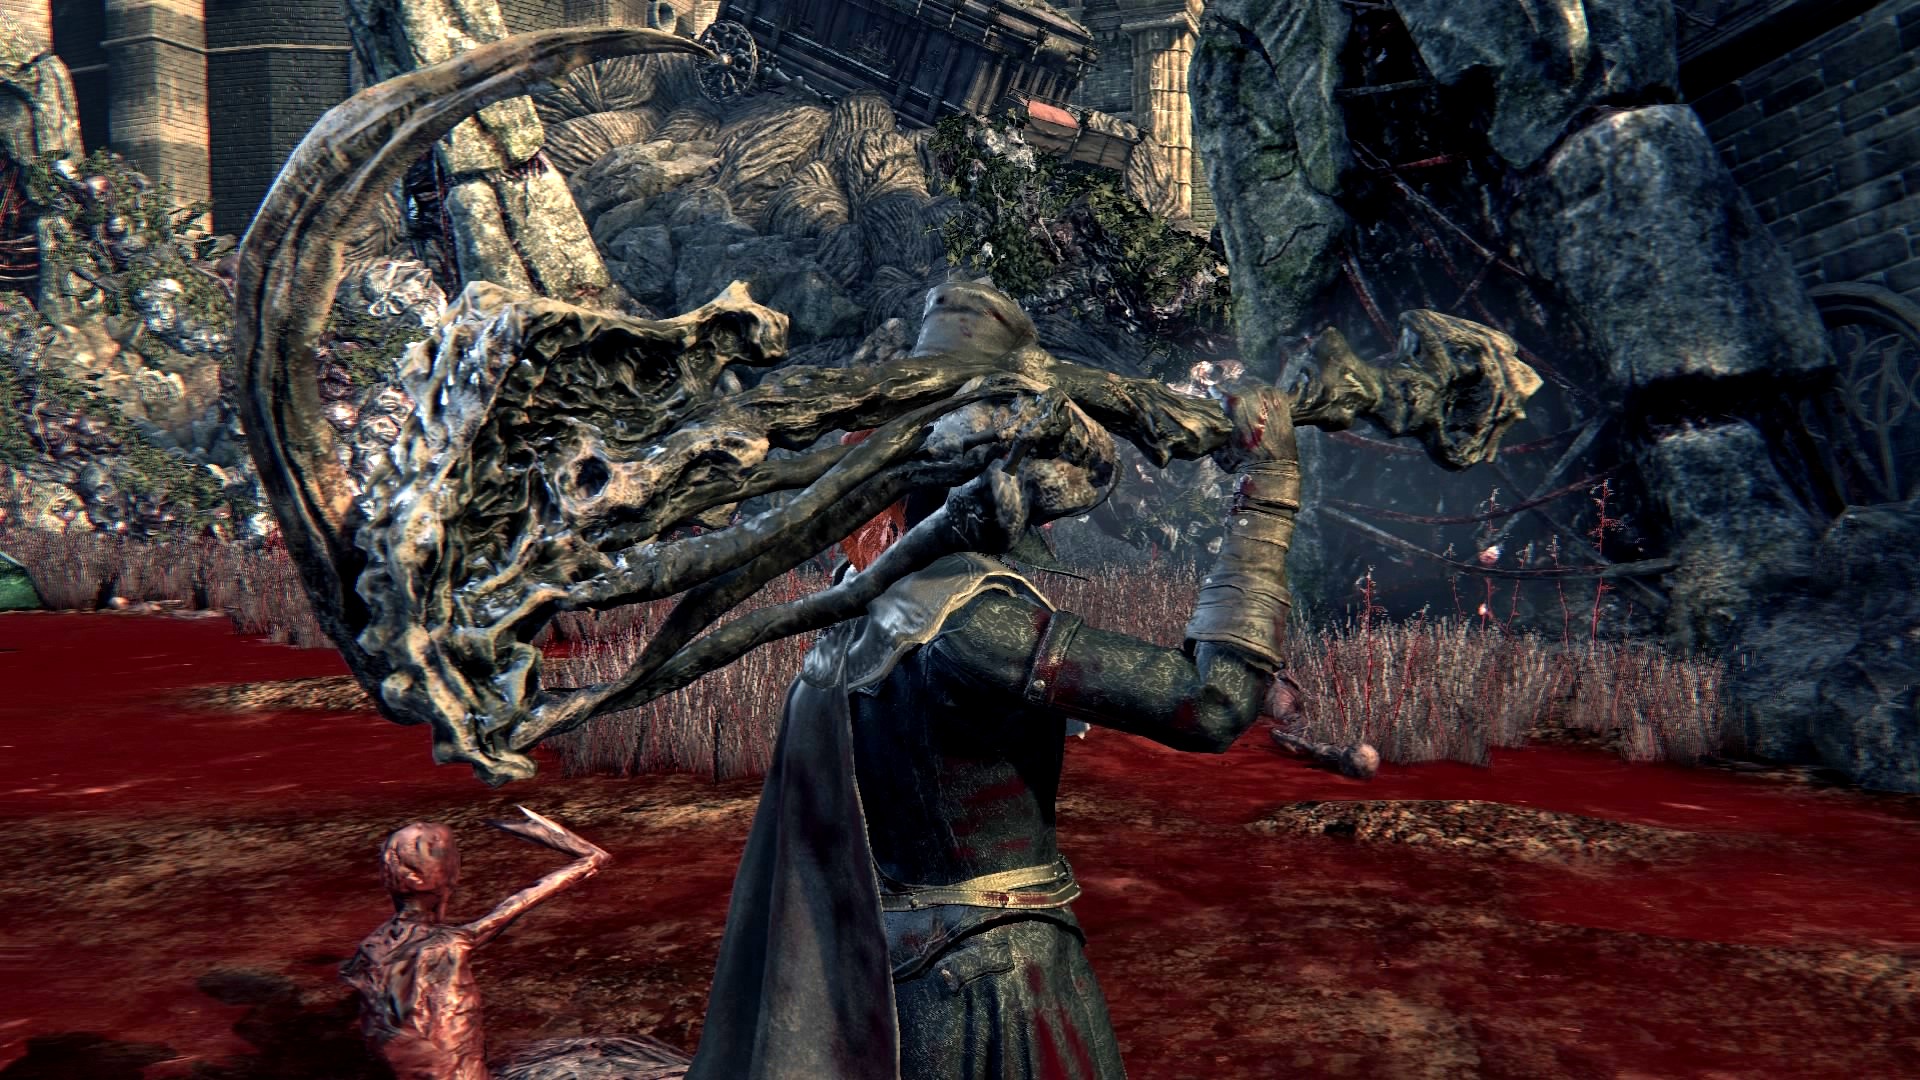
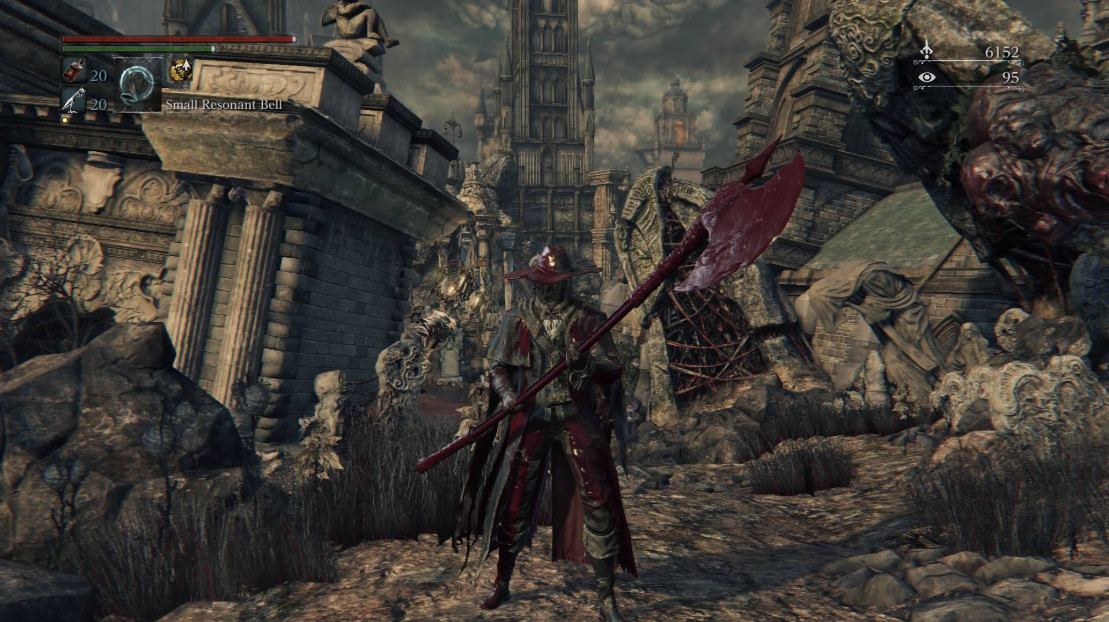
There aren’t many rules in a BL4 run. Basically, you’re allowed to do anything except level up, and your goal is to get to the end credits. We will be starting with the Waste of Skin origin, and we’ll be using the Saw Cleaver, since it has the best DPS in the game. As a way to make the road easier, buffs such as Bolt/Fire Paper and Beast Blood Pellets will be used extensively. For the rest of the guide, I’ll cover the main areas of the route and everything that you need to know in between.
Central Yharnam

Central Yharnam is the starting area before the first boss, Father Gascoigne. Most of the areas on the route will be a run-through, so we’re not going to be killing every enemy we come across. This map contains the locations of every important item for this section, most notably Molotov Cocktails, Oil Urns, and three Blood Stone Shards, since we’ll get the rest of the shards in Cathedral Ward. To progress to the first boss, after the initial sewer area, with the riflemen and lycanthropes, turn right twice, and take the ladder after the Maneater Boar. The shortcut to the Central Yharnam lamp is across the bridge and up the elevator.
Important items:
- 3 Blood Stone Shards minimum
- 10 Molotov Cocktails
- Red Jewelled Brooch (during/after the Gascoigne Fight)
- 2 Oil Urns
Father Gascoigne

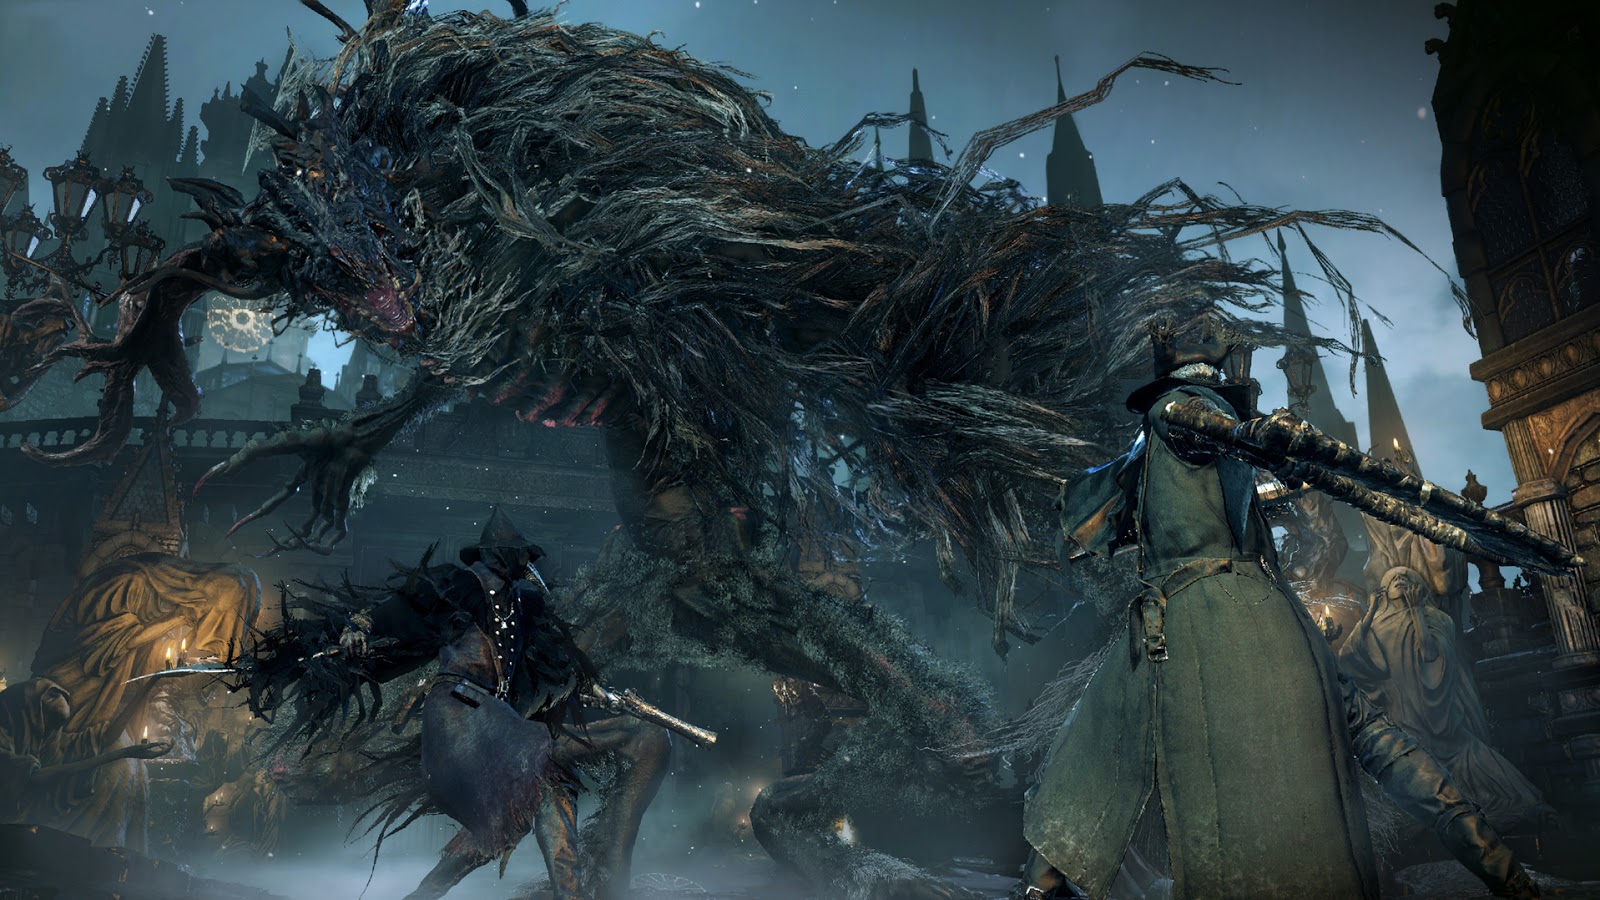
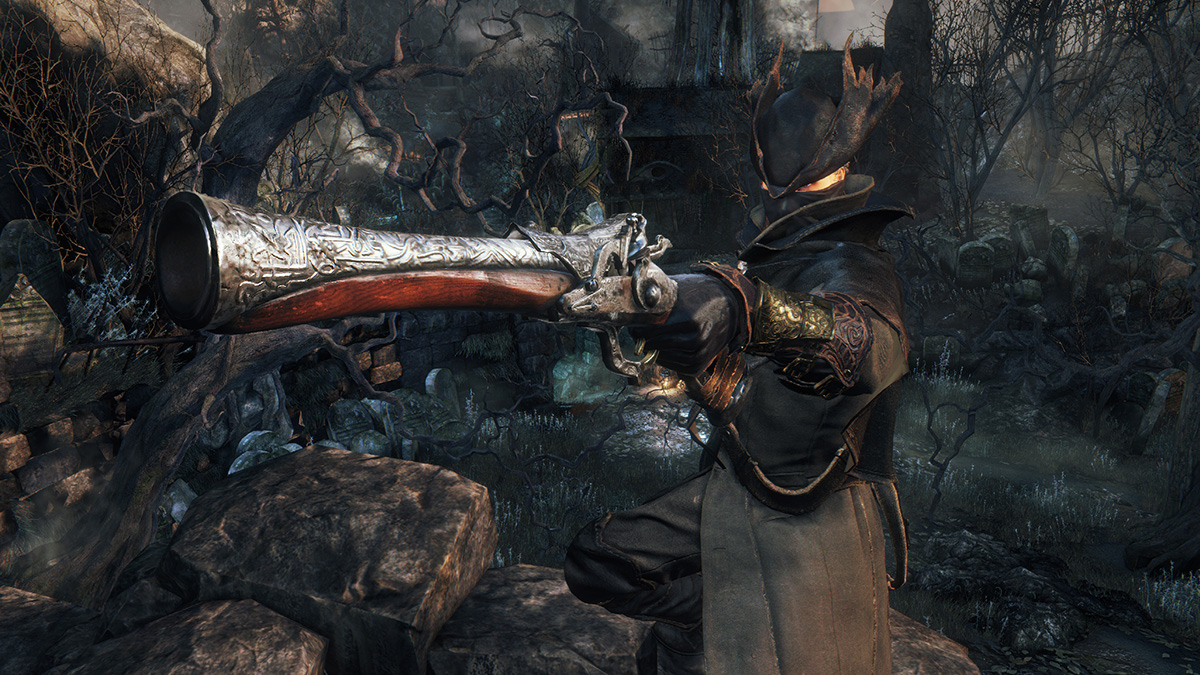
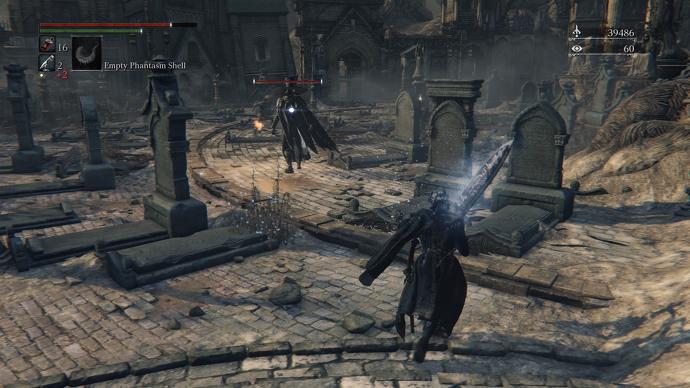
After slogging through the villager-infested Central Yharnam, you will come across the first boss in the Tomb of Oedon, Father Gascoigne. He is a Hunter of the Healing Church, and is very aggressive, using a Blunderbuss and the Hunter Axe.
One of the best strategies to use against him is to parry an attack, then immediately throw a Molotov at him for massive damage (parried enemies take more damage, including fire). All of this is supposed to be done on the stairs, since it’s harder for him to shoot you there. Do this until you get to his third phase, which turns him into a werewolf. In this phase he is very easy to parry during his flurry attack, so wait until he does it and you’ll basically get the parry every time. With some practice, this boss is easily defeated. You’ll want to pick up the Red-Jewelled Brooch, as it is the most important gem for the early game.
Cathedral Ward

After climbing the ladder from the Tomb of Oedon, you’ll find the Blood Gem Workshop Tool. Take it to the Hunter’s Dream and slot the Red Blood Gem (obtained from the Red Jewelled Brooch) into the Saw Cleaver and upgrade it to +1. Use the provided map to find as many Blood Stone Shards as you can get your hands on. We’ll be using these to upgrade the Cleaver further, to +3, and we’ll slot any gem we find along the way.
Important items:
- 17 Blood Stone Shards
- Tempering Blood Gemstone (next to the giant and the Wandering Madness)
- Hunter Set
Old Yharnam

Old Yharnam is riddled with victims of the initial scourge of Ashen Blood, so they are mutated people who are very aggressive and have a fear of flame. From Cathedral Ward, take the left exit and follow the left path until you get to the small church there. As soon as you get into the church from the side step, you can talk to Alfred, the Executioner. Cooperating with him will give you Fire Paper, which is essential for this portion.
Using the provided map, pick up the necessary Pungent Blood Cocktails, Antidotes, and Beast Blood Pellets. We’re going to be using these to defeat the Blood-Starved Beast. Make your way to the boss and prepare the following items in your inventory: Pungent Blood Cocktails, Fire Paper, Beast Blood Pellets and Antidotes.
Blood-Starved Beast

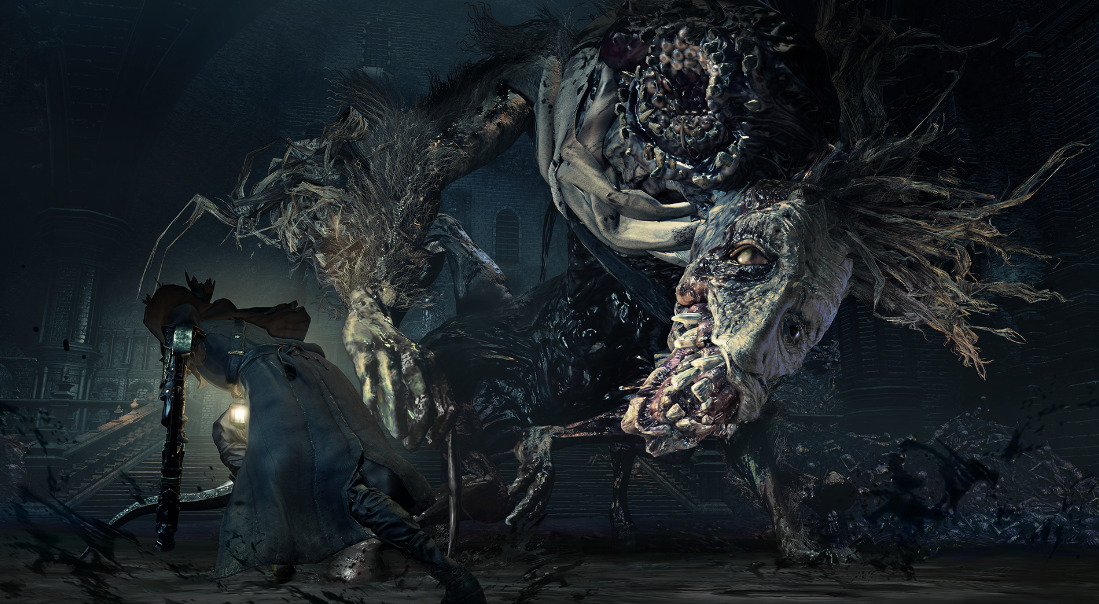
The Blood-Starved Beast is an incredibly aggressive, poison-spewing monstrosity that is very hard to deal with under normal circumstances. To defeat it, we’ll be using Pungent Blood Cocktails to lure it to a specific location, using the Fire Paper and Beast Blood Pellets, then just wailing on it with transformation attacks. The combination of Fire and Serrated damage will rip the beast to shreds. The Cocktails will last 10 seconds, so throw another one after it wears off and you’ll be fine.
After killing the Blood-Starved Beast, the door in Oedon Chapel will unlock, allowing you to take the path to Vicar Amelia. When you get to the top of the elevator, you’ll step onto the bridge and approach the tower. Take the left side and kill the Wandering Madness for some Twin Blood Stone Shards. From there, you’ll come across a large hole with support beams on the sides. Make your way to the bottom and you’ll eventually reach the gates that are blocking the way to Amelia.
Vicar Amelia

Now we come to the first boss that requires some limb breaking. Limb breaking is a mechanic that allows you to break the arms, legs, and other appendages that larger bosses might have. To maximise damage, we’ll be using Beast Blood Pellets and Fire Paper. Focus on transformation attacks on each limb, and as soon as that one breaks, move onto the next one. Keep this up until all of them are broken, since at that point she’ll have enough HP to whittle down safely. When you defeat her, talk to the skull at the altar and you’ll unlock the Forbidden Woods. There isn’t much more to this fight except that Amelia can prove to be a challenge if you’re not careful.
The Forbidden Woods

One of the most confusing areas in the game, the Forbidden Woods are infested with snake balls and other terrifying oddities. Most notably, though, is that the Forbidden Woods are full of Twin Blood Stone Shards, which will get us to a +6 on our weapon. The whole area is convoluted and it’s quite hard to navigate on the first attempt, so try to follow the map closely, if you cannot make sense of the map you can simply follow the lanterns along the way to the boss.
Important items:
- 16 Twin Blood Stone Shards
- 13 Beast Blood Pellets
- 1 Blood Stone Chunk
The Shadows of Yharnam

Here we have one of the most infuriating bosses for any run, not just a BL4 run. The Shadows of Yharnam are three dark figures that have varying weapons, including maces, swords and pyromancy. To deal with them, we’re going to be employing a very defensive playstyle. You can use a Beast Blood Pellet or Fire Paper here but since we’re not going to be constantly attacking it could be considered wasteful.
To fight them, you’re going to want to target the sword-only shadow first, since he is the most aggressive. Always get your attacks in first, do one R1 followed by an L1. Back off immediately and repeat, keeping all of them in view to avoid attacks from the back. Once you kill two Shadows, the last one is easy. Move up close and hit him once, then he’ll strafe to the side. Move with him and use one R1, then he’ll strafe again. Rinse and repeat for an easy kill. Beware though, once you bring one Shadow down to 30% HP, they will transform, increasing their aggression and moveset, as they can also summon giant snakes if you don’t keep the pressure up.
Byrgenwerth

As you progress through the game, you’ll notice that the main theme changes from beasts to aliens, so the surroundings are going to change with that. Byrgenwerth is a small area, mainly because it serves as a place where we get major lore information and the game changes its course a bit. We’re still going to use the same strategy however, as the boss of the area is straightforward and relatively easy, if you are careful. Once you unlock the lunarium, Master Willem will be sitting in his rocking chair on the overlook. Talk to him for inisght and jump in the lake.
Important items:
- Lunarium Key
- Student Set (optional)
Rom, The Vacuous Spider

When you first approach this boss, it won’t attack you. When you do decide to strike, a group of spiders will fall from above and attack, so you’re going to want to deal with them first. All of the spiders have armored heads, including Rom, so you need to attack them from the sides. Once you’re dealt with all the spiders, you’re going to use a Beast Blood Pellet.
The strategy here is to switch to an empty main hand, and use strong attacks on Rom’s head until the meter is full. After that, use a Fire Paper and wail on her (yes, Rom is a girl) side with transforming attacks. As soon as she starts teleporting, charge an R2 immediately and it should stagger her out of it. Utilizing this strategy, you should either kill her immediately or leave her with a small amount of HP. Take care that in the second and third phases Rom becomes more active, using thrashing attacks, as well as summoning arcane explosions, so keep that in mind.
After defeating Rom, you’ll be transported to Yahar’gul, the Unseen Village.
Yahar’gul, the Unseen Village


Yahar’Gul is a village where kidnappers take people to be experimented on, in an attempt to create a Great One. This area is fairly complicated, so rely on the provided map to find the necessary items. Cramped Caskets as well as enemy Hunters inhabit Yahar’Gul, so be careful that they don’t ambush you. You will make your way to the Advent Plaza after collecting the necessary items and upgrading your weapon to +9, where you will face the One Reborn.
Important items:
- Tempering Damp Blood Gem (slot as soon as possible)
- 15 Blood Stone Chunks
- 8 Bolt Paper
The One Reborn

Now we come to one of the bosses that is much easier to kill than at first glance. The real trick is to kill the Chime Maidens on the walkway above the boss. If you don’t kill them, they’ll buff the boss and send fireballs your way, so this is the safest strategy. After killing the maidens, you’re going to go back to the main area, but use a Beast Blood Pellet as well as a Bolt Paper in the stairwell.
To kill the boss, you’re going to want to target each of its limbs with transforming attacks. Each of the limbs will break easily and it will make the boss fall down. You can target the main skeleton at the front portion for decent damage, or break the limbs one by one until the boss is dead. Easy! Upon defeating the boss you’ll continue forward, touching a mummy and getting transported to a lecture building. For the sake of progress, you’ll need to get to the end of the hallway, open the shadowy door and you will find yourself in the Nightmare of Mensis.
The Nightmare of Mensis
To get through the Nightmare of Mensis, you’re going to want to follow the path that is naturally laid out for you. There aren’t many important items here, so you don’t have to worry about that. After getting to the area with the giant pits, you’ll come across an elevator on the right-hand side of the area. Take it, and you’ll find some weird crowdog/dogcrow hybrids. There is a great gem in this area (right above the initial enemies, in the cage), so take it and slot it into your weapon.
The Mergo’s Loft: Base lamp is on the left side of this area, accessed by a birdcage elevator. Unlock this, just in case. For the next portion you’re going to need some Poison Knives, to make your life easier. If you’re ready, continue through the door on the left side after riding the elevator back up. Walking through the doorway next to the two skeletons will start the Micolash, Host of the Nightmare fight.
Micolash, Host of the Nightmare
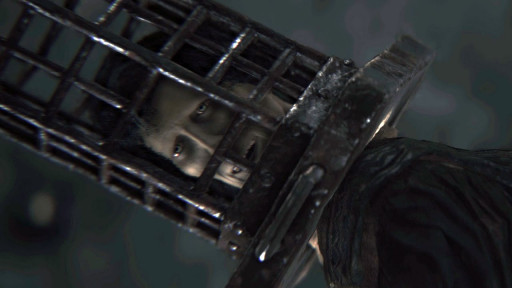
This bugger usually provides a very unique take on a boss battle. Instead of fighting back, he runs away until he’s comfortable fighting you in his own environment. To defeat him, you’ll want to chase him until he reaches his little room, bait him out into the small hallway, and just hit him until he gets to half HP, which will prompt another fun little chase scene. This time, you’re going to chase him until he drops into the room with a skeleton and a portal. You’ll see him from above but do not drop down. Equip the Poison Knives, and throw them at Micolash until his health starts trickling down. Wait until it stops and repeat. This eliminates the risk of dying to his spells and attacks, so you can laugh maniacally as he dies for all the deaths in other runs.
After defeating Micolash, a bridge will drop from…somewhere, allowing you to get to the next area, and face the final boss.
Mergo’s Loft: Middle
The most popular farming area in the game, Mergo’s Loft: Middle is essentially just a walkway to the final boss, so we’re going to just run past all of the Shadows of Yharnam, the pigs and the Pthumerian Queen standing at the entrance. Before continuing, make sure your gems are set up, your weapon is repaired, you have all the necessary items (Bolt Paper, Beast Blood Pellets), and that you have unlocked the shortcut right next to the Queen.
Proceed to the elevator and into the large, circular arena, where you will face Mergo’s Wet Nurse.
Mergo’s Wet Nurse

The Wet Nurse is a formidable boss, as it has a lot of HP and you can’t really stagger it. However, all of its attacks can be easily dodged by quickstepping to its side and attacking its back and sides with transforming attacks. Your damage is significantly boosted by Beast Blood Pellets and Bolt Paper, so as long as you stick to her back and stay careful, you’ll be fine. Take note that she has a scary nightmare phase, so to avoid it, wait until she raises her arms, and right as you see the purple gust of mist, quickstep to the side twice. After you defeat the Wet Nurse, take the lamp back to the Hunter’s Dream.
Ending the Run

You May Also Be Interested In:
- [Top 10] Bloodborne Best Weapons (And How To Get Them)
- [Top 10] Bloodborne Best Builds That Are Powerful
- [Top 5] Bloodborne Best Starting Weapons (And How To Get Them)
- Bloodborne All Guns (All Firearms Ranked And How To Get Them)
- Top 15 Games Like Bloodborne (Games Better Than Bloodborne In Their Own Way)
- Bloodborne 2 Release Date - And 10 Features We Want
- [Top 5] Bloodborne Best Guns and How To Get Them
- Top 5 Bloodborne Best Armor Sets
- [Top 5] Bloodborne Best Guns and How To Get Them
- Bloodborne 2 Release Date - And 10 Features We Want
- Bloodborne Best Weapons And How To Get Them (Early - Mid - Late Game)
- Bloodborne Best Arcane Builds That Are Fun
- Bloodborne Best PvP Builds That Wreck Hard!
- Bloodborne Best Strength Weapons and How to Get Them
- Bloodborne Best Farming Spots
- Bloodborne Best Boss Killing Weapons And How To Get Them

