Hello fellow CS:GO players! I secretly know you blame your settings and PC and ping for the rounds you lose. Want me to carry you to Global Elite? Or Level 10? Stick around! For here’s a complete CS:GO Settings Guide, just for you.
Personal preference/ comfort rules all and I don’t deny that. But some recommendations and tips will not hurt.
Video Settings
25. Brightness
Too dim a monitor will deprive you of key information(like a CT hiding in plain sight on Ancient?). Too bright a monitor will make you go blind.
Though it depends on your monitor, a sweet spot for your in-game settings is at 80%.
Tip: You may wanna tinker with it yourself by going to the dark spot on B site on Inferno and confirming what Brightness number is best for you.
- Go to Game Settings at the bottom of the icons at the left.
- Go to Video; it’s the second option on the top
- The third option downwards will be Brightness that you can adjust.
24. Aspect Ratio
Resolution and Aspect Ratio is down to your personal preferences but there are some standardized settings you may wanna adopt. Most pros use 4:3 but 16:9 may be better because it lets you see more of the field. (Meaning that 4:3 cuts off the sides of the field) But 4:3 aspect ratio also stretches the enemies’ view model, meaning it makes it easier to hit them.
If you have a good monitor and are hitting enough FPS, you may wanna go for 16:9.
- Go to Game Settings at the bottom of the icons at the left.
- Go to Video; it’s the second option on the top
- The fourth option downwards will be Aspect Ratio that you can adjust.
23. Resolution
The most used resolution is 1280 X 960 and there is no harm in trying it out. It’s comfortable, gives you satisfactory FPS, and is overall a decent option aside 1024 X 768. You may try them both out and have your pick.
- Go to Game Settings at the bottom of the icons at the left.
- Go to Video; it’s the second option on the top
- The fifth option downwards will be Resolution that you can adjust.
22. Global Shadow Quality
Having this on Low will make shadows disappear at a given range which means loss of information. If you have extra FPS to spare, you might wanna crank it up to medium or high to see shadows from afar.
(This especially helps in Mid on Mirage)
- Go to Game Settings at the bottom of the icons at the left.
- Go to Video; it’s the second option on the top
- The first option under ‘Advanced Video’ is Global Shadow Quality that you can adjust
21. Model/Texture Detail
This setting doesn’t bother your FPS much, so you can adjust it without repercussions, anyway you like it. Keeping it at Low is recommended but you can try both out.
- Go to Game Settings at the bottom of the icons at the left.
- Go to Video; it’s the second option on the top
- The second option under ‘Advanced Video’ is Model/Texture Detail that you can adjust
20. Effect Detail and Shader Detail
Keeping them on High can help you see through Molotovs better but it comes at the cost of FPS so unless you have a very fast computer, I’d recommend keeping it at Low.
- Go to Game Settings at the bottom of the icons at the left.
- Go to Video; it’s the second option on the top
- The fourth and fifth options under ‘Advanced Video’ are Effect Detail and Shader Detail that you can adjust
19. Boost Player Contrast
Boosting player contrast will help you see player models better by distinguishing them and the surroundings more efficiently. I highly recommend keeping this Enabled. Also, it doesn’t cost much FPS!
- Go to Game Settings at the bottom of the icons at the left.
- Go to Video; it’s the second option on the top
- The sixth option under ‘Advanced Video’ is Boost Player Contrast that you can Enable
18. Multicore Rendering
If you have a multi-core processor, this option Enabled will simply give you a free boost of FPS. You are highly advised to enable this option, too.
- Go to Game Settings at the bottom of the icons at the left.
- Go to Video; it’s the second option on the top
- The seventh option under ‘Advanced Video’ is Multicore Rendering that you can Enable
17. Multisampling Anti-Aliasing Mode and FXAA Anti-Aliasing
You are generally recommended to keep these graphical options off (i.e. None and Disabled, respectively), though they don’t cost as much FPS.
- Go to Game Settings at the bottom of the icons at the left.
- Go to Video; it’s the second option on the top
- The eighth and ninth options under ‘Advanced Video’ are Multisampling Anti-Aliasing Mode and FXAA Anti-Aliasing that turn off
16. Texture Filtering Mode and Use Uber Shaders
These are mostly graphical. Unless you have a great PC, I recommend you to keep Texture Filtering Mode at Bilinear and Use Uber Shaders at Auto.
- Go to Game Settings at the bottom of the icons at the left.
- Go to Video; it’s the second option on the top
- The tenth and fourteenth options under ‘Advanced Video’ are Texture Filtering Mode and Use Uber Shaders that you can set
15. Wait for Vertical Sync, Motion Blur, and Triple Monitor Mode
These are entirely graphical as well and you are highly recommended to keep all of these disabled.
- Go to Game Settings at the bottom of the icons at the left.
- Go to Video; it’s the second option on the top
- The eleventh, twelfth and thirteenth options under ‘Advanced Video’ are Wait for Vertical Sync, Motion Blur, and Triple Monitor Mode that you can disable
Audio Settings
There are not a lot of things to recommend in this section. This is because it depends a lot on your headphones whether or not you’ll be able to smoothly catch mini background noises. But of course, some settings will only help you play smoothly.
14. Audio Output Configuration
You need to make sure that Surround Sound is not on. Instead, Stereo Headphones or Stereo Speakers are the way to go.
- Go to Game Settings at the bottom of the icons at the left.
- Go to Audio; it’s the third option on the top
- The fourth option under Audio is Audio Output Configuration that you can adjust
13. Advanced 3D Audio Processing
You should definitely have 3D Audio on. If you are a CS:GO player, the reasons are rather obvious.
- Go to Game Settings at the bottom of the icons at the left.
- Go to Audio; it’s the third option on the top
- The sixth option under Audio is Advanced 3D Audio Processing that you can turn on
12. Ten Second Warning Volume
I highly recommend you to have this tool in your box. This option gives you a ten-second warning. This can prove extremely helpful during bomb defusal stages. If you don’t have a kit, you are basically gifted information that you must run and save your gun.
I recommend this to not be too loud so setting it to 20% will help you a lot. But you can tinker with the setting to find your perfect number.
- Go to Game Settings at the bottom of the icons at the left.
- Go to Audio; it’s the third option on the top
- The fifth option under Music is Ten Second Warning Volume that you can adjust
11. Raw Settings
Here is a stable Audio Settings example that you can paste in your config:
volume "0.2"
voice_enable "1"
voice_scale "1"
windows_speaker_config "1"
snd_musicvolume "0.04"
snd_tensecondwarning_volume "1"
snd_menumusic_volume "0"
snd_roundend_volume "0"
snd_roundstart_volume "0"
snd_deathcamera_volume "0"
snd_mapobjective_volume "0"
The other music options are rather useless when you’re focusing on the game. I recommend you turn them all off (except Ten Second Warning, of course).
Game Settings
10. Show Team Positions in HUD
I highly recommend you turn this feature to “Show Location and Equipment”. That way, you know roughly where your teammates are and also what utility and equipment they have.
- Go to Game Settings at the bottom of the icons at the left.
- Go to Game; it’s the fourth option on the top
- The third option under Team is Show Team Positions in HUD that you can set to Show Location and Equipment
9. Radar Map Zoom
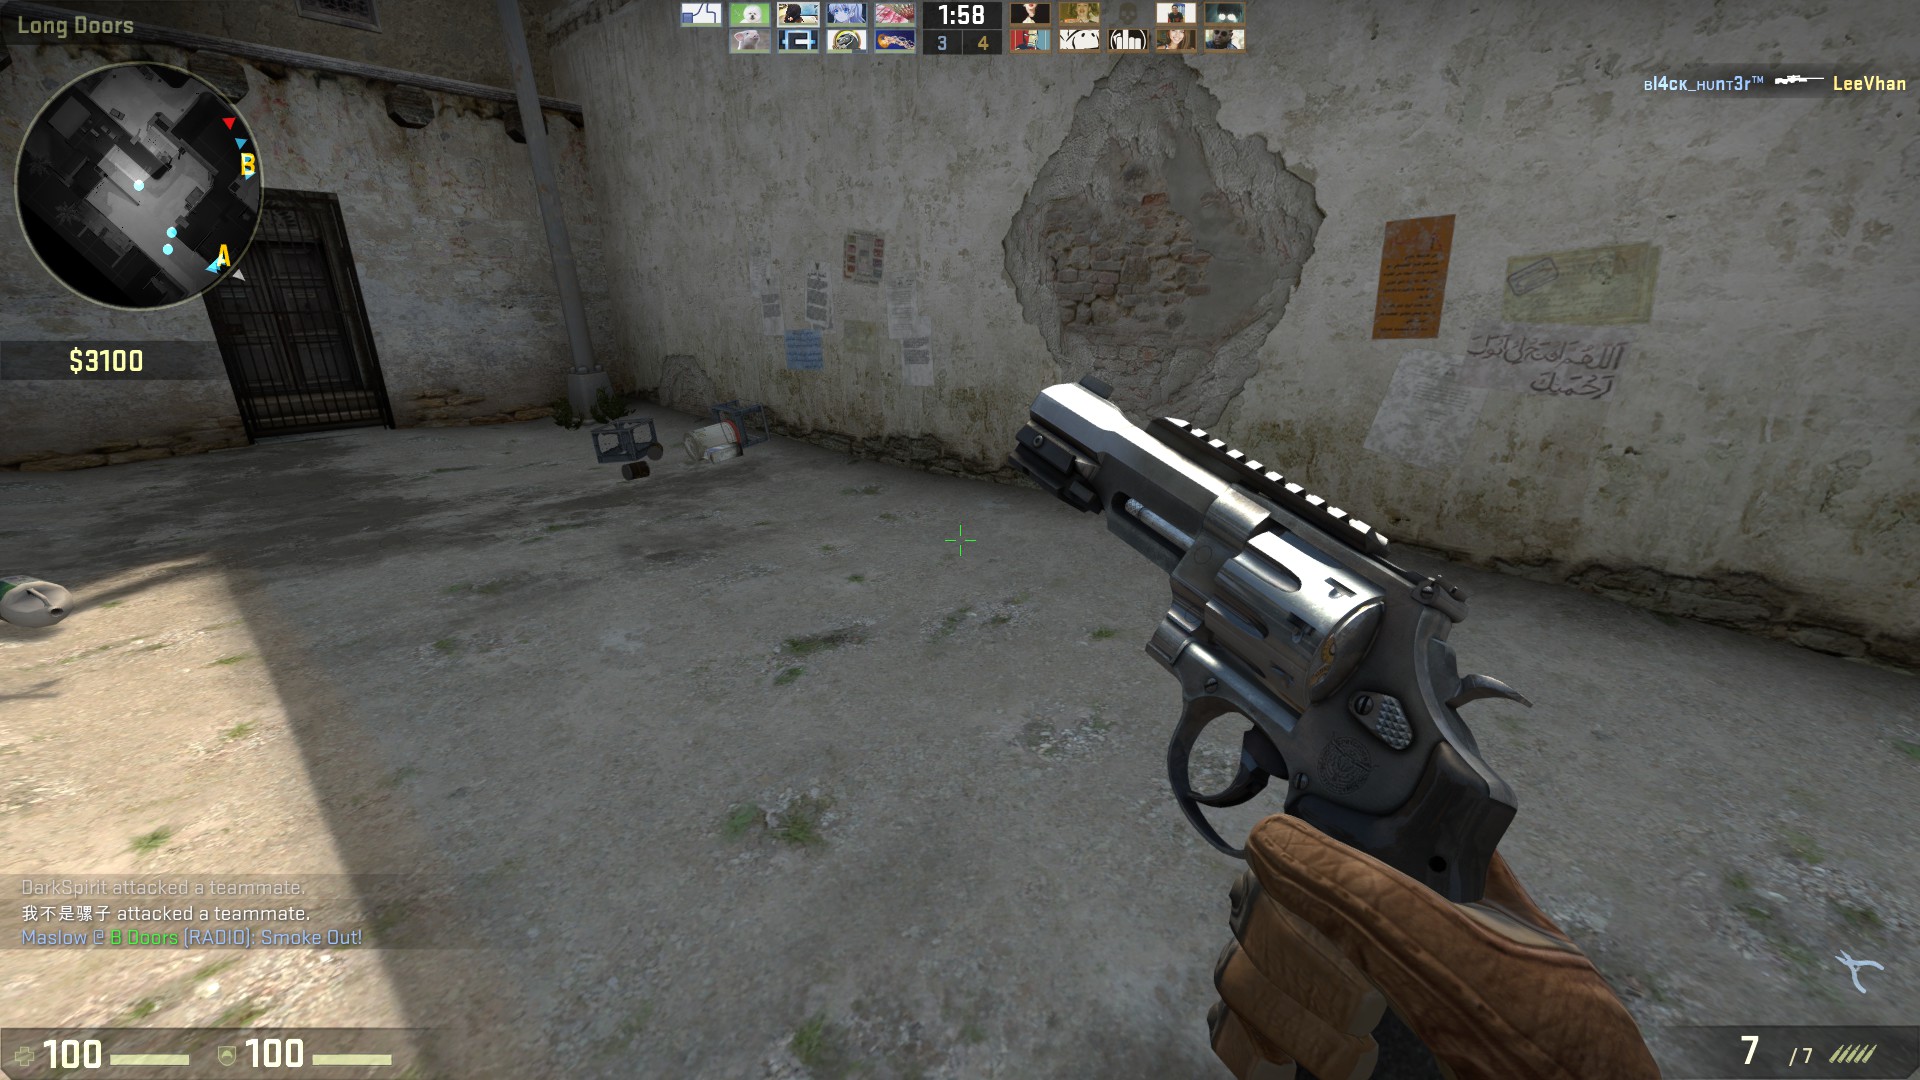
This feature is very useful if you regularly look at your radar (which you should). You should zoom out your radar to 0.4 so that you could look at more of your map.
But in scenarios where a bomb is in the smoke, a too-zoomed-out radar will make it very difficult to pick it up.
I recommend you to have a bind key to toggle between zoomed-in and zoomed-out views of your radar.
- Go to Game Settings at the bottom of the icons at the left.
- Go to Game; it’s the fourth option on the top
- The fifth option under Radar/Tablet is Radar Map Zoom that you can set to 0.4
Alternatively, you can type this:
Bind "v" "toggle cl_radar_scale 1.0 0.4"
8. Crosshair Settings
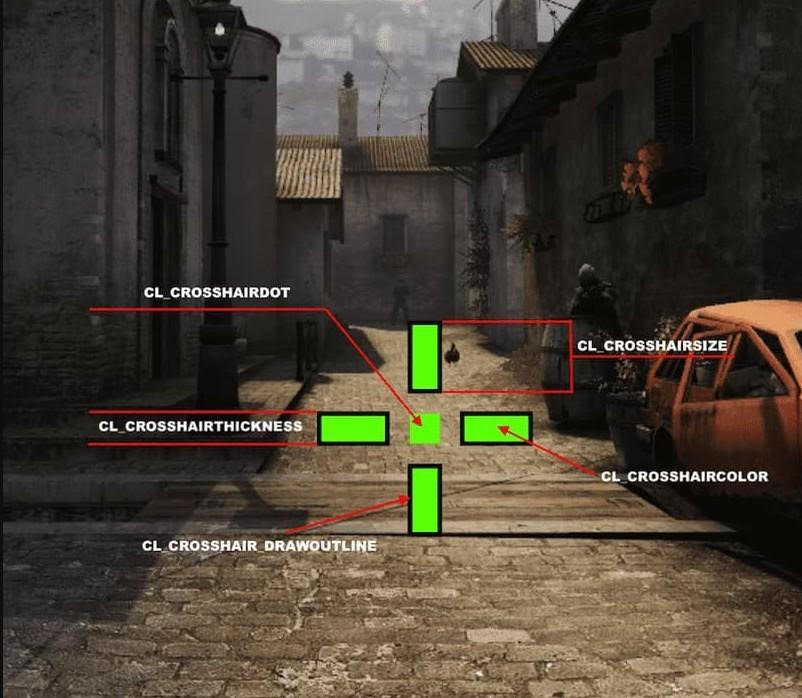
To have a crosshair is personal. If you don’t already have a customized crosshair for yourself, I have a basic crosshair that you can use as a starting point:
- Go to Game Settings at the bottom of the icons at the left.
- Go to Game; it’s the fourth option on the top
- Make the following changes to the options under Crosshair:
Crosshair style: Classic static
Center dot: No
Length: 2.5
Thickness: 0.5
Gap: 0.0
Outline: Enabled – 1.0
Red: 0
Green: 255
Blue: 0
Alpha: 255
T-style: Yes
Deployed weapon gap: No
Show player crosshairs: Everyone
Mouse Settings
You may realize that alongside some Video Settings, these are some of the most important and relevant settings.
7. Sensitivity
Your in-game sensitivity and your mouse’s DPI make up eDPI.
eDPI = DPI * Sensitivity
Most pros have eDPI between 600 and 1000.
The most common DPI is 400. So the most common sensitivity is between 1.5 and 2.5.
You should definitely try different amounts and see what fits you best.
- Go to Game Settings at the bottom of the icons at the left.
- Go to Keyboard/Mouse; it’s the fifth option on the top
- The fourth option under Keyboard and Mouse Settings is Sensitivity that you can adjust
Key Bindings
With the good CS:GO player you are, you must know how inefficient it is to press “4” a million times (or worse yet: scroll) to get to the right utility. To save time, you must use keybinds.
Which key will correspond to what utility is your personal preference.
6. Frag/HE Grenade Bind
Example: Q for HE Grenade
Code: bind "q" "buy hegrenade; use weapon_knife; use weapon_hegrenade"
Just type that and you’ll be good to go!
5. Flashbang
Example: F for Flashbang
Code: bind "f" "buy flashbang; use weapon_knife; use weapon_flashbang"
4. Smoke Grenade
Example: T for Smoke Grenade
Code: bind "t" "buy smokegrenade; use weapon_knife; use weapon_smokegrenade"
3. Decoy
Example: C for Decoy
Code: bind "c" "buy decoy; use weapon_knife; use weapon_decoy"
2. Molotov/Incendiary
Example: R for Molly/CT Molly
Code: bind "r" "buy incgrenade; buy molotov; use weapon_knife; use weapon_molotov; use weapon_incgrenade"
By using these binds you will be able to throw grenades way faster since the knife breaks your grenade throw animation.
You can personalize your binds using these examples and codes or going to the Keyboard and Mouse Settings.
1. Clear Decals
You can remove blood splatter and keep the walls cleaner by using this keybind:
bind "W" "+forward; r_cleardecals"
(you’ll have to press W to activate the command – you can do the same for A and D i.e., strafe buttons)
You may also be interested in:
- [Top 10] CSGO Best Weapons Used By Pros
- [Top 10] CSGO Deagle Skins That Look Freakin Awesome!
- [Top 15] CSGO Best AWP Skins That Look Freakin Awesome!
- Top 15 CS:GO Best Cheap Skins
- Top 10 CS:GO Best Knife Animations
- [Top 10] CSGO Best Knife Skins That Are Freakin Awesome!
- The Best CS:GO Tips - How to Become a Killing Spree Machine
- [Top 10] CS:GO Twitch Streamers
- The 10 Best Riflers In CS:GO
- [Top 15] CSGO Best Aimers
