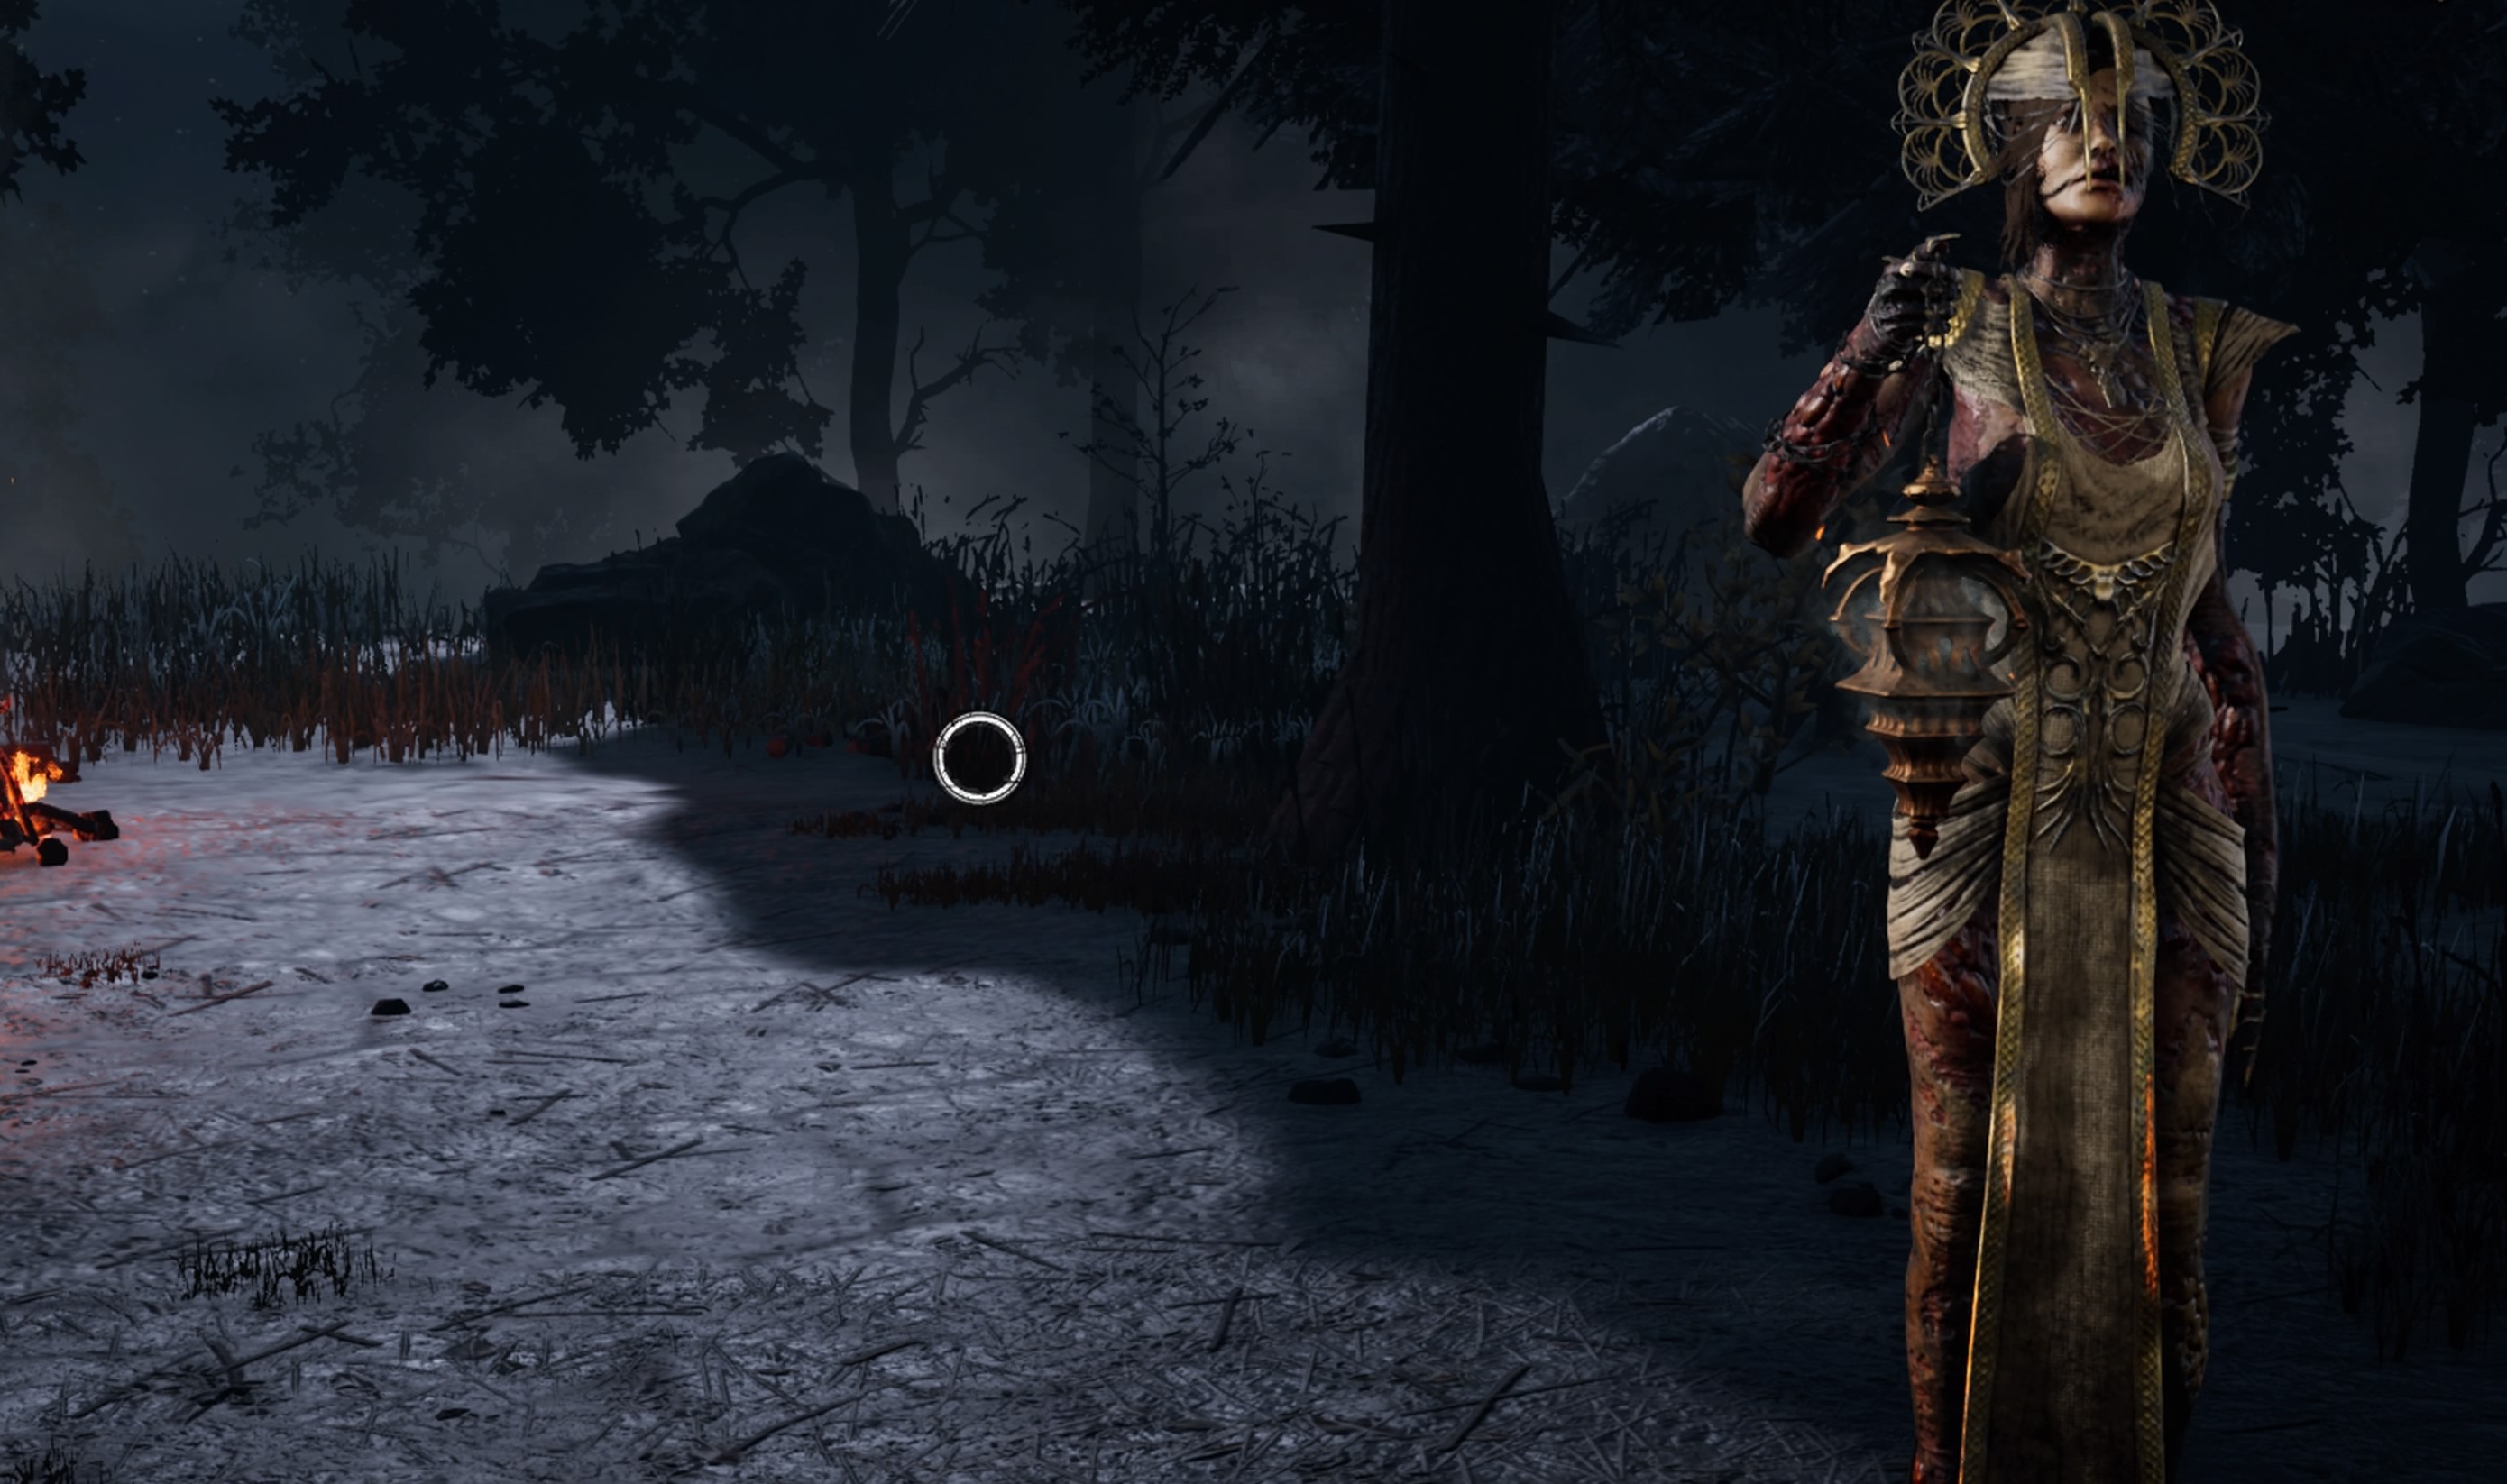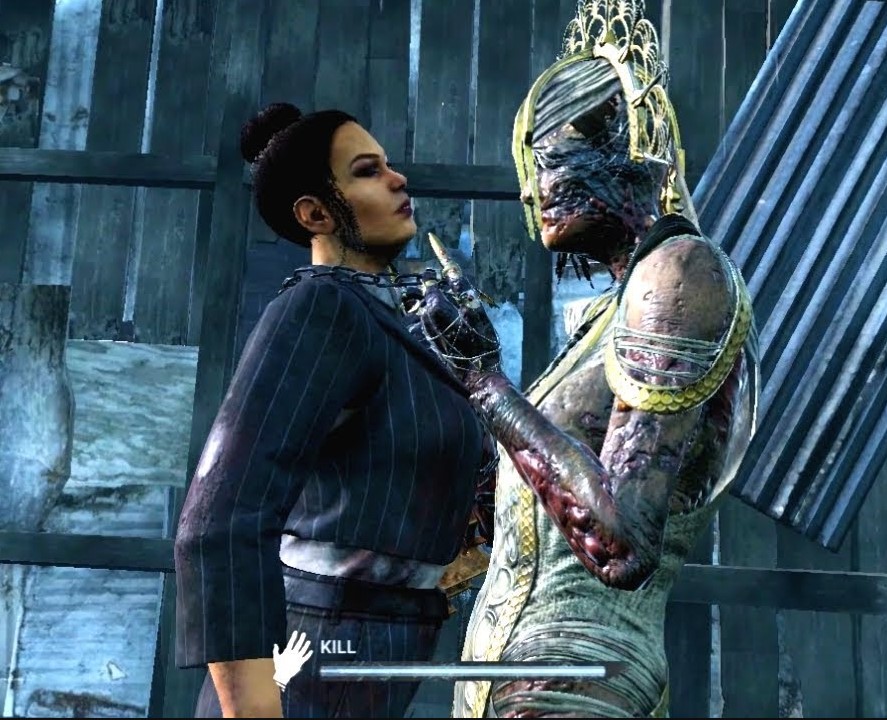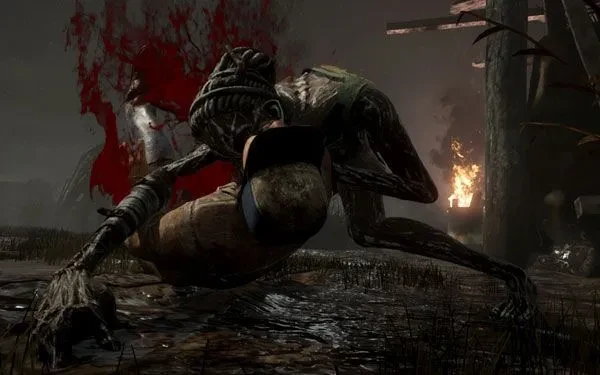
As you were walking towards a generator, a terrible scream cut through the night. You were so terrified that it took you a while to notice the muddy figure emerge from the ground. The grotesque woman raised her claw-like hand and soon there was only darkness. That’s about how things would go if you ever met the Hag in real life.
Most Dead by Daylight players would tell you that Hag is one of the stronger Killers. True, she is probably not in the top three, but she’s strong nonetheless. Her ability allows her to place phantasm traps on the ground. When a survivor triggers these traps by walking past them, she can teleport to the unsuspecting survivor. This makes looping a good Hag incredibly difficult.
The only way survivors can counter these traps is by crouching past them. This won’t trigger them, though it might waste the survivors’ time. They can also use flashlights to burn the traps, which removes them completely.
If you’ve just purchased Hag but don’t know what Perks work the best with her, you’ve come to the right place. Here are five excellent builds for our beloved cannibal grandma.
Best Add-ons:
The best Add-ons for Hag generally stay the same no matter which build you choose to use. The strongest ones are those which increase teleport range, increase trap-setting speed, or prolong mud phantasm duration. However, her top Add-on is Rusty Shackles – survivors will no longer know that they triggered a trap. This is broken since they literally won’t see you coming. Also, there’s no real counterplay to this. If you have the bloodpoints to spare, consider farming this purple Add-on for your Hag games.
5. Perma-Exposed Build
Perma-Exposed Hag Build | Dead by Daylight
This build effectively abuses Hag’s ability to get those first hits in. It focuses on making survivors Exposed so that they go down in a single hit. Once you get the first hook in, you’re going to start snowballing. However, I recommend this build for more experienced players, since you must work around your Perks to get the most out of this build.
What the Perma-Exposed Build excels in:
- Great pressure. With so many Perks causing the Exposed status effect, the survivors will likely try to hide from your unholy wrath for most of the match. This means they won’t do generators as much.
- Snowball potential. The constant cycle of applying the Exposed status effect will allow you to down survivors within seconds.
- Incredibly fun to use. Seeing the survivors fall like a sack of potatoes before you is incredibly satisfying.
Build details:
- Make Your Choice: When you’re at least 32 meters away from a hooked survivor, the rescuer screams and suffers from the Exposed status effect for 40/50/60 seconds based on level. This Perk has a cooldown of 40/50/60 seconds. You can put an Exposed survivor from the healthy to dying state in a single hit. As Hag, it’s common sense to trap the area around the hooked survivor. That way, you can teleport back when someone comes to rescue the hooked person. And this incredible mobility is what makes Make Your Choice an amazing Perk on her. You can now teleport back and down the rescuer in a single hit. This helps you apply great pressure on the survivors and puts you one step closer to a merciless victory.
- Remember Me: Whenever the Obsession loses a health state, this Perk gains one token, up to a maximum of 2/3/4 tokens. Each token increases the time it takes to open the exit gate by 4 seconds. The Obsession is immune to this debuff. There’s nothing much to say about this Perk other than it slows the game down just a little bit. If the Exit Gates spawn close enough to one another, you can trap them. Because of this, you’ll have an easy time patrolling them. The extra seconds will keep the survivors in the game a bit longer for you to down them.
- Dragon’s Grip: When you damage a generator, the next survivor who touches it will scream and reveal their location for 4 seconds. The survivor is also Exposed for 60 seconds. This Perk has a cooldown of 120/100/80 seconds. Basic attacks against Exposed survivors will put them immediately into the dying state. Dragon’s Grip is essentially the same as Make Your Choice, except it works on generators instead of hooks. It’s quite straightforward. You kick a generator and place down a trap. When an unsuspecting survivor returns to finish it, you teleport back and down them. Because of the high cooldown, my tip is to kick only generators with lots of progress on them. Survivors are much more likely to return to the ones that are almost finished.
- Hex: Plaything: When you hook each survivor for the first time and at least one dull totem remains on the map, this dull totem turns into a Hex totem. The hooked survivor is afflicted with the Cursed and Oblivious Status effect until they cleanse the Hex totem. For the first 90 seconds, only the affected survivor can cleanse it. They can see the aura of their own totem when they get within 24/20/16 meters of it. The Oblivious status effect removes the survivor’s ability to hear your Terror Radius. Hex: Playing is an incredible Perk for the Hag and you’ll be seeing it in many of these builds. Because Hag is a small killer, survivors are more likely to hear her than see her. Well, not anymore. With Hex: Plaything, survivors won’t be able to hear any Terror Radius. Mud Phantasms that arise when survivors trigger a trap normally have a Terror Radius as well. Thanks to Plaything, they no longer will. With so many Exposed survivors, this extra stealth will allow you to make quick work of them.
4. Anti-Heal Build
Dead By Daylight-HAGS Anti-Heal Build Makes Survivors Rage! | Keep Them Injured All Match!
This build is quite interesting. At first glance, it might not seem strong. There’s no game-slowing Perk, no popular Perks used to end chases quickly. However, making it next to impossible for survivors to heal achieves both things really well. I’ve been surprised at how deceivingly effective it was when I first used it. However, it might be a little bit try-hardy and you’ll likely get flamed for being toxic when you use these Perks.
What the Anti-Heal Build excels in:
- Slows the game down for you. Because injured survivors risk triggering a trap and getting downed, they will try to heal. With this build, it will take them incredibly long to do so. Survivors can’t heal themselves and do generators at the same time. Therefore, you’ll have more time to eliminate them one by one.
- Makes your chases shorter. With this build, survivors will stay injured for a large portion of the game. When they trigger your trap, you can down them right away.
- Allows you to bait the survivors. Thanks to Franklin’s Demise, you can punish survivors who decide to retrieve their fallen items.
Build details:
- Sloppy Butcher: Your basic attacks inflict the survivors with the Haemorrhage and Mangled status effects until they heal up. Increases the bleeding frequency by 50/75/100 %. Haemorrhage causes survivors to lose 7% of their healing progression when they’re not healing. Sloppy Butcher also increased this rate by 15/20/25 % based on level. Mangled makes survivors take 25% longer to heal up. Long story short, Sloppy Butchers keeps the survivors injured longer after you hit them. Since Hag excels at ambushing survivors, this will make your subsequent chases much easier. Also, having four injured survivors in the match puts them under incredible pressure. This means they’ll be wasting time healing instead of doing generators. Thus, you’ll have even more time to reset your web of traps.
- Forced Penance: Survivors who take a protection hit are Broken for 60/70/80 seconds. Broken survivors can’t heal up for as long as the status effect remains. Forced Penance will further increase the time the survivors stay injured if they foolishly decide to take a protection hit. Broken survivors will be too scared to go out of hiding and they’re unlikely to touch a generator.
- Blood Echo: When you hook a survivor, every injured survivor is afflicted with the Haemorrhage and Exhausted status effects for 45 seconds. This Perk has a cooldown of 80/70/60 seconds. Haemorrhage makes survivor lose their healing progression when they’re not healing. Exhausted survivors can’t use any Exhaustion Perks. Blood Echo synergizes incredibly well with the other perks in this build. Because survivors will be injured for most of the match, you’ll have an easy time activating this Perk. Haemorrhage will make survivors easier to track and will further hinder their ability to heal. Additionally, it will shut down powerful Exhaustion Perks such as Sprint Burst and Dead Hard. This will make your chases even shorter.
- Franklin’s Demise: Whenever you basic attack a survivor, they’ll drop their carried item on the ground. While on the ground, the item will slowly lose its charges. It takes 150/120/90 seconds for it to lose all charges. You can see the dropped item’s aura if you’re within 32 meters of it. The aura fades from white to red, depending on how many charges remain. The only bane to this build would be Med-Kits. These items not only allow survivors to heal themselves on their own, but they also make the healing process faster. And if it weren’t for Franklin’s Demise, they would. Now, whenever you hit a survivor, they’ll drop their precious Med-Kits. While on the ground, they will continuously lose charges. If you’re evil (and as a ruthless Killer, you should be) you can trap the dropped items and ambush the survivors foolish enough to come back for them. Fair warning – this may cause weaker-minded survivors to rage quit. But hey, we do what it takes to please the Entity, right?
3. The Standard Build
This is why I DON'T main Hag... | Dead by Daylight
Though this build is only a shadow of its former self (mainly thanks to the arrival of boons), it still works surprisingly well. It’s great for new players too because it’s not too difficult to use. It focuses mostly on finding survivors and chasing them down as fast as possible.
What the Standard Build excels in:
- Beginner-friendly. This build is incredibly easy to use even if you’re new to Dead by Daylight. You only need to know how to use Save the Best for Last. The other Perks do their job on their own.
- Great to end chases fast. You’ll be able to teleport to your traps much more often than with other builds. Thus, you can down survivors faster.
- Good to pressure survivors. This build slows down the healing speed a little and allows you to see survivors who are healing. Thus, you can keep them on their toes.
Build details:
- Sloppy Butcher: Your basic attacks inflict the survivors with the Haemorrhage and Mangled status effects until they heal up. Increases the bleeding frequency by 50/75/100 %. Haemorrhage causes survivors to lose 7% of their healing progression when they’re not healing. Sloppy Butcher also increased this rate by 15/20/25 % based on level. Mangled makes survivors take 25% longer to heal up. Since getting the first hits on Hag is easy, keeping the survivors injured is extremely valuable for you. Sloppy Butcher helps in this department. Injured survivors will be paranoid about moving across the map and will spend most of their time healing. Thus, they won’t be doing generators. This will give you more time to reset your traps.
- Save the Best for Last: Whenever you hit a survivor who’s not the Obsession with a basic attack, this Perk gains a token, up to a maximum of 8 tokens. Each successful basic attack has a 5 % faster recovery speed for each token, up to 40 %. When you basic attack the Obsession, you lose 4/3/2 tokens depending on the Perk level. When the Obsession dies, you can no longer lose or gain tokens. After you land a hit, there’s a short animation during which you can’t perform any actions. This delay is very detrimental for you as Hag because the injured survivor might trigger another well-placed trapped while you’re busy licking your bloody finger. Save the Best for Last reduces this annoying cooldown and it could well be the difference between a down and a survivor who managed to escape.
- Monitor and Abuse: Your terror radius is increased by 8 meters. If you’re not in a chase, your Terror Radius is decreased by 16 meters and your field of view is increased by 3/5/10 ° based on level. Set at 24 meters, the Hag’s Terror Radius is smaller than most Killers. Monitor and Abuse will further reduce this range which will allow you to approach unsuspecting survivors more easily. The increased field of view will help you catch those obnoxious Blendettes hiding in the bushes.
- A Nurse’s Calling: You can see the aura of survivors who are healing or being healed when within 20/24/28 meters of them. Survivors know that they are incredibly weak against the Hag when injured. They will likely try to heal as soon as possible. With this Perk, you’ll be able to interrupt the healing and force them into your web of traps.
2. The Meta Build
The best Hag build showcase! | Dead by Daylight
When it comes to building the perfect Meta build for any Killer, you’re looking to maximize the potential in your strong points while covering up your shortcomings. This build offers a mixture of both. Some Perks will give you more time to set your traps, while others synergize well with your mobility.
What the Meta Build excels in:
- Slows the game down just a little bit. With Corrupt Intervention, you’ll have enough time to set up your traps at the beginning of the match.
- Great snowball potential. This build uses Perks that help you end chases as fast as possible, allowing you to snowball.
- Opportunities to make sneaky plays. You’ll be able to sneak up on survivors since they won’t be able to hear your Terror Radius. For Hag, this is an excellent way to start a chase. You’ll also have a much easier time mind-gaming your prey.
Build details:
- Hex: Plaything: When you hook each survivor for the first time and at least one dull totem remains on the map, this dull totem turns into a Hex totem. The hooked survivor is afflicted with the Cursed and Oblivious Status effect until they cleanse the Hex totem. For the first 90 seconds, only the affected survivor can cleanse it. They can see the aura of their own totem when they get within 24/20/16 meters of it. The Oblivious status effect removes the survivor’s ability to hear your Terror Radius. Because the Hag is such a short Killer, you can sneak up on Survivor who can’t hear your Terror Radius. This makes for an excellent way to start your chases. If they attempt to loop you in places where you haven’t placed any traps, it might help you-mind game them. The paranoid survivors are likely to search for the Hex totem to remove its effect, which ultimately slows the game down for you.
- Hex: Haunted Ground: Causes two dull totems to turn into trapped Hex totems at the beginning of the match. If a survivor cleanses or blesses one of these Hex totems, all survivors suffer from the Exposed status effect for 40/50/60 seconds. The other totem will immediately turn into a dull totem. When you attack an Exposed survivor, they will go down immediately even at full health. Hex: Haunted Ground is an extremely powerful Perk when paired with other Hex totems. While survivors attempt to cleanse Plaything, they might accidentally cleanse Haunted Ground. The 60-second Exposed status effect will put them under great pressure and you’ll almost always get a down during this window.
- Save the Best for Last: Whenever you hit a survivor who’s not the Obsession with a basic attack, this Perk gains a token, up to a maximum of 8 tokens. Each successful basic attack has a 5 % faster recovery speed for each token, up to 40 %. When you basic attack the Obsession, you lose 4/3/2 tokens depending on the Perk level. Once the Obsession dies, you can no longer lose or gain tokens. When you hit a survivor, you won’t be able to teleport to any triggered traps for the duration of the cooldown animation. By reducing this duration, Save the Best for Last will help you end your chases faster.
- Corrupt Intervention: At the beginning of the match, the three farthest generations from your spawn locations are blocked. Survivors can’t repair these blocked generators for the first 80/100/120 seconds based on level. After Hex: Ruin was reworked (some might say nerfed), Corrupt Intervention became the new best Perk for slowing the game down. Though many Killers benefit from it, it’s especially outstanding on Hag. As Hag, you shouldn’t chase survivors before you lay down your traps. Placing down all 10 traps effectively can be time-consuming and good survivors will use this time to do generators. Corrupt Intervention not only gives you extra time to lay down your web, but it also forces the survivor to path towards you.
1. The High-MMR Build
"Hag is bad at high MMR" | Dead by Daylight
Though Hag is a strong Killer, she’s not the strongest. As you win more and more matches, you’ll be pitted against much smarter survivors. The best survivors will know how to abuse your weaknesses and can turn your entire game experience into a nightmare. This build uses Perks that offset Hag’s weakness, making her much harder to counter.
What the High-MMR build excels in:
- Makes the game go by slower. This build uses not one, but two game-slowing Perks. Hag needs time to place her traps to be an effective Killer.
- Counters flashlight users. Survivors can use flashlights to remove traps. With this build, you can force them to drop their flashlights and even turn them into baits.
- Enables basement plays. Agitation is a Perk that will allow you to reach the basement even if you’re a bit too far away. Thanks to your traps, you can snowball extremely well if you manage to get a basement hook.
Build details:
- Corrupt Intervention: At the beginning of the match, the three farthest generations from your spawn locations are blocked. Survivors can’t repair these blocked generators for the first 80/100/120 seconds based on level. As Hag, you can hit survivors multiple times by teleporting to your well-laid traps. This can easily make you dominate your games, but only if you have time to place your traps. Corrupt Intervention gives you that time. Because survivors generally spawn far from the Killer, they’ll have to search for an unblocked generator at the beginning of the match.
- Deadlock: When survivors complete a generator, the generator with the most progression is blocked for 20/25/30 seconds based on level. Deadlock is another Perk designed to slow the game down. As mentioned before, Hag requires time to use lay down her traps to snowball the game. The beauty of this Perk is that you don’t need to do anything to activate it.
- Franklin’s Demise: Whenever you basic attack a survivor, they’ll drop their carried item on the ground. While on the ground, the item will slowly lose its charges. It takes 150/120/90 seconds for it to lose all charges. You can see the dropped item’s aura if you’re within 32 meters of it. The aura fades from white to red, depending on how many charges remain. Flashlights are easily the Hag’s greatest weakness. With them, survivors can remove strategically placed traps. In doing so, they waste your time. Franklin’s Demise is a bane of flashlights. As Hag, hitting a survivor once couldn’t be easier. By removing your greatest threat, you can dominate the game more easily. You can also trap their dropped item so you can hit them if they come back for it.
- Agitation: While carrying a survivor, you move 6/12/18 % faster. Your Terror Radius is increased by 12 meters. Apart from flashlights, Hag is at her weakest whenever she can’t teleport to a triggered trap. In other words, whenever you’re carrying a survivor. Agitation will allow you to reach the hook faster so you can go back to the slaughter.


