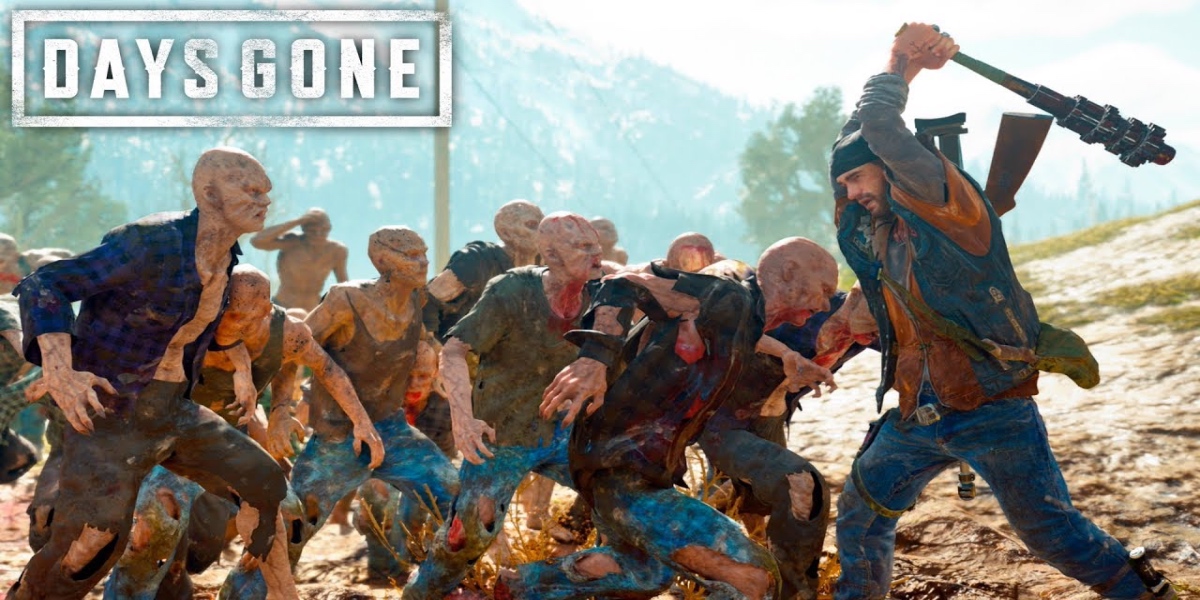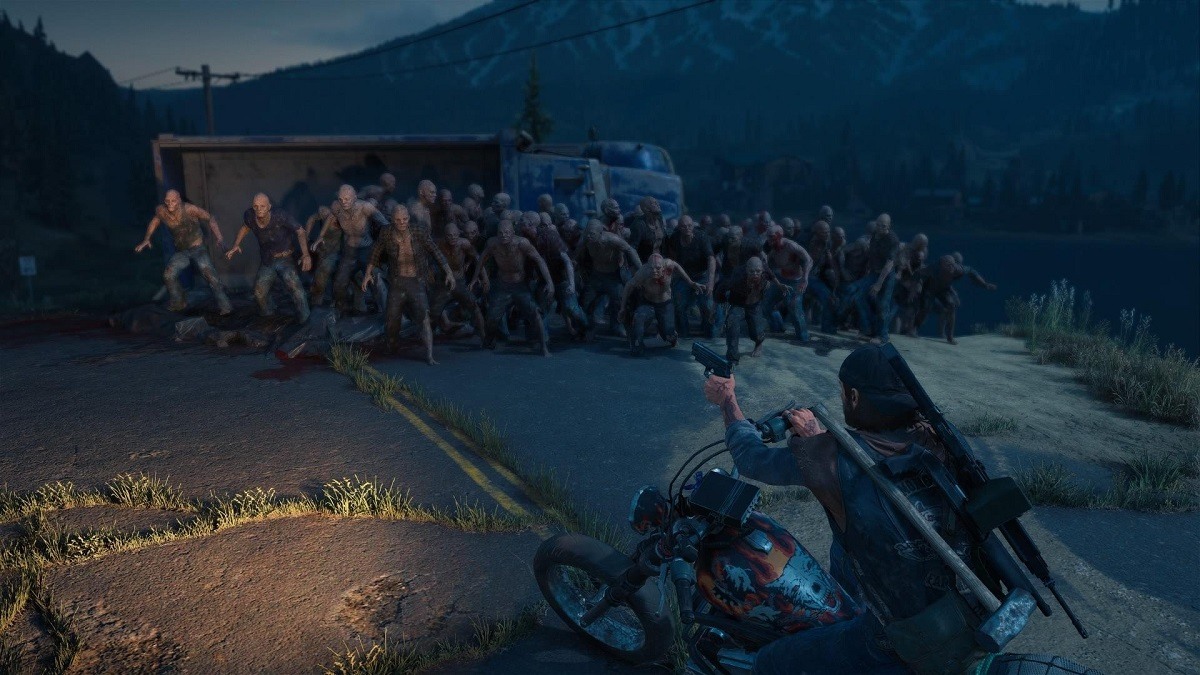
Which settings are best to take down Freakers and Hordes amazingly in Days Gone?
When you're thrown into a world of zombie infestation like Days Gone, your best bet to defend yourself, is guns/bows.
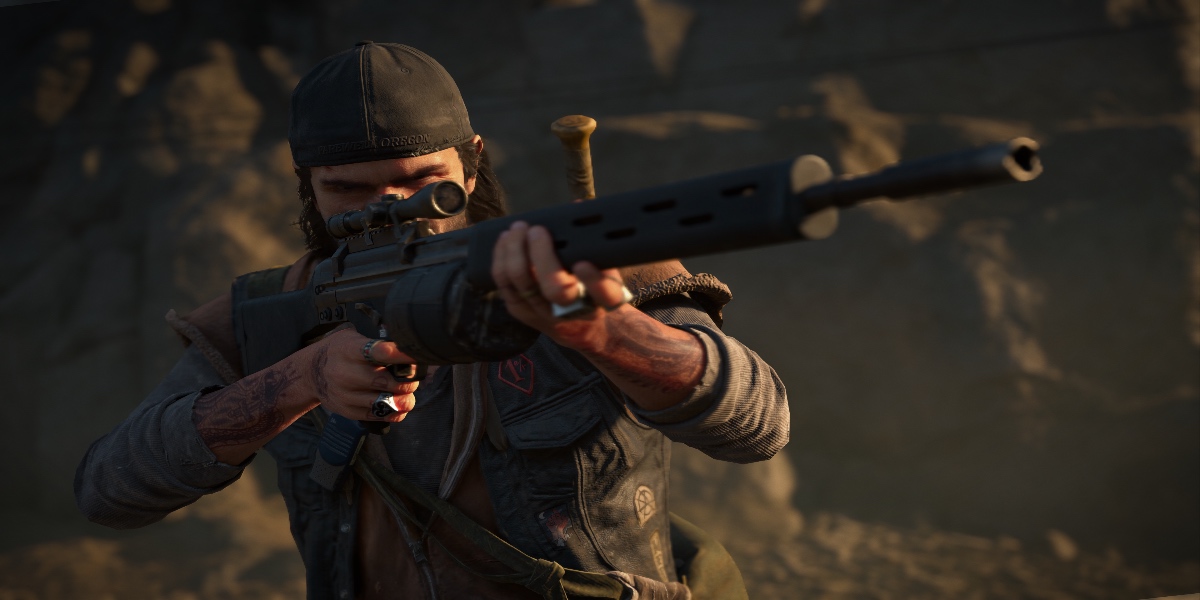
What good is a weapon going to be, if your aiming is off the chart?
The impact of how quickly the aiming retinal is moved with the gun aim is highly crucial, as moving off mark would result in botched shots and many deaths with restarts.
Here we tell you the best settings to avoid such fatality!

Do you think Deacon is Gonna deal a headshot? I hope so!
1. Camera Sensitivity
The problem:
Camera is what makes the players look and aim with a gun in days gone. The sensitivity at the default points of 5 makes it harder and requires more precision in moving the Right analog stick to aim a freaker or an NPC at camps.
Its problematic when you’re at a stealth mission to take out NPC’s faster or when you’re chasing down a faster enemy in days gone, example: a Reacher.
How this setting solves the problem:
If you decrease the camera sensitivity points lower than the default 5, it will make the gun or bow have more precise control for the player using it, as you can now have better hand eye coordination with the right stick’s precise movement reflecting on the screen with the weapon.
How to apply setting:
Hitting the options button on your dualshock controller will bring up a menu to select “Options” at the options screen, you can see camera sensitivity with “on foot” and “on bike” tabs. When highlighted, use left analog stick to increase or decrease the sensitivity points.
The working video example of Camera Sensitivity Setting enabled
2. Aim Sensitivity
The problem:
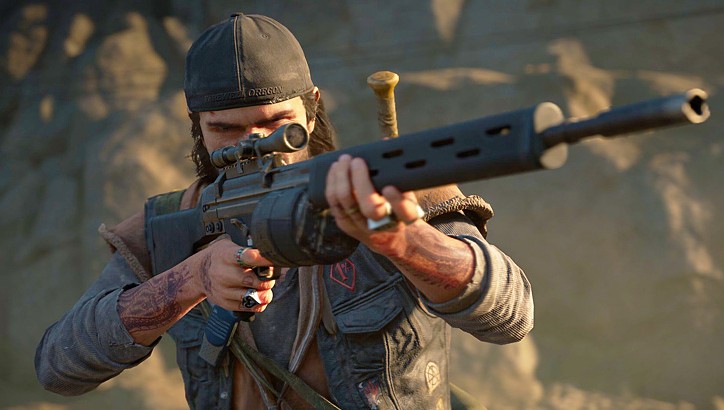
Aiming is pretty important in a shooter game like Days Gone, and the game has bit of an issue when it comes to aiming perfectly for headshot seekers.
The problem with the default 2 points for aim sensitivity, makes it harder to perfectly aim while looking with the default camera motion. The 2 points would make Deacon have a longer time to aim the weapon, to match the reticle, if you’re wanting to take precise shots on the go, like sprinting.
How this setting solves the problem:
Increasing the aim sensitivity from default 2 points to 6, makes a smooth motion of the gun/bow to the reticle and is matched with the camera view. This setting helps players to react faster with a natural weapon reticle and camera coordination and maintain the immersion.
How to apply setting:
You can hit the options button on your dualshock controller, which brings up a menu to select “Options” at the options screen, you can see aim sensitivity with “on foot” tab. When highlighted, use left analog stick to increase or decrease the sensitivity points.
See in action for how Aim sensitivity is effective for Deacon
3. Aim Snap
The problem:
For players who are new to the genre of shooters and just wanted to get into Days Gone, it’s pretty difficult at first to aim from one enemy to another in a situation, where you need to aim faster.
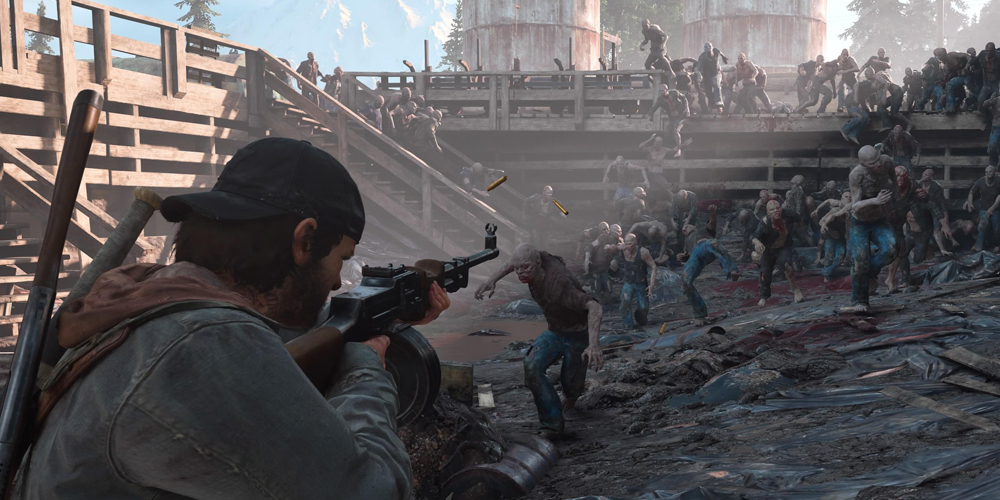
Especially when it’s a horde and you’re only left with a few freaks to kill, new players’ panic to aim from one of the enemies to another makes them die and restart all the horde progress… Yikes!
How this setting solves the problem:
Aim Snap setting makes the players to switch aim from one enemy to other quickly and automatically, this solves the issue for new players and comes in handy for players who can rely on the setting to auto aim in a hurry state.
How to apply setting:
The Aim Snap feature can be activated by selecting the Easy Difficulty in the game, which will make enemies easier to take down and progress faster.
See here how Deacon Snaps a Freaker with this setting
4. Aim Stickiness
The problem:
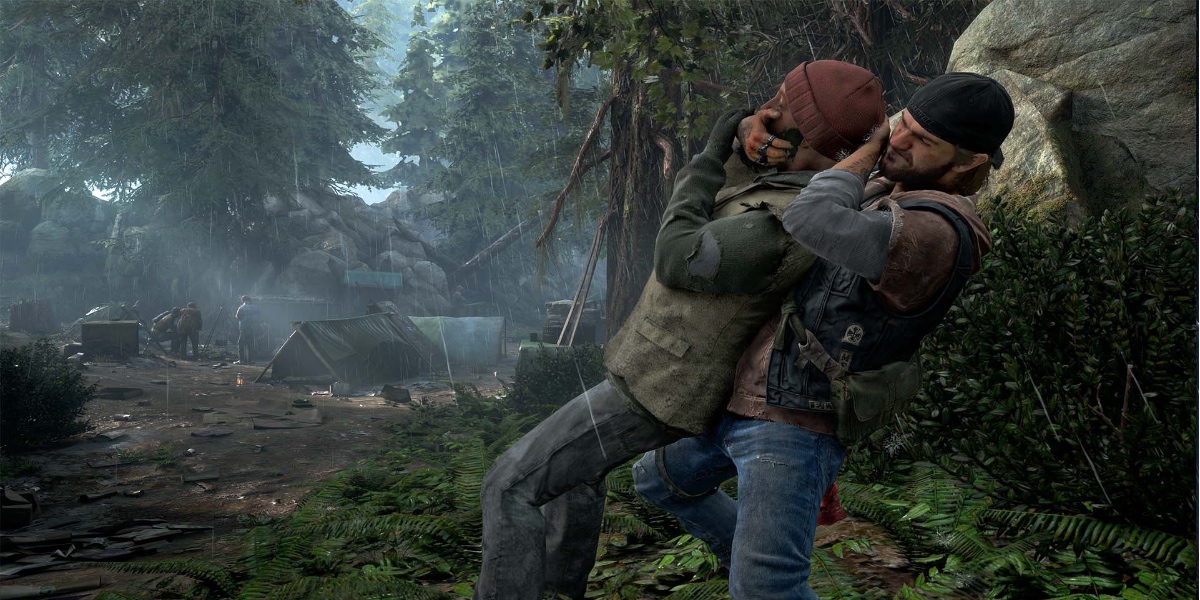
When you’re on a stealth mission and would like to take on marauders camps without alerting the other camp members, its crucial to not miss while the NPC is patrolling. And for new players, it might be surely an issue.
How this setting solves the problem:
If you don’t want to restart the mission just because you alerted everyone at a marauders camp by missing the shot when the NPC moved, then you’ll need this setting on. As it will help in auto aiming during the NPC movement.
Note that auto aiming would follow a patrolling NPC for only a few seconds.
How to apply setting:
You can find the aim stickiness setting by going to the options screen by pressing “options” on dualshock controller. On options screen, navigate to “gameplay” option screen using L1/R1 keys on the controller.
Check this for sticking your aim at an enemy
You may also be interested in:
[Top 5] Days Gone Best Sidearms and How To Get Them
Days Gone Attribute Guide- Best Days Gone Attribute to Get First
[Top 5] Days Gone Best Bike Upgrades


