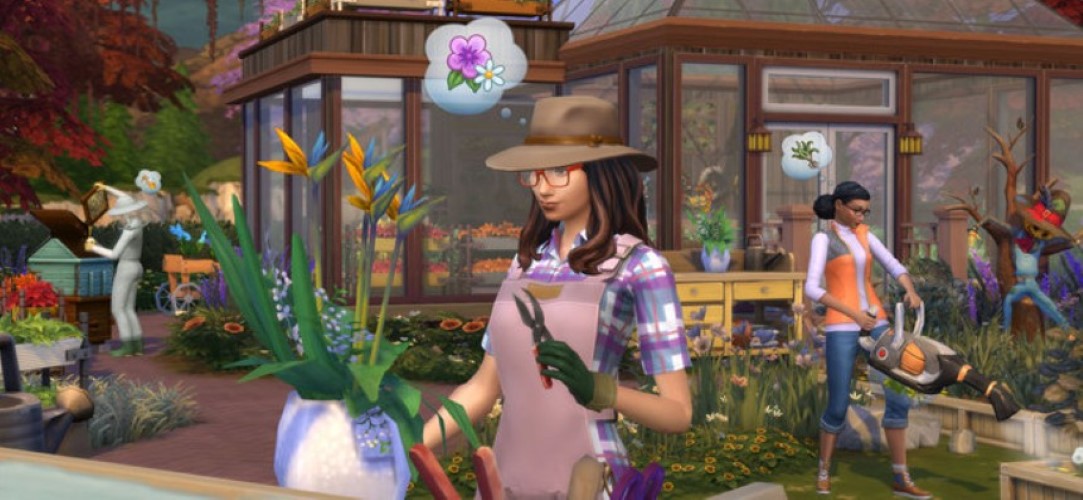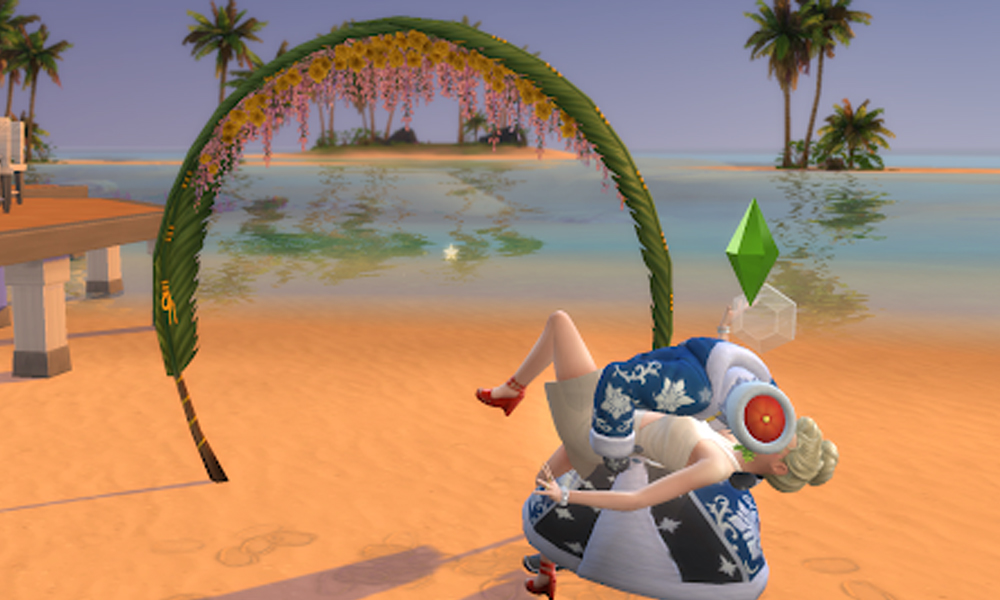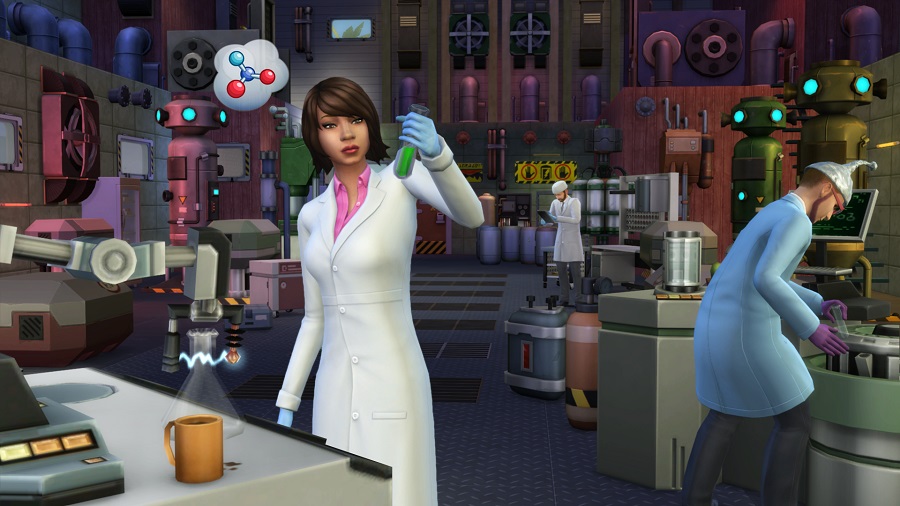
The Sims franchise has always been a fun game for those who adore the life simulation genre, and with the Sims 4, superior graphics are offered to further enhance your gameplay. The game has always had a way to alter graphics settings, but in the prior entries to the franchise, they were either extremely sparse or immensely complicated.
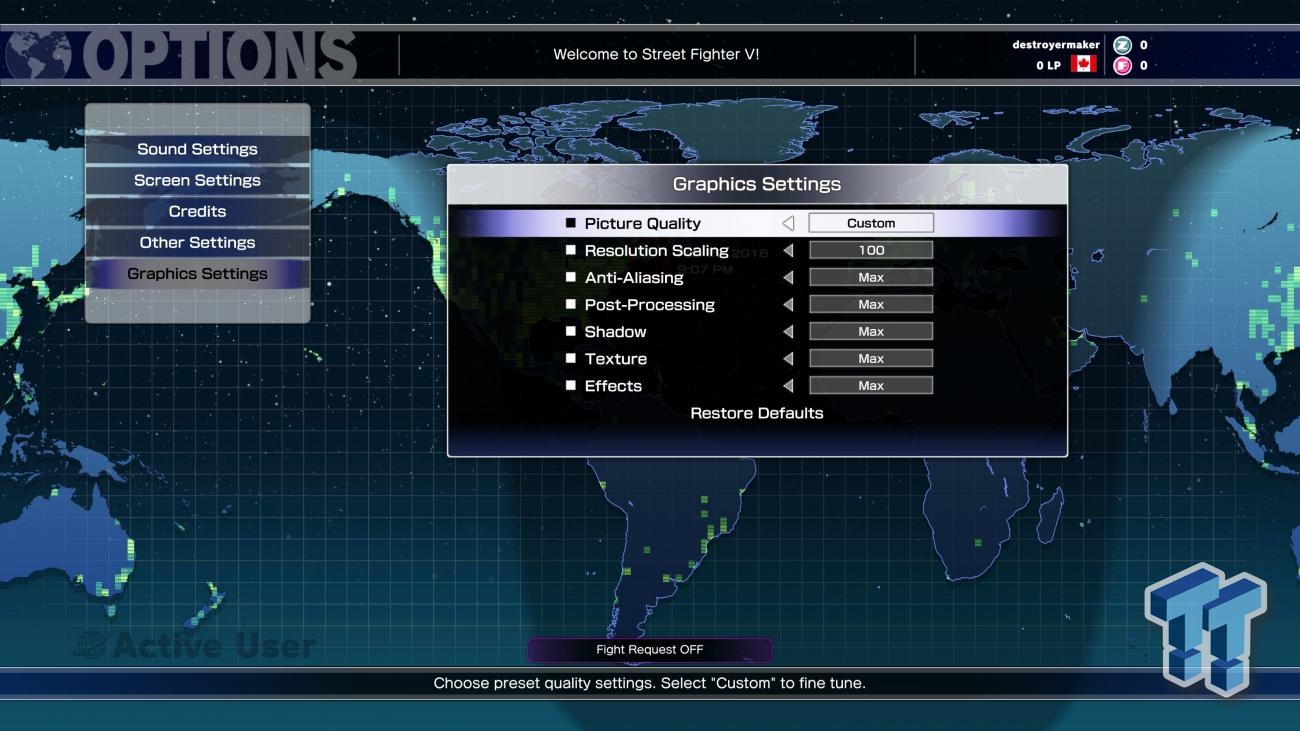
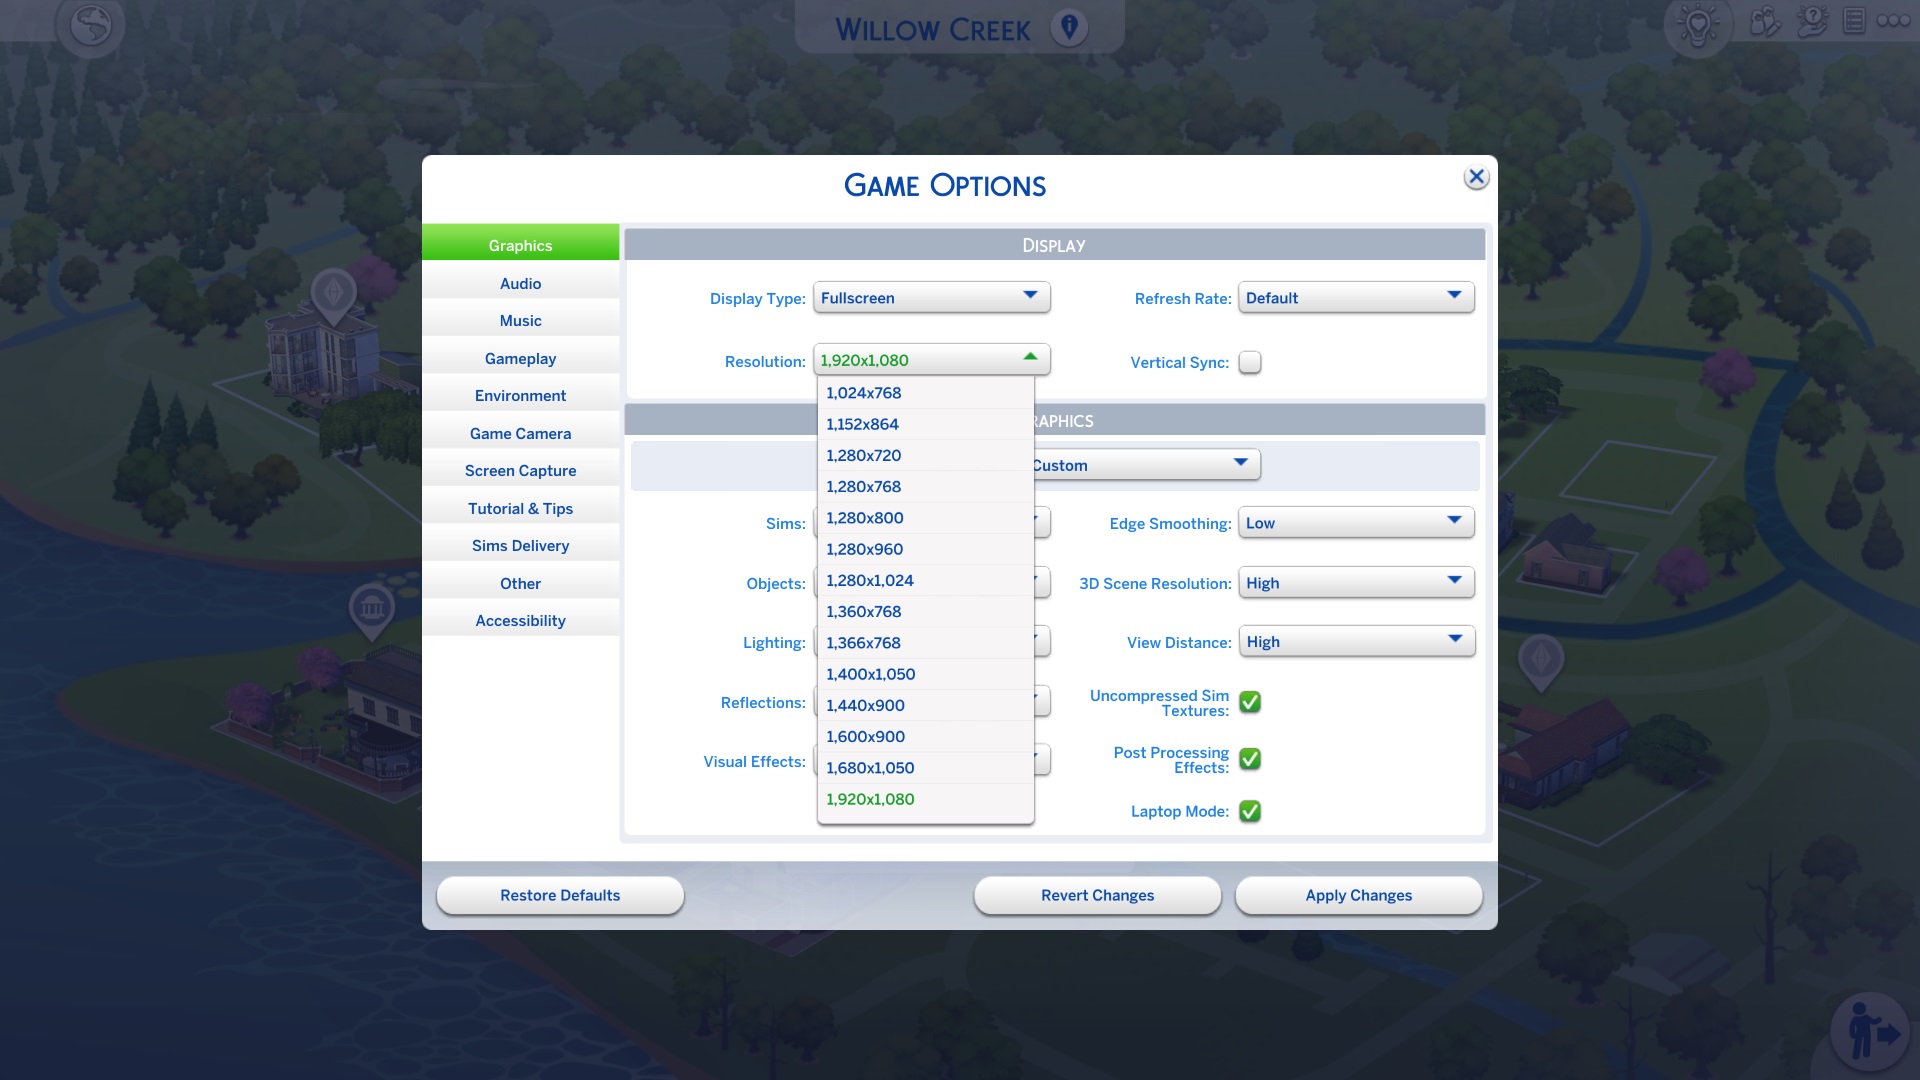
The Sims 4 Graphics menu is simple and covers everything in the game, most of the time allowing you to adjust graphics with the simple click of a button. In this article, we will review every graphics setting offered from the menu, along with what the feature changes in your game.
12. Sims Quality

Gives the ability to adjust quality of Sims.
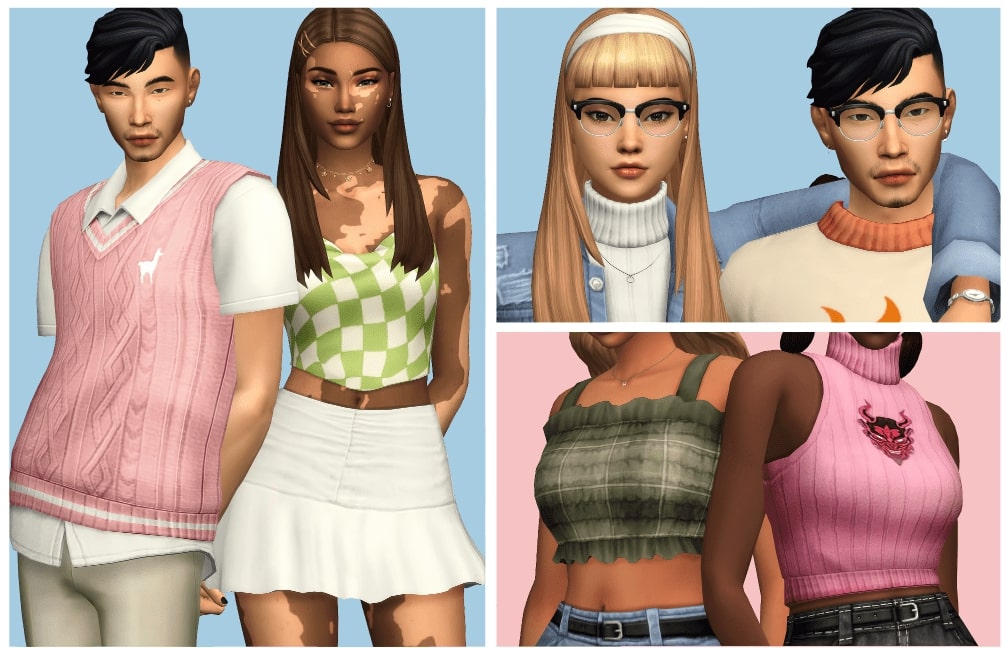
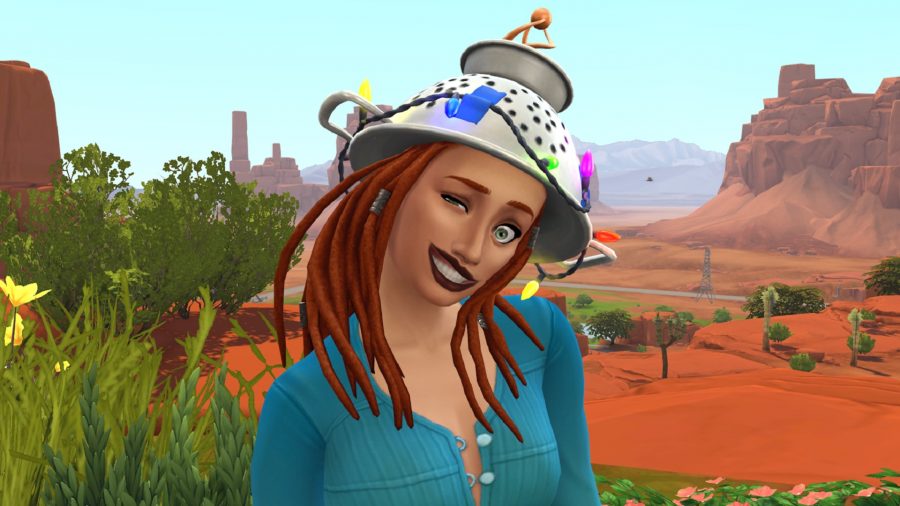
Like several other objects in the Sims 4, the quality of Sims can be adjusted to fit your gaming needs. Sims can be set from a quality level of low to very high, allowing your Sims to appear as either dull and blocky or 3D and colorful.
Playing on a higher setting level may cause issues for your device if it doesn’t have the proper system requirements, so make sure to do your research before putting any settings on a higher level.
How to Edit Sims Quality:
- Go to the Settings. In the graphics menu, click the drop down box and choose a quality that is fitting for your game.
11. Object Quality

Adjust the quality of in-game objects.
In-game objects can also be changed in quality to adapt to unique gaming experiences.
Setting object quality at medium or high is recommended for the best experience, as it allows you to experience the game completely.
How to Edit Object Quality:
- Go to the Settings. In the graphics menu, click the drop down box and choose a quality that is fitting for your game.
10. Lighting Quality
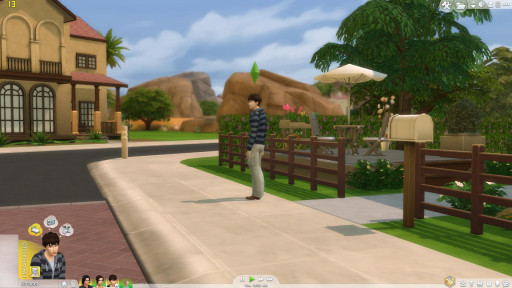
Adjust the quality of the lighting.
Lighting in the Sims 4 is another important aspect since most areas rely on the light to show off the beauty of each area.
Having a high lighting quality will definitely affect the performance of your game if you are on a slower system, but keeping this setting either high or very high is essential to an atmospheric gameplay.
How to Edit Lighting Quality:
- Go to the Settings. In the graphics menu, click the drop down box and choose a quality that is fitting for your game.
9. Reflections Quality

Adjust the quality of reflections.
If it is important for your Sims to look in the mirror, it is good to keep this setting high. Keeping this setting low will make the mirrors in the game appear one sided, or may give your sim a pixelated reflection.
Keeping this setting high will also allow you to see reflections in water and pools alike. Keep this setting high if your Sim will spend hours in the mirror or has plenty of them in their home.
How to Edit Reflections Quality:
- Go to the Settings. In the graphics menu, click the drop down box and choose a quality that is fitting for your game.
8. Visual Effects Quality

Adjust the performance of visual effects.
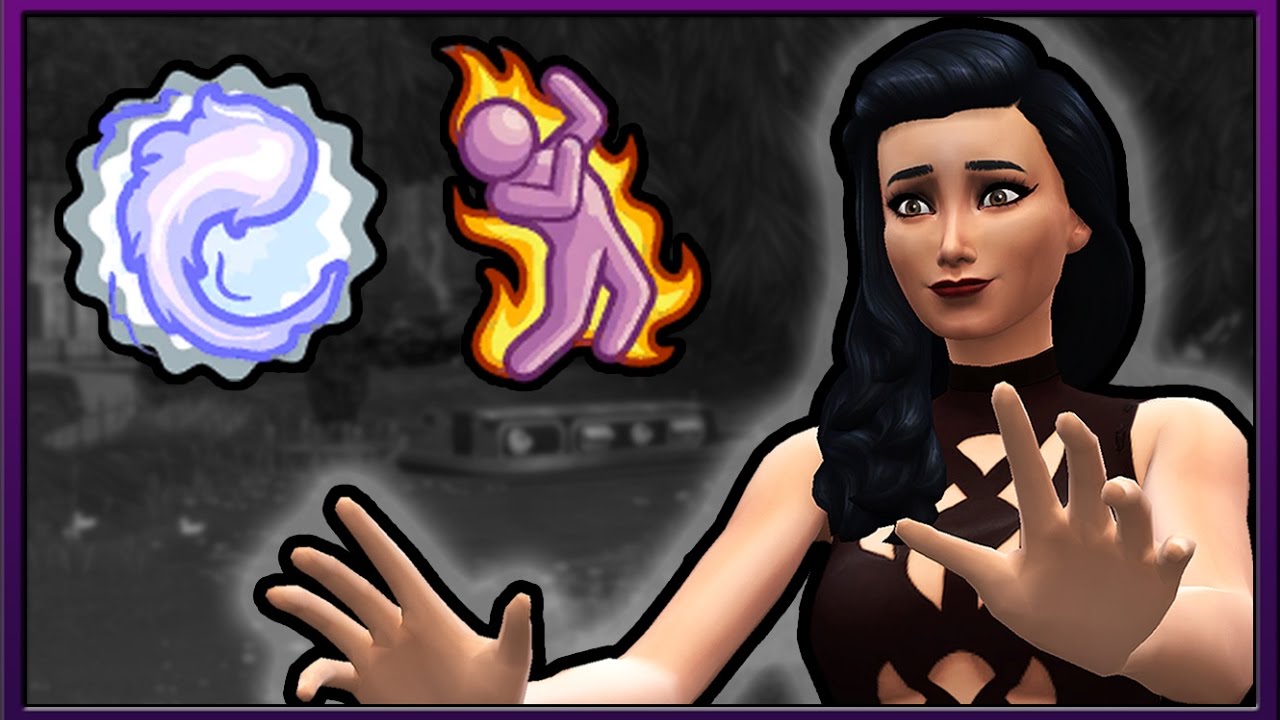
The visual effects of the game are those that make The Sims 4 close to cinematic, from Sims spitting fire after eating spicy food or seeing a vampire run across your screen.
With these settings lowered, the cinematic experience is minimalized. I recommend keeping this graphics setting high to be able to enjoy all of the details of the game.
How to Edit Visual Effects Quality:
- Go to the Settings. In the graphics menu, click the drop down box and choose a quality that is fitting for your game.
7. Edge Smoothing
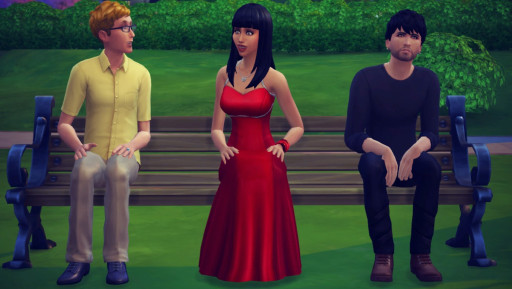
Make objects in the game appear more or less smooth.
Edge smoothing gives the game a higher overall quality by smoothing the rough edges of objects to make them appear less pixelated.
This setting is useful and essential for those who use The Sims 4 as a storytelling tool or want a smooth gameplay.
How to Edit Edge Smoothing:
- Go to the Settings. In the graphics menu, click the drop down box and choose a quality that is fitting for your game.
6. 3D Scene Resolution
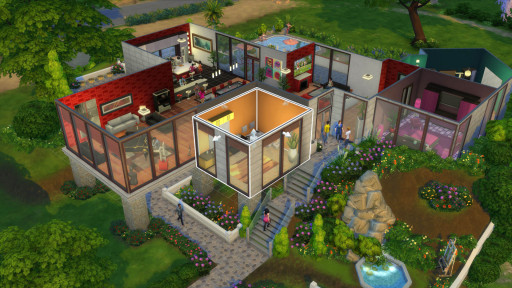
Adjust the 3D aspect of the game to your liking.
This setting is one that makes objects appear more or less 3-dimensional.
It would be wise to keep this setting on medium or high since you will always want the full effect out of your game while playing.
How to Edit 3D Scene Resolution:
- Go to the Settings. In the graphics menu, click the drop down box and choose a quality that is fitting for your game.
5. View Distance
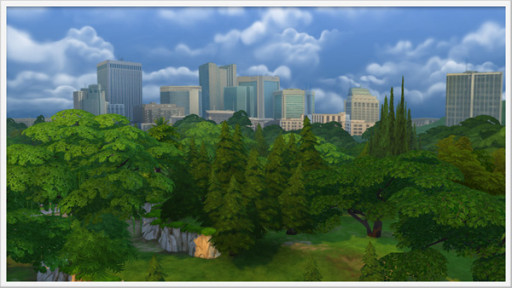
Enable far or low view distance.
The View Distance determines how far out you can see into the world from your current lot. For more of an open world vibe, keep this setting on high.
If you keep this setting on low, the world around your Sims will always look foggy.
How to Edit View Distance:
- Go to the Settings. In the graphics menu, click the drop down box and choose a quality that is fitting for your game.
4. Uncompressed Sim Textures
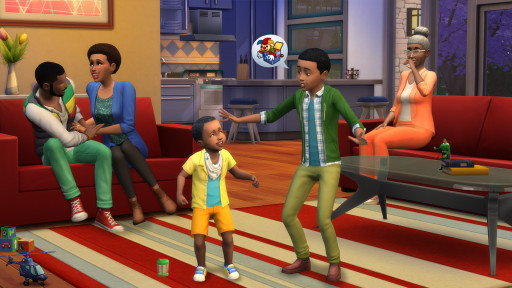
Allow sims to appear more smooth and natural rather than pixelated.
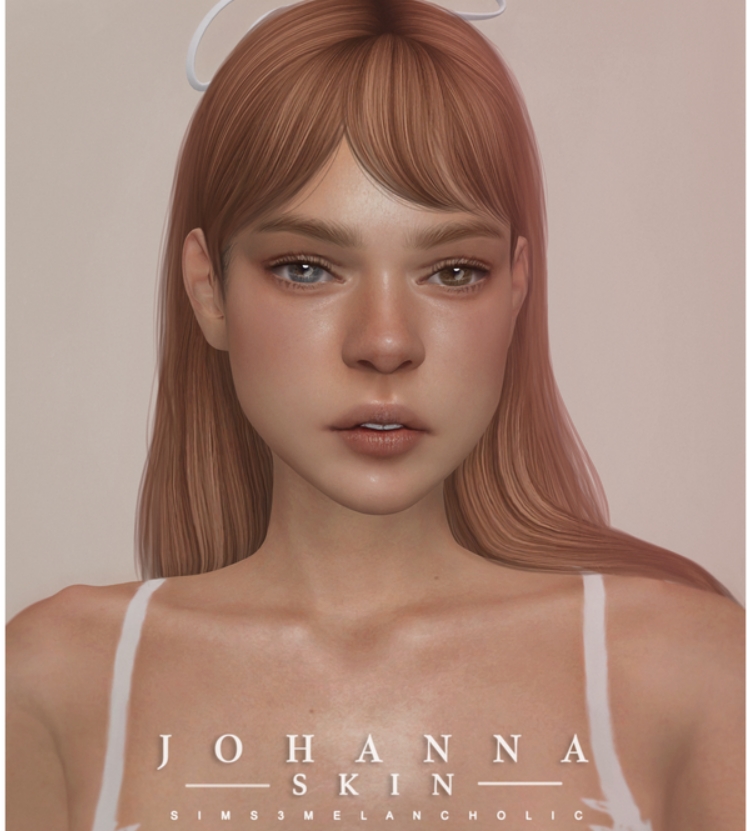
This setting must be high for those who want their Sims to appear as flawlessly beautiful. Uncompressed Sim textures allow your Sims to look as if they are smooth and naturally part of the game, but this setting will make your game lag if you don't have an outstanding PC system.
This setting is fun to use, but does require more VRAM space than compressed textures do.
How to Edit Uncompressed Sim Textures:
- Go to the Settings. In the graphics menu, check or uncheck the box next to Uncompressed Sim Textures.
3. Post Processing Effects

Brings together small details of the game.
Post Processing Effects add many small details to the game that bring it together.
Turning this setting on will make the lighting look better, will help the environment be captured as the developers created it, and will add every small effect to your game that you were unable to notice before.
How to Edit Post Processing Effects:
- Go to the Settings. In the graphics menu, check or uncheck the box next to Post Processing Effects.
2. Display Type

Allows players to play in windowed or fullscreen mode.
The Display type determines how you will play, windowed, windowed fullscreen, or fullscreen. This changes the size of The Sims 4’s gaming window and allows you to play on a smaller window if desired.
Windowed fullscreen is the best setting since it offers versatility, allowing you to change between tabs if needed.
How to Edit Display Type:
- Go to the Settings. In the graphics menu, click the drop down box and choose a quality that is fitting for your game.
1. Graphics Quality
Edit all of the graphics settings at once.
Editing the overall graphics quality will change every setting on the graphics board without the user having to fine tune them.
This option is for users who do not want to bother the graphics settings too much or know what their system is capable of, making it an amazing overall graphics tool.
How to Edit Overall Graphics Quality:
- Go to the Settings. In the graphics menu, click the drop down box and choose a quality that is fitting for your game.


