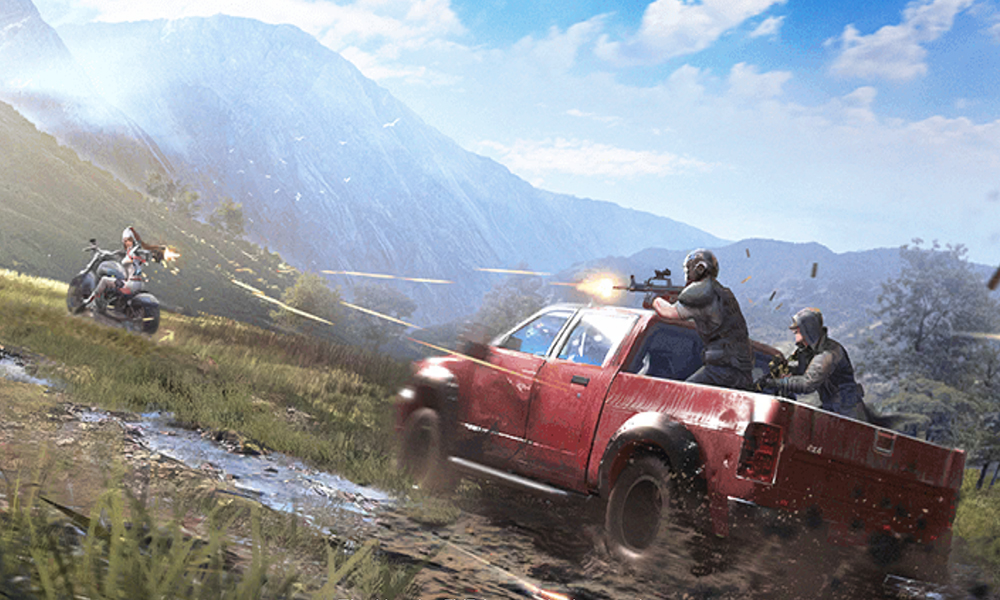
Settings You Need in Your Game
Knives Out is a game that has a lot of settings that can help you customize your game and controls to make it suit your personal style. From graphics to battle settings, it may be overwhelming to see all those different setups. But fear not, we are here to provide you with our top 25 Knives Out Best Settings That Give You an Advantage!
25. Button Placements
Many FPS players have their own button layout that they are very comfortable with, having these same layouts in a similar game makes it easier to transit from one game to another. You can choose where you would like to place your buttons on the screen by going to the Battle Screen Customization settings. Which will enable you to drag your buttons to the desired location for easy excess and comfortable gameplay.
24. Button sizes
Make sure that each button’s size matches the device you are playing with. For example, while an iPad may require a bigger tap button to hit easily, a mobile phone would require you to have a smaller button so as to not accidentally hit other buttons when you are firing your guns.
23. Button Opacity
Having your view blocked by buttons would mean a lot of blind spots from which your opponents can shoot you, reducing the opacity of your buttons would make it easier for you to get a clearer view of the battlefield. You can change each of the opacity to your liking but it is recommended to have your buttons opacity not more than 50%.
22. Graphic setting
While it is fun to play with full HD on all graphics, this would only usually cause your device to overheat and increase power consumption. With a reduced graphic quality, you can reduce your MS, thus making you able to kill off your enemies in quick succession.
21. Meds Settings
While your HP is rapidly draining, it is hard to select the right meds to heal you up. Using the Meds setting, you can have the button choose the right types of meds according to your hp bar, making it easy to choose the right one to heal you right up with just a click of a button.
20. Auto-pickup
Picking up weapons, attachments, and meds manual is a troublesome and somewhat time consuming but important task. You can speed up this process by enabling the Auto-pickup setting, allowing you to auto-pickup supplies when you walk or sprint past the items. Make sure you also enable the Auto-pickup When Unarmed function, making it quicker for you to shoot your enemies especially if you both land at the same spot. Make sure to enable the auto-pickup for both the better gears and available attachments so that it will automatically pick up what you need based on what you have equipped.
19. Ammo pickup limit
It is important to make sure you have enough ammo when you are on a killing spree. The ammo pickup setting will allow you to collect enough ammo for whichever gun you are currently using. While you may need more SMG ammo to kill. Having hundreds of Sniper Rifle Ammo is just a useless weight in your bag. With rapid firing guns like SMG and assault rifles, having 100-150 ammo at ready is always best, however for sniper rifles, 30 ammo is just right, since most people use shotguns only in early battles, having a 20 shotgun shell limit is more than enough. This setting allows you to carry more items you need for your survival and victory.
18. Meds pickup limit
Same with ammo, you do not want to run out of meds while you are in battle or running to the safe zone. But having too many meds means you will not have enough space for ammo and bombs. A good inventory would have around 5 bandages, 3 Sports Drinks, 3 First Aid Kits, and a Med Kit. You can easily do this by setting the meds pickup limit to the desired amount and the game will only collect that exact amount automatically. Giving you enough space for everything else you may need for your battle.
17. Camera Sensitivity
While it sounds great to have high sensitivity while playing a game, but having too much sensitivity actually makes it harder for you to shoot your target as it is easy to accidentally move your camera. A good thing to remember is the higher your scope the lower the sensitivity percentage you need to have. While it is recommended to have 80% sensitivity when you have no scope, reducing the sensitivity for the 15x scope to 60% makes it more stable for you to shoot long distances.
16. Left-hand Fire Movement Sensitivity
While you may think that having the same for both fire moment sensitivity is the best. For the left-handed fire movement sensitivity, it is best to have it as low as you can. This stabilizes the camera and makes you hit more accurately especially when you use scopes.
15. Auto-Open Doors
While on the field, you may have noticed that you need to open doors manually. This is especially deadly when you are trying to take cover. Luckily there is a setting that lets you automatically open doors just by sprinting toward them. Giving you that crucial extra time to take cover when under fire.
14. Quick Label
Communication with teammates is the key to success. With the Quick label option, you can inform your teammates where you saw an enemy just with a single tap. Making your team more alert and efficiently kill off the enemies.
13. Hit automatic Tag
Sometimes you hit an enemy and want to quickly inform your teammate without having to go through the quick label button, this setting automatically marks your enemy as soon as you hit them. It also informs your teammates when your bullets hit an enemy vehicle, enabling you to work together to bring down the enemies at a moment’s notice. The mark will disappear as soon as the target is down so it also provides additional information if you need confirmation that the enemy is down.
12. Quick phrases
The quick phrases are useful when communicating with your teammates. Especially in random co-ops where you don’t speak the same languages. Using those pre-entered phrases lets you communicate what you need efficiently. Good phrases to keep includes but not limited to “I need ammo”, “I need scope”, “I need med”, “where to now” and also the occasional “Accidental Fire”
11. Show distance from the marker
Enabling this allows you to know how far your target is from your location. This allows you to choose the correct weapon to shoot as well as know how far to run when collecting those sweet loots.
10. Quick use of Items
There are times when you need to bomb someone but by the time u manual take out your grenades, they are gone. Enabling the Quick us of Item option allows you to use those bombs or items like fuel, easily just by holding onto the item’s icon. Allowing you to quickly blow up your victims.
9. Scope recovers after leaving the wall
Don’t you hate it when you are scoping but the scope goes off when you accidentally move too close to the wall? Instead of having to go through the trouble of rescoping, just enable this setting to automatically rescope when you leave the cover! Letting you have that few seconds needed to get a headshot before your enemies hides behind their own cover.
8. Lean mode
While you are scoping behind the wall, enabling this option lets you lean out only your head to shoot your target while still making a smaller target of yourself. Making it harder for your enemies to shoot you.
7. Lean Logic
There are three types of lean logic you can choose to enable. The easiest one to master is the “Tap to lean, tap to gain to cancel” option. As the name says, all you have to do is tap to lean and when you are down shooting just tap again to stop leaning. Unlike the other two types, this one also takes less time. Allowing you to lean in and out to avoid getting hit.
6. Movement sensitivity
This is one sensitivity that is best as high as possible. This makes your sliding distance shorter and makes it easier for you to switch from walking to sprinting. Moving this fast also allows you to dodge making you a harder target to hit, and giving you a higher chance of survivability.
5. Wall-vault action trigger
For this setting, it is recommended to use the Single-press Jump setting instead of the double press Jump. While you are trying to get cover behind a wall, those few seconds needed to get the second tap may be all that the enemy needs to get a shot at you.
4. Sprint trigger mode
You will always need to get to sprinting mode fast, especially when you are running to the safe zone. So, for this setting, “Quick Drag” is better than “Continuous Drag”. With Quick Drag you don’t need to keep holding down the slider but can just slide it up high and let go, enabling you to sprint even while checking your inventory!
3. Vehicle Operation
While driving, there are 3 choices you can use to control your vehicle. Tap button, slider or joystick, while the joystick looks easy, it is harder to control compared to the tap button. The tap button allows you to accurately move while also using the “eye” button to look around for enemies. This option also makes reversing and turning more easier for you. Letting you make road kills out of your enemies.
2. Advance feedback
Having to glance at the map every so often to look for enemy footsteps can sometimes be a drag. This setting enabled you to see the foot in the middle of your screen! While it takes a bit of getting used to, this setting lets you visually see the location of enemies quickly and even those faded footsteps on the map are clearly on screen for you. Making sure you never miss knowing where your enemies are and are able to strike first!
1. Assisted Aiming Feature
This is undeniably a lifesaver, this option allows you to guide your aim to the enemies, making headshots a lot easier to achieve as well as enabling you to follow your enemies’ movements. Make sure to enable this function to achieve more kills in your game!


