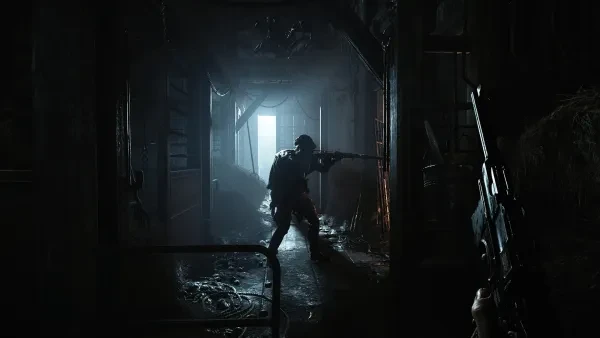
[Top 25] Hunt: Showdown Best Settings That Give You An Advantage
If you're having trouble running Hunt: Showdown smoothly, looking for a boost in performance, or just trying to find little things that might give you a slight edge. These are 25 settings you can change to help give you a boost to performance and perhaps even a slight advantage in certain situations.
25. Turn Off Motion Blur
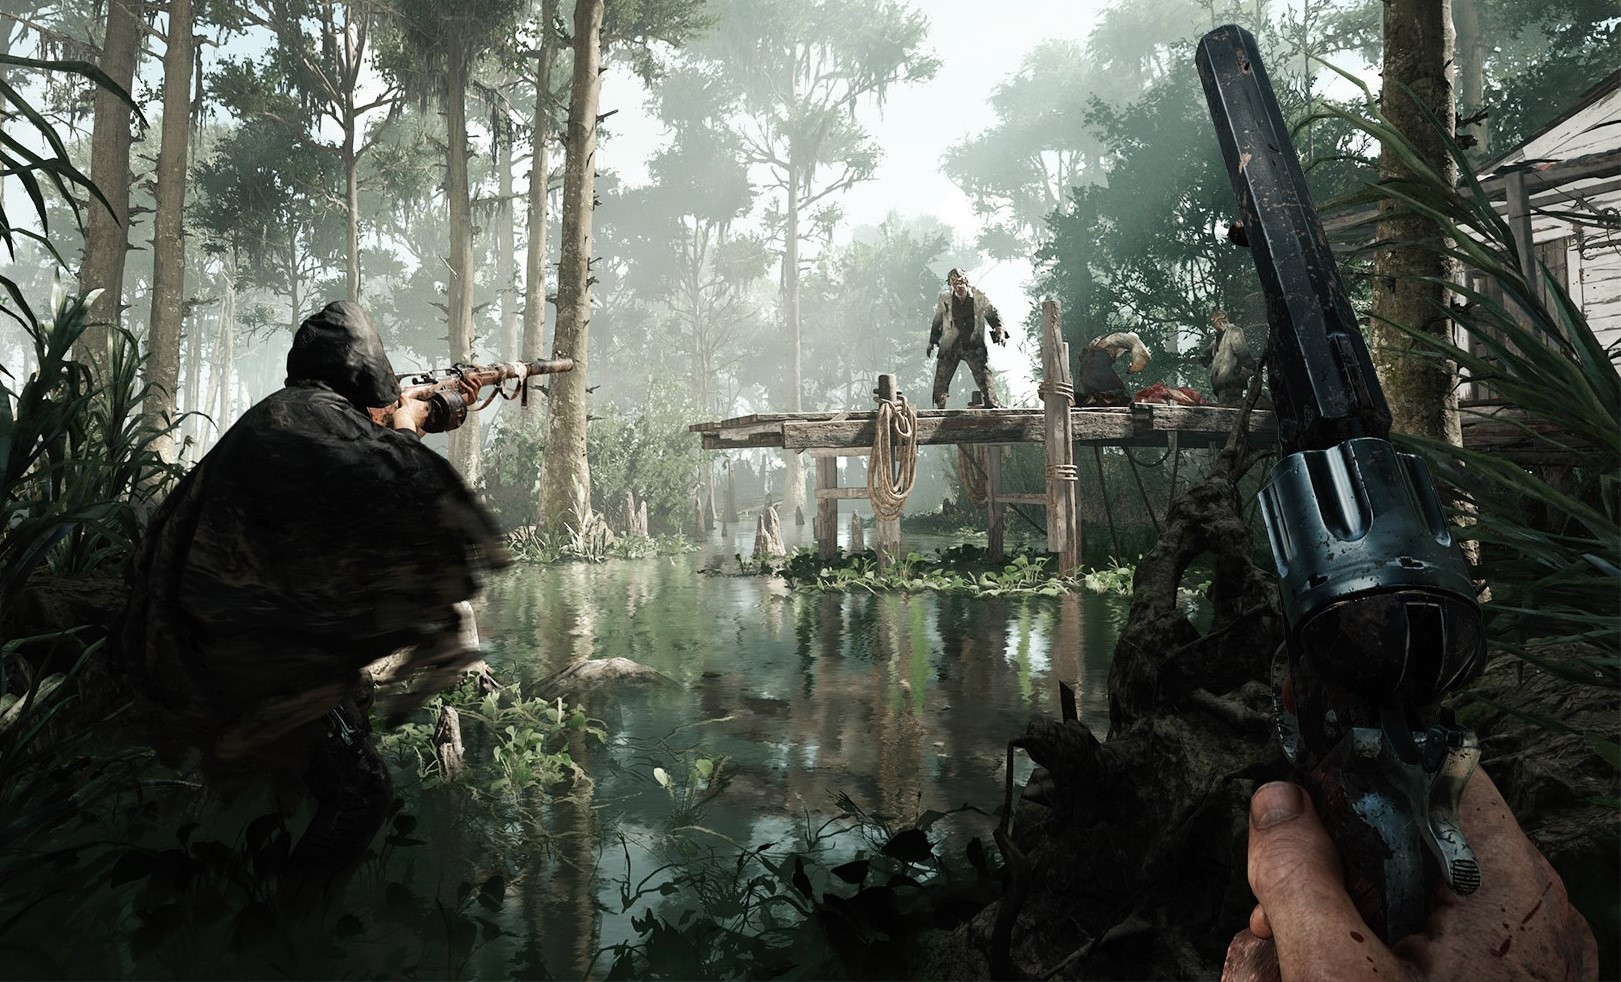
Any hunter of the bayou knows that a heart-pounding, fast-paced shootout can erupt at any second in Hunt: Showdown. So naturally, the last thing you want is your vision blurred when making quick movements to locate an enemy hunter or that grunt whose hand you just stepped on. Whatever the case, motion blur is one to avoid. To disable motion blur, go to settings and then click the graphics tab. Scroll down until you see motion blur and turn it off. Voila. A clearer vision so you can land that shot before your enemy!
24. Turn Off V-Sync
VSync, or vertical sync, synchronizes the frame rate of a game with your monitor’s refresh rate.
VSync only helps with screen tearing, and it only really does that by limiting FPS when necessary. By forcing frames to be entirely rendered before being displayed, your FPS can suffer, and at best, your frame rate is limited to the refresh rate of your display. It has a tendency to add input lag, for example, you press a button and the reaction won’t be instant on your screen. V-Sync can lead to input lag, choppiness, and straight-up skipping frames just to keep up. This is something that is going to affect your gameplay, especially in a competitive, fast-paced game like Hunt.
To turn this off, go to settings, click the graphics tab, and go down to the bottom where you will find V-Sync.
23. Check Your PC’s Audio Setting
To check your system’s audio settings, go to system and click on sound. Under your headphones, click manage device properties and then click the additional properties after that. Go to the advanced tab and here, you can make sure you’re getting the most out of your headphones. Mine was set at default until I cranked them up to 2 channel, 32 bit, 192000 Hz (studio quality).
22. Change Highlight Interactable Objects
Found in the HUD settings in Hunt, scroll to the bottom until you see Highlight Interactable Objects. You’ll want to change it to Exclude Doors and Windows. The reason being that the glow around the doors and windows obstruct your view, giving the enemy an advantage if peeking inside.
21. ALWAYS use the Hunter Control Scheme
This one is big for me. Only because I learned to play the right way. Yeah, I said it! For those that don’t know, there are two control schemes. Hunter, which makes you pull up your weapon and then aim down sights or Gunslinger, where you will be locked in to always having your gun up rather than being able to lower it and not have it obstructing your view constantly. Not only is Hunter more fluid, better for melee, and the correct way to play this game, Gunslinger will leave you always with your gun sticking out, making it easy to see you hiding behind that tree or peeking out a window.
20. Field of View
This one might be more of a preference for people out there. Basically, the higher the FoV the wider your vision gets. A lower FoV will give you less width in your vision but it will also make it easier to identify objects in the distance. With a higher FoV, you will have a wider view of your surroundings but makes it more difficult to identify and see objects farther away. Personally, I never go above 100. It might depend on your playstyle, so this is something you might need to test out for yourself and see which best suits your style.
19. Resolution
You will want to make sure your resolution is set to your monitor’s native resolution. This allows you to see as clearly as possible. Which, as any Hunt player knows, this is incredibly important. As the smallest detail can give away an enemy’s position. To do this, click on settings and then click the graphics tab. Resolution will be at the very top. This is where you can check or change your resolution to match it to your monitor.
18. Window Mode
You’ll always want to keep this setting on Fullscreen, as it allows for the most immersion when playing Hunt. The last thing you want is to get distracted by something else on your screen. It also doesn’t seem very immersive being able to see your window bar at the bottom. And this game is all about immersion. You need to stay focused and alert at all times when playing Hunt. To change this setting, go to settings, graphics tab, and it will be right below the Resolution.
17. Disable Depth of Field
Sure, it helps with realism. But who wants their peripherals blurred when this game is all about subtle movements and sounds? Turning off this effect not only greatly improves performance, but it also makes things look much better. I’m never a fan of blurring in games just for the expense of realism, so this is an easy one to give a big, Michael Scott “Nooooooooooooooooooooooooooo” to. Go to Settings, graphics tab, and scroll down to the bottom. Depth of Field is right by its awful cousin, Motion Blur, both of which should be disabled and banished to the gallows for eternity.
16. Auto Hide Basically Everything
Just like the cowbell, you’re gonna want that immersion! Also, it’s nice to have your full view and not have a screen full of clutter all the time. I recommend having auto-hide on for the chatbox, equipment display, and the health and stamina bars. The only one you don’t want to auto-hide is your ammo. Unless you're Dirty Harry and have a knack for counting bullets. And in that case, you do you, my friend.
15. GET THAT VOLUME UP
This one is pretty obvious, right? In a game like Hunt where sound is vital to being successful, and staying alive, you’re gonna want all the volume you can get. The faintest sound can give away a hunter’s position, so turn that volume up to 100. Some will say “The game is too loud” at max volume, but I have to disagree. Have you ever stood next to an elephant rifle without earbuds in? Yeah, neither have I but, I assume it’d be pretty loud.
14. Max FPS
This one might depend on your computer hardware, but I think having no FPS cap is the best way to go if your computer can handle it. This will allow your computer to work its magic and not have a cap on how many frames-per-second it can generate. To change or check this setting, go to settings, graphics tab, and then scroll down to find Max FPS. Here, you can choose the one that best suits you. Personally, I go with >9000, which is the max. And if you haven’t disabled V-Sync for some reason, this setting will not be available to you.
13. Key Bindings
Ever wanted to jump over a small fence rather than use the vault animation? In default settings, jump/vault both share the same button but, you can actually separate the two for more concise movements. There are many other keys you can change and add to your board or mouse. I, personally, like having my ping on my mouse, as well as different vault and jump animations. This is something that can definitely give you an advantage in certain situations. To check this, head to key customization and change them to your liking. Play around with them and see what works best for you.
12. HUD Opacity
For some, the full opacity might be too much. You can play around with this setting if you’ve ever wanted your HUD to be less intrusive. Some might like having a lower opacity but, I personally like to keep mine at the default 100. To change this, go to settings and there, you can find the opacity for everything.
11. Toggle/Hold
I have my toggle/hold set to toggle crouch, hold sprint, and toggle aim down sight. You might have a different preference than I do, and that’s great! This is all about what fits you best. Whatever feels comfortable to you might give you an advantage. A lot of people will have different settings, I like my crouch to toggle because that’s how I roll. Having sprint and aim down sights as toggle allows me to quickly change between the two and not have to press the button a second time. Again, this is all up to you and what feels best for you.
10. Increase Monitor Brightness
While this isn’t something I do, you can increase your monitor’s brightness to help you out in night games. I think this is kind of cheating but, hey, if it gets people playing night games, then so be it. Hunt doesn’t allow you to change the brightness in the game settings. I wonder why? That’s sarcasm, folks. There are certain players who even refuse to play night games. Which is baffling and makes me angry. (Why did you buy this game!?) One of the main reasons I bought this game was how amazing and unique the night games looked. Sure, they’re a lot harder than playing a day map. Hunt: Showdown isn’t a game for people who want an “easy” game. This game will probably make you hate your life and re-evaluate your decision on becoming so addicted to a game that makes you hate yourself but you just can’t stop playing. So, if night games are just “too dark for you” or maybe you’re one of the people who have a monitor that just can’t do night games justice, then tweak your monitor brightness and give night games a chance! People like me will thank you for not leaving right at the beginning of a night map.
9. Always Have Your Drivers Up To Date
If you have NVIDIA like myself, it’s very easy to keep your drivers up to date. This will definitely ensure Hunt is running smoothly and the way it should. You can almost tell when a new driver comes out, as your game will have trouble keeping up and graphics might fail until you update. I also use Advanced SystemCare which will clean your pc and has many other cool features, such as being able to find which drivers need to be updated. It makes it easy and convenient to keep everything up to date.
8. Disable Hint Banners
Unless you’re new to the game, there’s really no need to have them popping up and annoying you in the game. This setting can be found in settings under the game tab. Scroll down to the bottom and turn them off. Get out of here hints, I don’t need you anymore.
7. Sensitivities
Anyone who plays Hunt knows how important finding the right sensitivity is. This is something you’ll have to play around with until you find that sweet spot. I’d say you want something fast enough to be able to make 180s without more than a subtle move of your wrist or arm but, I don’t think you need something as crazy as being able to do 360s with a flick of the wrist. In the early days of playing Hunt, I used to play at very high sensitivity. Looking back, I feel pretty dumb about that. (No, I won’t tell you how high it was out of pure shame.) I mean, it was so fast I would often over-track enemies and was constantly missing my shots at close range by having way too high a sensitivity. This is a very crucial part of any FPS game, finding that right sensitivity for you! Take your time and figure it out.
6. Your Mouse’s DPI
If you still can’t find that perfect sensitivity, perhaps go into your system and find your mouse settings. Go to your PC settings and find the Devices tab. Here, you will find your mouse and all its settings. My mouse is a Corsair Gaming M65 Pro RGB Mouse. Which has a native DPI of 12,000 DPI optical sensors. It has an up and down sniper button that lets you change your sensitivity in an instant with just a click of a button, located in the middle of my mouse between the right and left-click. It also has a tunable weight system that allows you to adjust the center of gravity, or change its weight from between 115g to 135g. All of these are things to consider when playing a game like Hunt, so you will need to check and find the right settings for you.
5. Disable Enhance Pointer Precision
This feature is pretty much hated by FPS gamers. It’s something a lot of people probably don’t realize could be holding them back. Enhance Pointer Precision, or mouse acceleration, can cause an unexpected increase in cursor speed and lead to other problems. Turn this off by going to settings, devices, find the mouse tab, and then click additional mouse options. Under Pointer Options, you will see that below cursor speed is a box with enhance pointer precision that you can disable.
4. Render Resolution Scale
If you are looking for ways to boost your system’s performance while playing Hunt, you can lower the Render Resolution Scale down to improve your experience. I wouldn’t go much lower than 80, and note that this might lead to a less crisp visual experience at the expense of performance.
3. Overclock Your Graphics Card
Five to ten years ago, overclocking could potentially harm your hardware. But now, most current systems will shut themselves down before taking any damage. With overclocking, you can expect a performance increase of around 10-20%, at the expense of higher temps of course. Check to see if your computer can handle the added temperature and stress that it will cause but, if everything works fine, it should give you a nice little performance boost.
2. Performance Stats
If you want detailed statistics on how your game is running, enabling this feature might give you a good idea of how your machine is performing. This might help you identify things you can increase or decrease to give you a better, smoother experience.
1. Graphics Settings
Finally, the graphics settings. Hunt is a pretty demanding game. Trust me, I built an entirely new high-end PC just for this game... Totally worth it. I mean, there’s A LOT going on in this game. So, if you’re having trouble running Hunt smoothly, you should definitely lower and/or turn off all the graphic settings that you can. Of course, go to settings and then under graphics, you can pretty much turn them all down or off. I had to do this in the early days before I built my new PC, and it definitely gave me a nice little bump in performance. You might notice a slight difference in the clarity of objects, the sun rays might not be as crisp as they were before, but it’ll boost your performance no doubt. And that’s more important than beautiful sun rays, right? Well not for me. I love my sun rays.
