Minecraft: How to Add Shaders
Check out this handy video guide: https://www.youtube.com/watch?v=yAr_mGNZjC4
Video by: Tech Insider
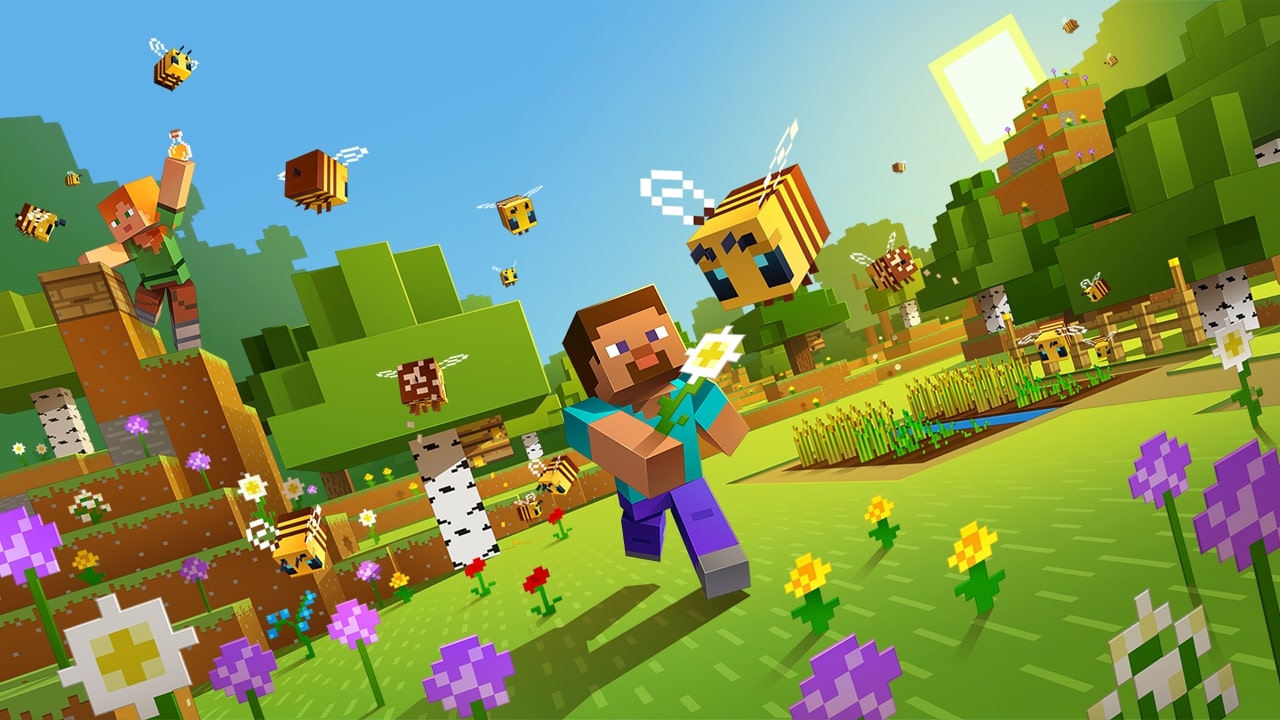
We’ve all seen those beautiful, high-res screenshots of Minecraft before. The wonderfully textured water, the warm, bright sunlight, and the accurate, realistic shadows, all conjure up a relaxing and immersive environment for some good ol’ mining and crafting. These vistas are the result of shaders - beefy, fancy texturing mods that essentially just make everything better. Here’s how to add them to your game!
Keep in mind that shaders aren’t light on your hardware. For most shader packs, you’re going to need a powerful computer. If your computer isn’t strong enough, shaders will likely slow your game down by a lot.
- To add a shader to your game, you’re going to need to download the latest version of Java, the latest version of OptiFine (or whichever edition matches the version of Minecraft you’re playing) and, of course, a shader pack.
- This is a link to the latest version of Java, as of writing this tutorial: https://www.java.com/download/ie_manual.jsp
- This is a link to the latest version of OptiFine, as of writing this tutorial: https://optifine.net/downloads
- OptiFine optimizes texturing and graphics to make your game look its best.
- This is a link to the shader pack that I personally use, if you aren’t sure where to start: https://shadersmods.com/chocapic13s-shaders-mod/
- Chocapic has multiple versions of shaders that you can play with, a couple more taxing on your computer than others. I typically use the lower shading levels when I’m playing and the increase the level when I’m taking photos!
- Download Java and follow the instructions to install it on your computer. Once that’s fully installed, you can download Optifine and directly open the file. Simply click “install” and it should automatically implement itself into your game.
- You’ll have to have played the version of the game that you’re installing Optifine for at least once before!
- Boot up Minecraft. In the launcher, the bottom left should read “OptiFine,” but if it doesn’t, simply click that and scroll through the pop-up menu to find the version of the game titled “OptiFine.”
- After hitting play, go to the settings menu and choose “video settings.” There should be a new option on this menu labeled shaders - clicking this will take you to a screen where you can both choose between the shaders you’ve already installed and access the folder where you can install new ones.
- Click the button labeled “shaders folder” to open up a window where you can drag and drop any shaders you’ve downloaded directly. After confirming these changes and closing the window, the shaders you installed should immediately appear in the game for you to select and apply.
And that’s it! You can hop into a game to test your shaders and see how they run. We’ll see you around - happy gaming!
You May Also Be Interested In:
- [Top 10] Minecraft Best Horror Maps
- [Top 10] Minecraft Horror Seeds
- [Top 10] Minecraft Best Horror Builds
- [Top 10] Minecraft Horror Servers That Are Fun
- [Top 15] Minecraft Horror Skins That Look Great!
- [Top 10] Minecraft Best Horror Mods
- 10 More Awesome Minecraft Seeds You Need To Check Out
- Top 10 Ultimate Best Minecraft Modpacks
- Top 15 Best Minecraft Skins That Look Freakin Awesome
- Top 10 Best Minecraft Servers With The Most Players
- [Top 10] Best Minecraft Texture Packs That Are Awesome
- [Top 10] Best Minecraft Armor Enchantments
- Best Minecraft Bow Enchantments
- [Top 10] Minecraft Best Dimension Mods
- Best Minecraft Crossbow Enchantments
- The Best Minecraft Chestplate Enchantments
- [Top 10] Minecraft Best Shaders
- [Top 10] Minecraft Best Diamond Levels
- [Top 10] Minecraft Best Helmet Enchantments
- [Top 10] Minecraft Best Anarchy Servers That Are Fun
- [Top 10] Minecraft Best Jungle Seeds
- [Top 10] Minecraft Best Diamond Seeds
- [Top 15] Minecraft Best Interior Designs That Are Awesome
- [Top 10] Minecraft Best Village Seeds
