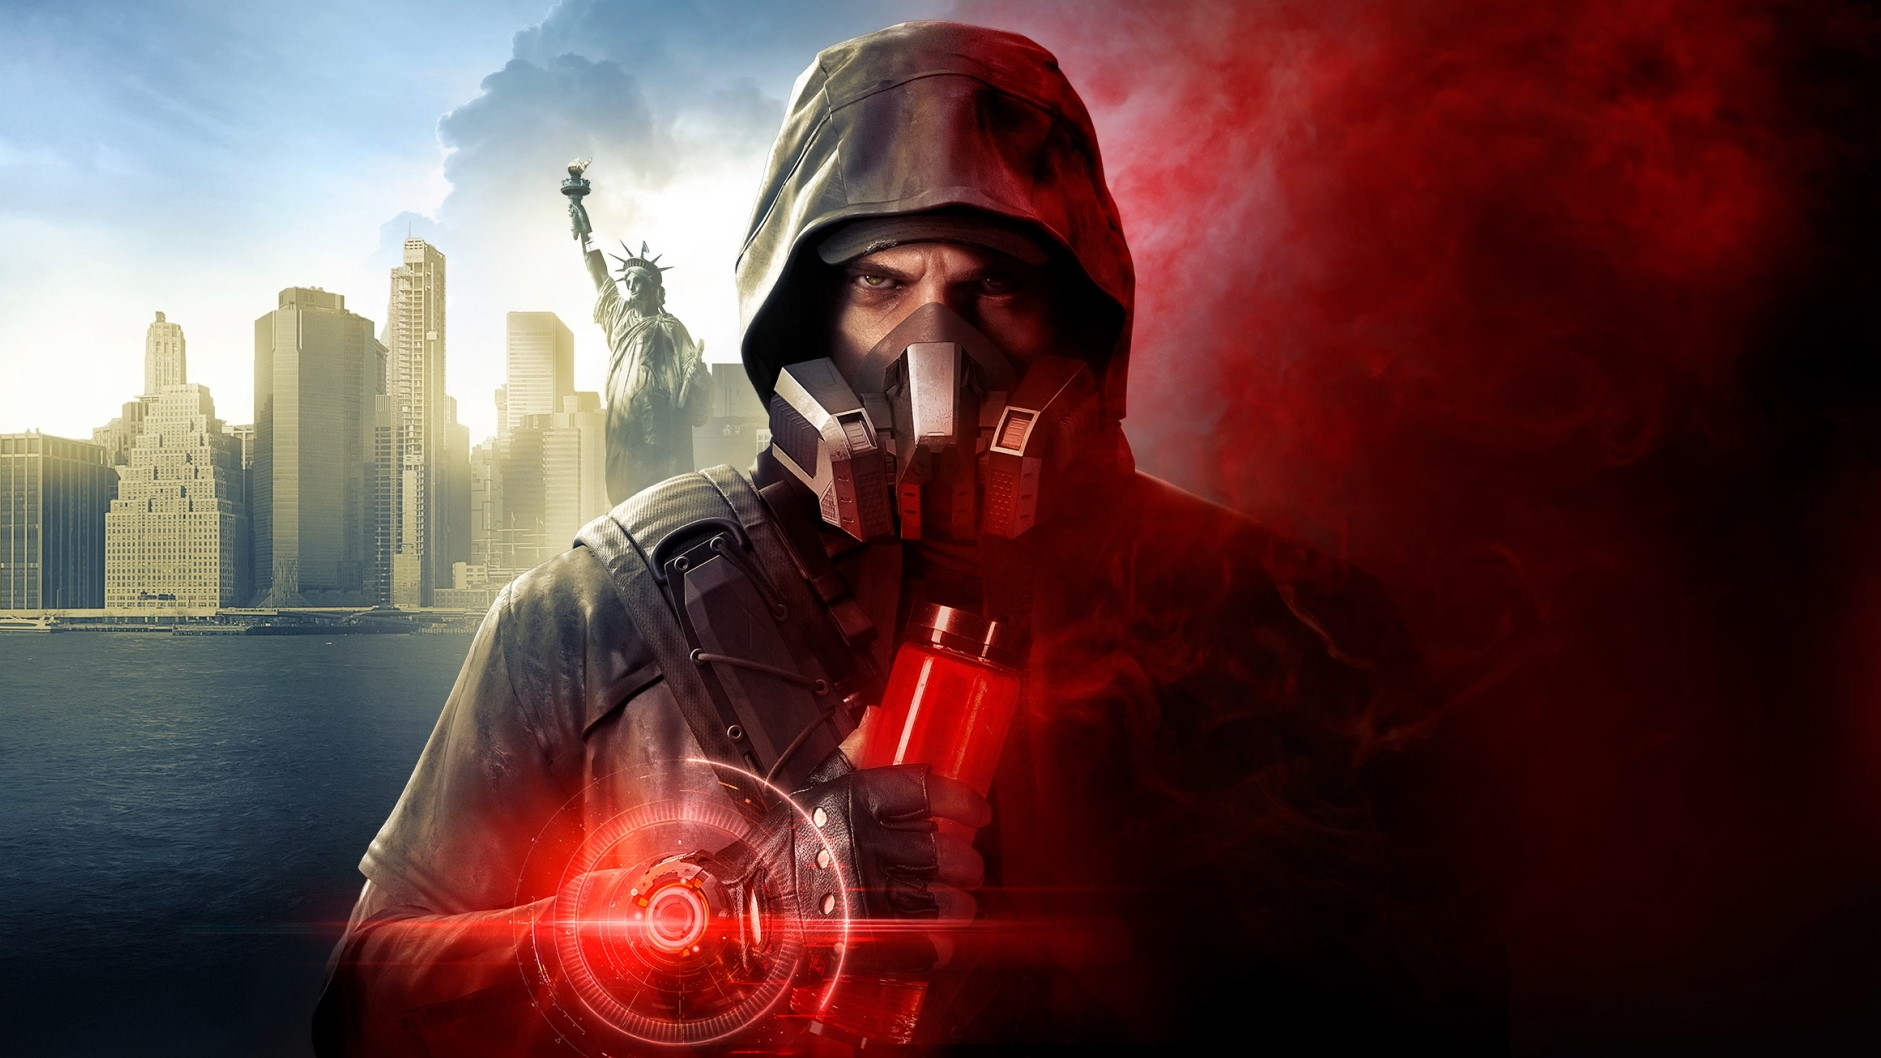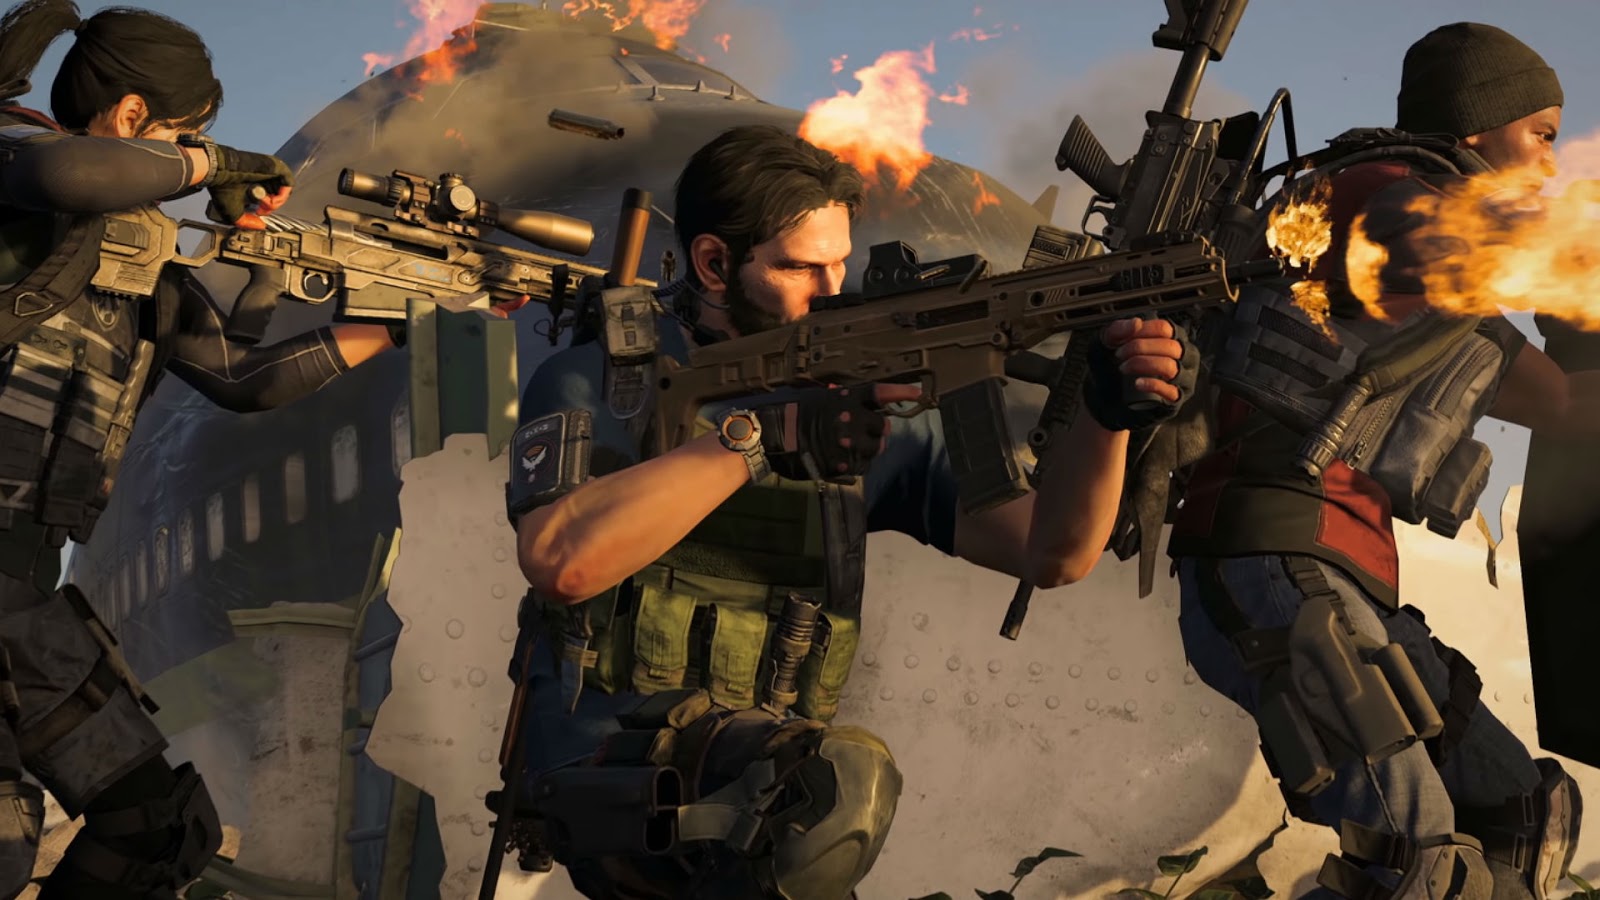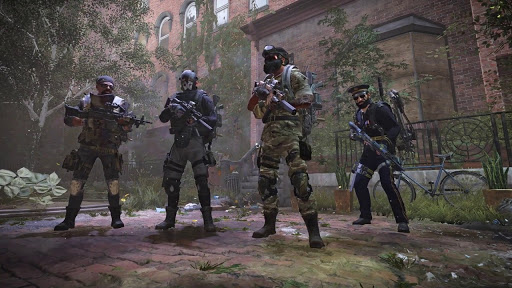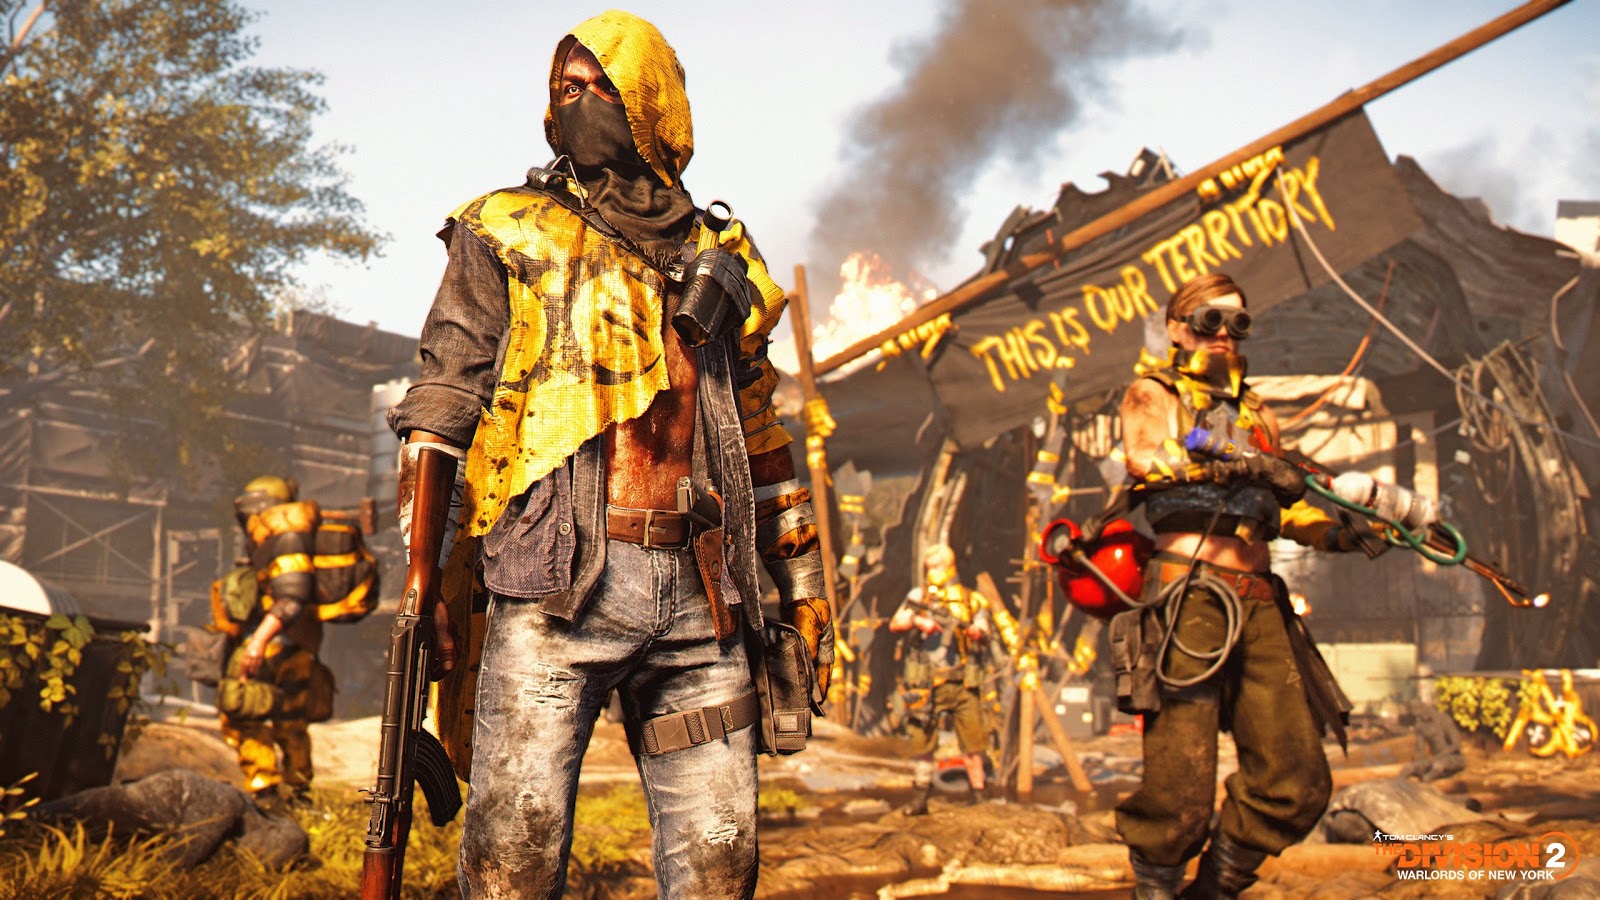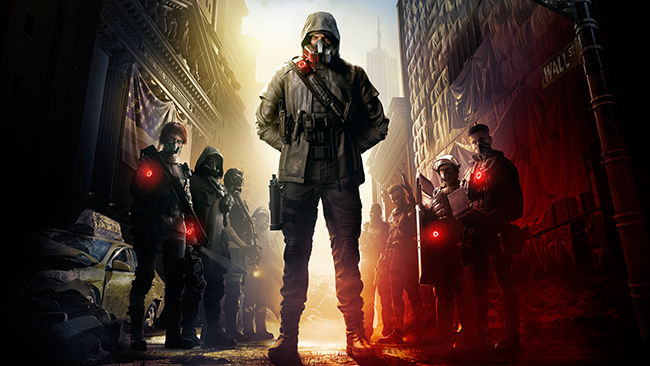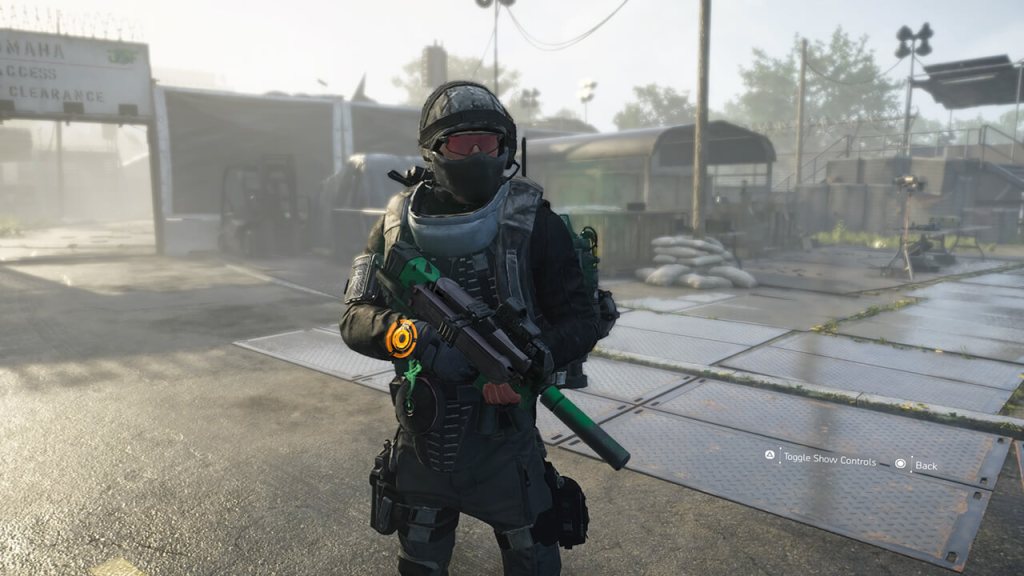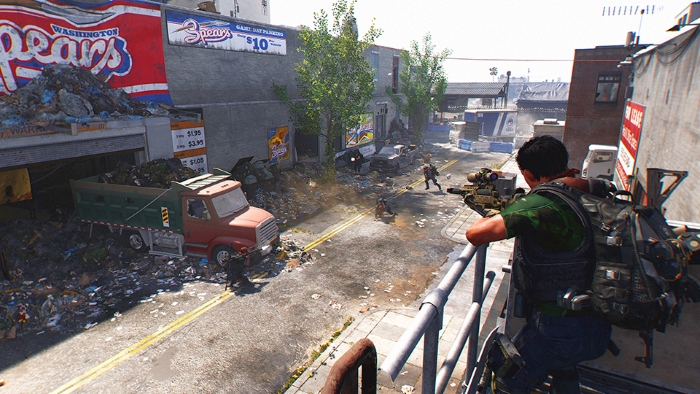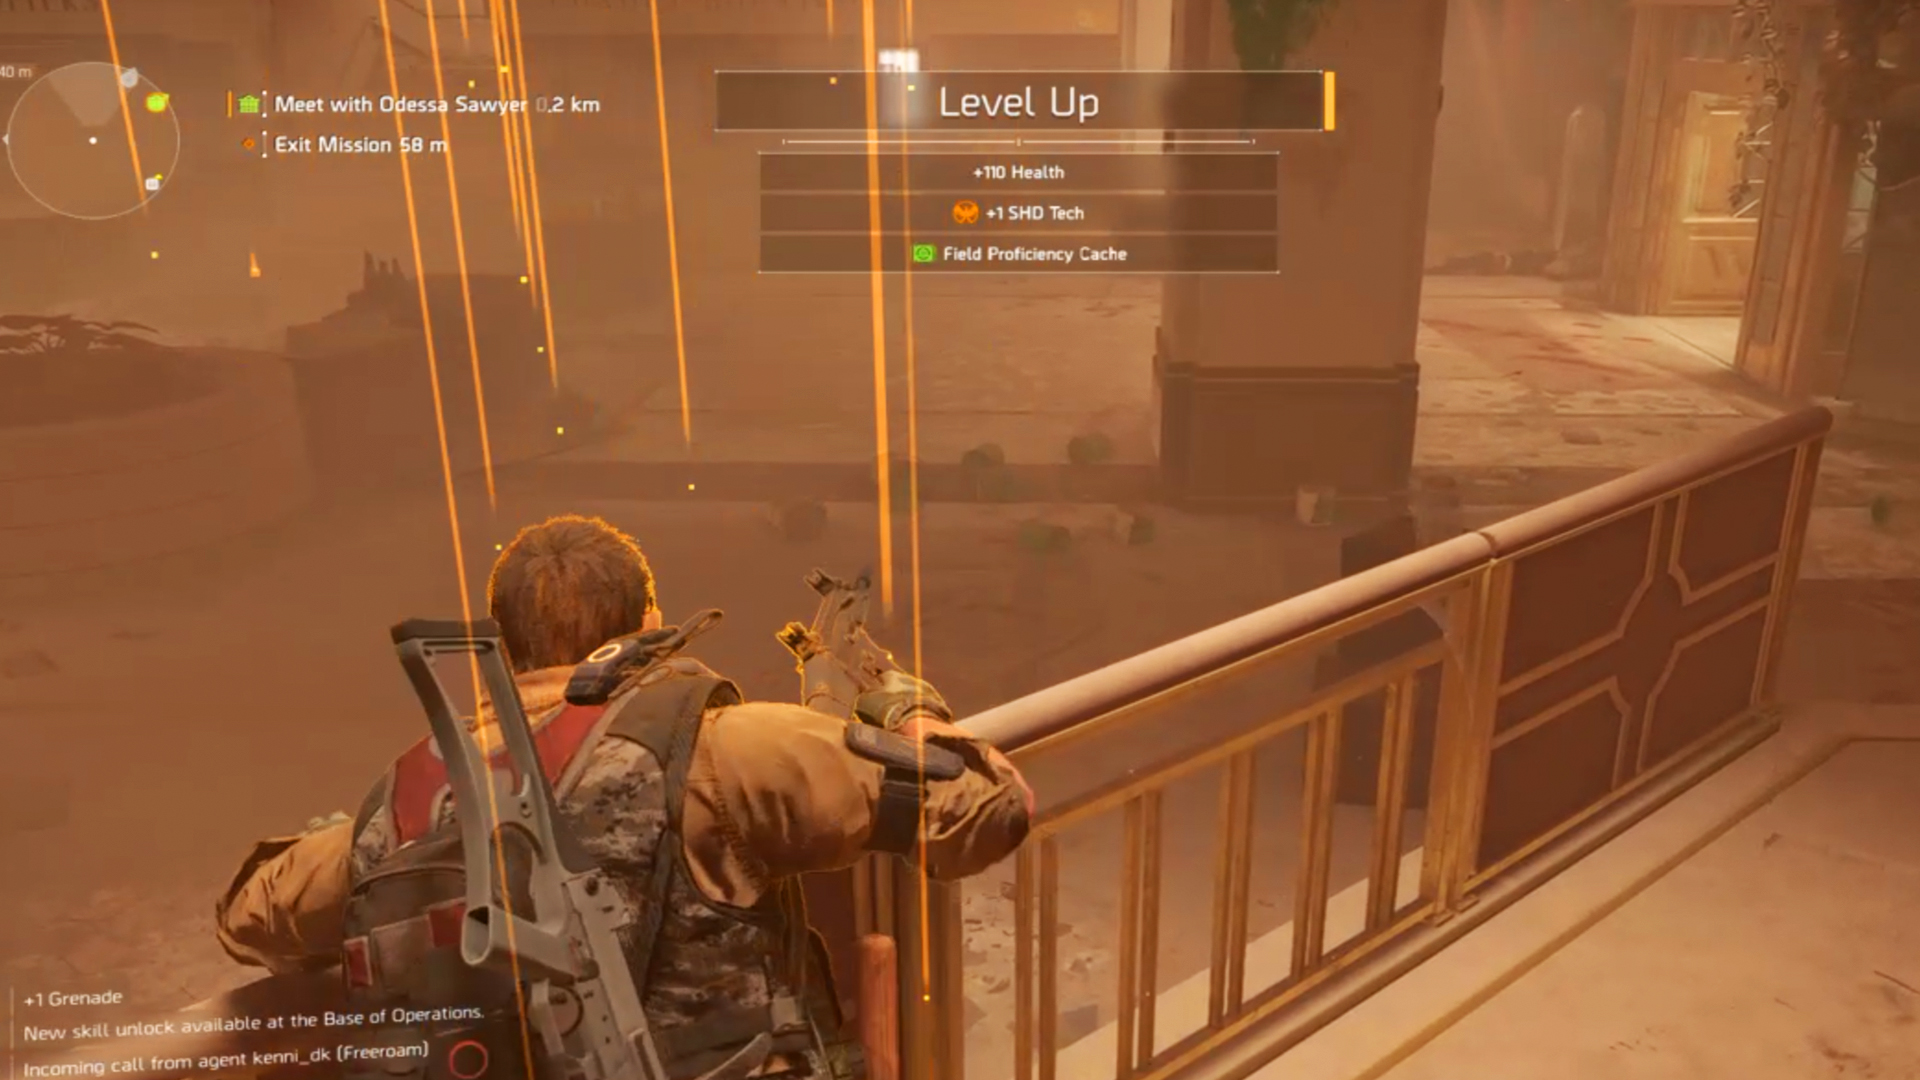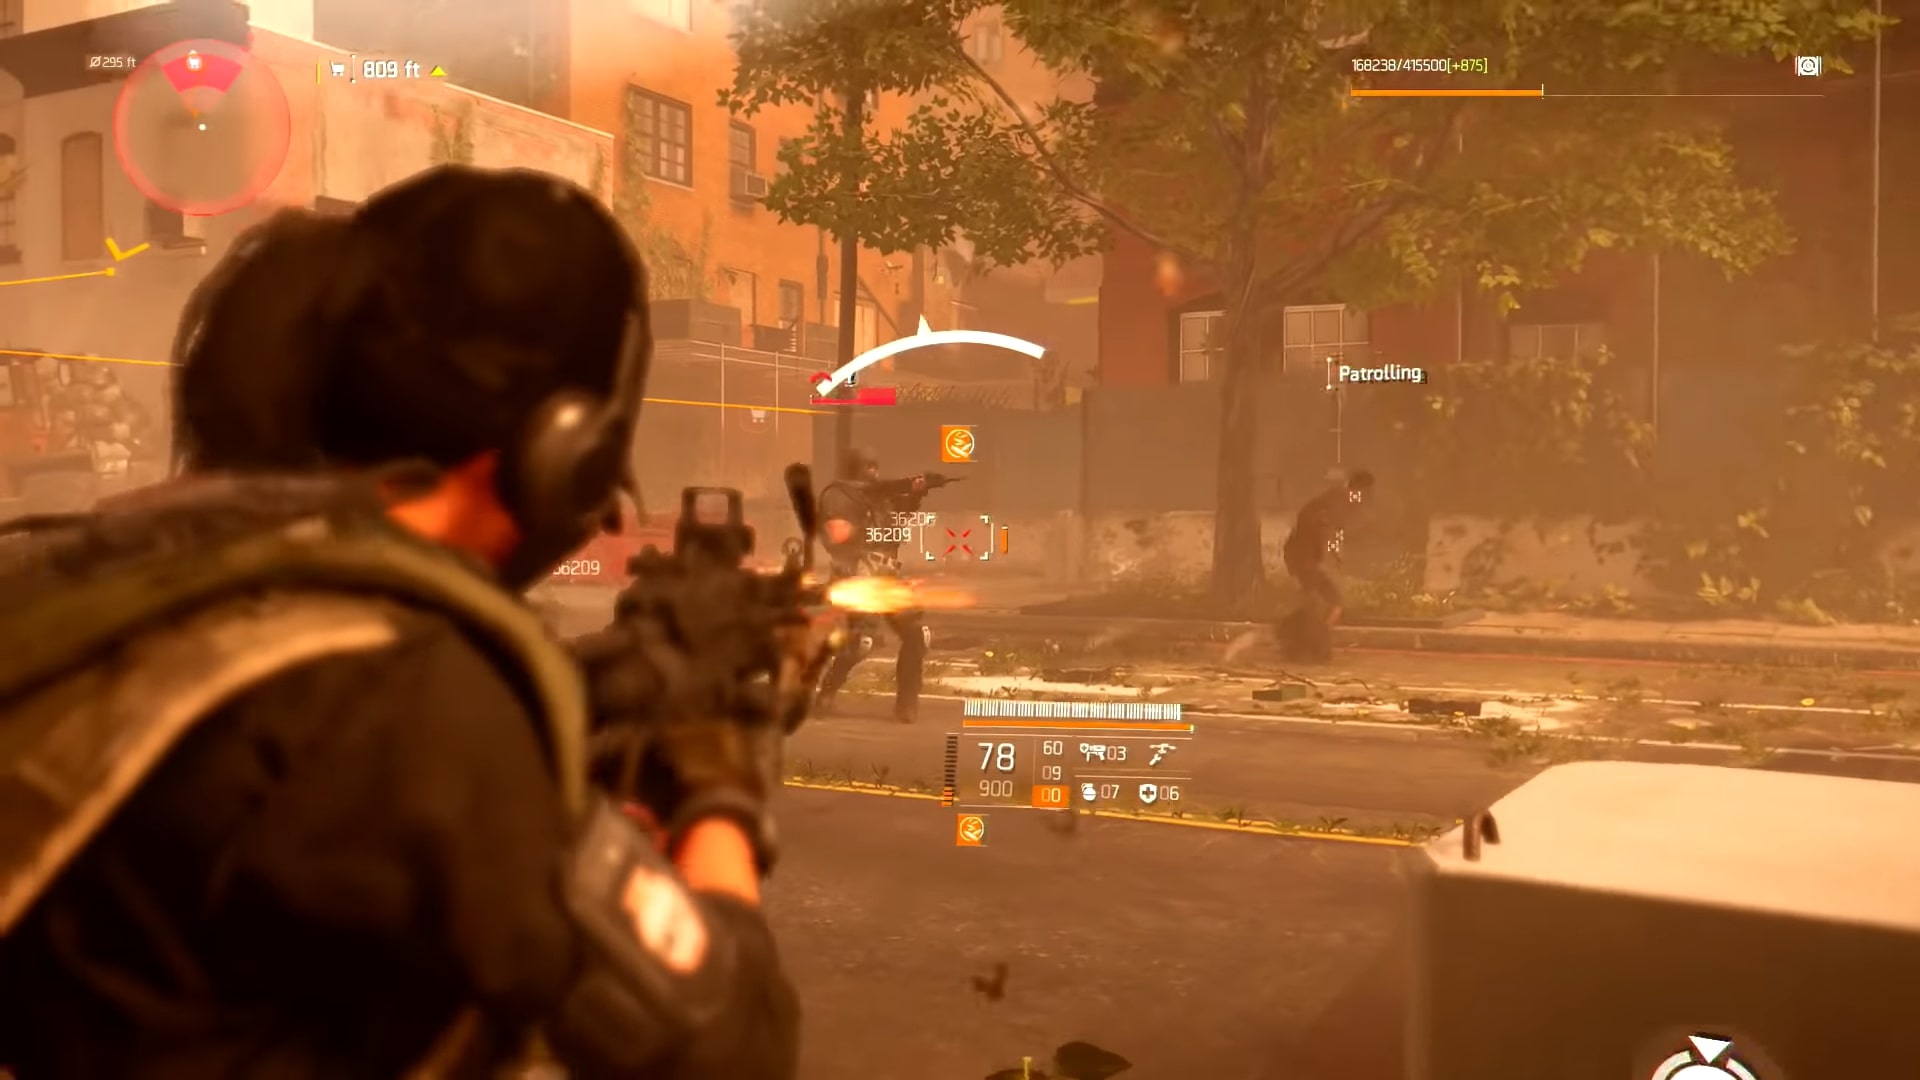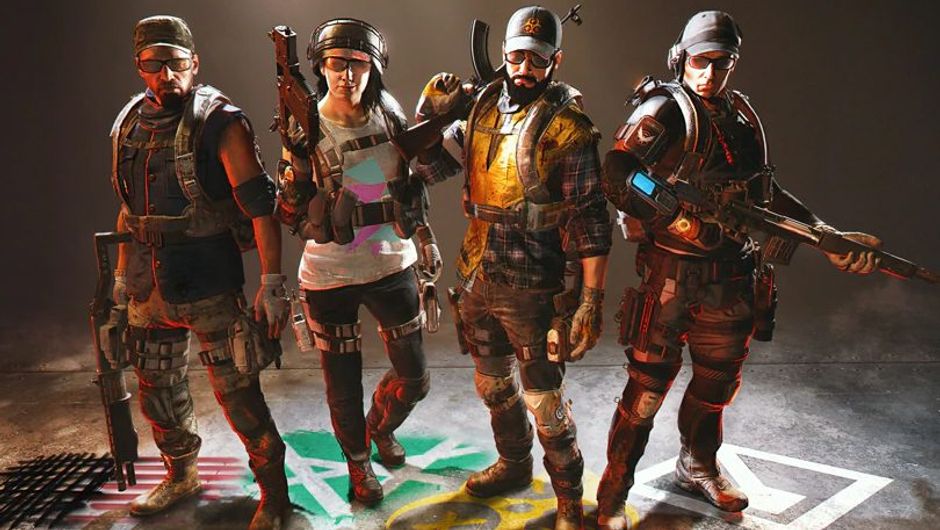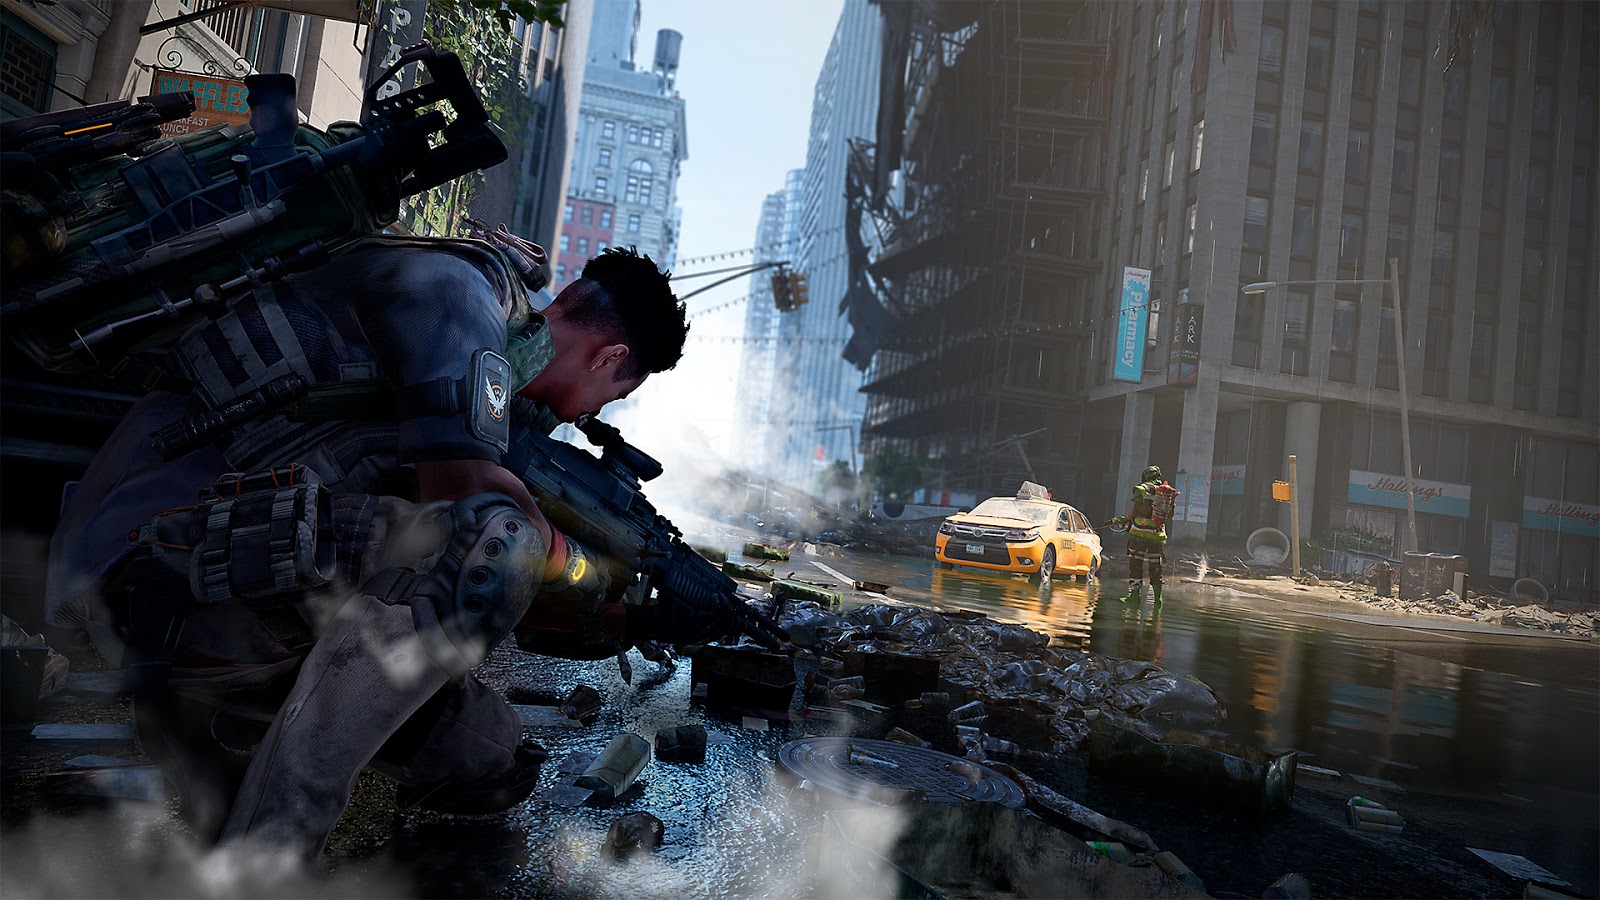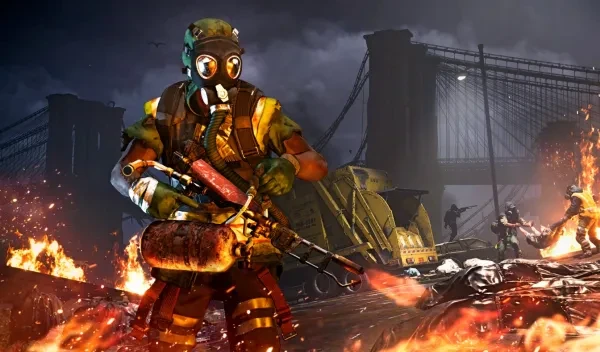
Tom Clancy’s The Division 2 has many factors that are in-game that make player’s gaming experiences worthwhile, but some have stressed the importance of graphic settings that will give you an even heightened experience.
Adjusting graphic settings for the game is strongly dependent on whether you play on PC or console and even depending on what console you are playing on.
Features like FPS and lighting can greatly affect a player’s gaming causing them to either perform great or poor.
With the new Warlords of New York, one should see what the best gameplay and visual settings are for PC and console so they can enjoy the new expansion to its full potential.
We’re going to look at some of the best settings for The Division 2 separating PC and console.
Settings (Console/PC)
1. Additional Field of Vision
Now, adjusting this settings between 0-25 creates a significant difference when it comes to a player’s field of vision. Bringing it all the way up to 25 allows players to view certain objects in their entirety without having to move.
How to Apply Additional Field of Vision:
- Adjustable in settings.
- PS4/Xbox One
- PC
How Additional Field of Vision will give the user an advantage:
- Visual/Sight
- In-coming enemies
2. Additional Field of Vision While Aiming
This setting is similar to the first one and affects one’s vision while aiming. This can come in handy for everyone who plays the game, and can really help players improve their gameplay by adjusting to their preference.
How to Apply Additional Field of Vision While Aiming:
- Adjustable in settings.
- PS4/Xbox One
- PC
How Additional Field of Vision While Aiming will give the user an advantage:
- Visual/Sight while aiming weapons/skills.
- In-coming projectiles/grenades.
3. Parkour Mode During Gameplay
This setting is recommended to be turned off, as sometimes when you are getting into cover you automatically jump out of cover and can get shot at. It is best to keep this one-off but it is entirely up to the player.
How to Apply Parkour Mode During Gameplay:
- Adjustable in settings.
- PS4/Xbox One
- PC
How Parkour Mode During Gameplay will give the user an advantage:
- When off, the player can efficiently hide in cover.
- When on, the player can move quickly to destinations or away from fire.
4. Camera Sensitivity
Keeping camera sensitivity at 10 is a nice middle ground so one is not looking too fast or too slow. It is efficient for looking around your environment.
How to Apply Camera Sensitivity:
- Adjustable in settings.
- PS4/Xbox One
- PC
How Camera Sensitivity will give the user an advantage:
- Keep the visual gameplay focused.
- Helps players spot enemies.
5. Aim Sensitivity
Similar to camera sensitivity, being in the middle helps players keep their aim focused on enemies. Whether it is with weapons, or aiming certain skills and grenades, this setting can improve a player's experience.
How to Apply Aim Sensitivity Name:
- Adjustable in settings.
- PS4/Xbox One
- PC
How Aim Sensitivity will give the user an advantage:
- Helps players follow enemies while shooting.
6. Scoped Sensitivity
Again, similar to above, but this applies to 8x or 10x scopes. When one is aiming through scopes adjusting this to 5 will help players significantly.
How to Apply Scoped Sensitivity Name:
- Adjustable in settings.
- PS4/Xbox One
- PC
How Scoped Sensitivity will give the user an advantage:
- Helps focus on enemies through scope increasing headshots.
7. Controller Vibration
Many players have this one on because they want to make sure they are shooting their weapons, but it is better off. When off, a player’s aim is greatly increased without the added shaking to their controllers.
How to Apply Controller Vibration:
- Adjustable in settings.
- PS4/Xbox One
How Controller Vibration will give the user an advantage:
- Helps improve aim.
8. Left Stick Dead Zone Size
Sometimes a player will notice their controllers are swaying to the left, this setting can help improve gameplay. Default setting is at 3 but this can be adjusted to a player’s preference.
How to Left Stick Dead Zone Size Name:
- Adjustable in settings.
- Based on the player's controller age and preference.
- PS4/Xbox One
How Parallax Mapping will give the user an advantage:
- Will help a player’s controller feel balanced if needed.
9. Right Stick Dead Zone Size
The same as above but on the right. This adjustment can help players if they notice their controllers swaying to the right.
How to Right Stick Dead Zone Size Name:
- Adjustable in settings.
- Based on the player's controller age and preference.
- PS4/Xbox One
How Right Stick Dead Zone Size will give the user an advantage:
- Will help a player’s controller feel balanced if needed.
10. Toggle to Sprint
Toggle between needing to either hold down your sprint control or only needing to tap the button. This setting is best when you only need to tap the button to run.
How to Apply Toggle to Sprint :
- Adjustable in settings.
- PS4/Xbox One
- PC
How Toggle to Sprint will give the user an advantage:
- It helps players easily run and traverse the map without extra button holding.
11. Enable Auto Run
It is best to always have this on as it works best with the toggle to sprint. All you have to do is double-tap and it puts you in autorun.
How to Apply Enable Auto Run:
- Adjustable in settings.
- PS4/Xbox One
- PC
How Enable Auto Run will give the user an advantage:
- Automatically run and get out of the way big elites or melee enemies.
12. Movement Can Exit Cover
This setting is also best when turned on because once you are in cover, you have to press the cover button to get out of cover. With this on, all one has to do is move your joystick and you are out of cover.
How to Apply Movement Can Exit Cover:
- Adjustable in settings.
- PS4/Xbox One
- PC
How Movement Can Exit Cover will give the user an advantage:
- Easily move out of cover.
- Move quickly to get further away if you’re taking too much fire.
13. Brightness
Sometimes the game can get really dark, especially at night. Adjusting this setting can help players be able to move around at night, improving their playing when needing to see enemies from afar.
How to Apply Brightness:
- Adjustable in settings.
- PS4/Xbox One
- PC
How Brightness will give the user an advantage:
- Vision improved at night or in dark areas.
14. V-Sync
This setting best on. A setting that is common for PC, it helps stabilize FPS to 60 and helps the game run smoother.
How to Apply V-Sync :
- Adjustable in settings.
- For PC.
How V-Sync will give the user an advantage:
- Will improve visuals in the game and improve the FPS.
15. Shadow Quality
Set the level of quality of shadows for objects in the scene. Primarily affects shadow resolution. This setting is best on high.
How to Apply Shadow Quality:
- Adjustable in settings.
- For PC.
How Shadow Quality will give the user an advantage:
- This allows the game to have the amazing quality that players want, having this set on high doesn’t have an impact on frame rate.
16. Contact Shadows
Set the quality of contact-shadowing of direct lighting for objects in the scene, making objects feel grounded rather than floating. This can help improve visuals in the game and it's best on all low.
How to Contact Shadows Mapping:
- Adjustable in settings.
- For PC.
How Contact Shadows will give the user an advantage:
- This setting will help the play properly see their surroundings as immersive and real.
17. Resolution Scale
Adjusts the resolution at which the scene renders. Lowering this graphics setting reduces the rendered resolution and increases performance. Raising the setting increases the rendered resolution and decreases performance.
How to Apply Resolution Scale:
- Adjustable in settings.
- For PC.
How Resolution Scale will give the user an advantage:
- This doesn’t have as much of an in-game advantage as opposed to an equipment advantage.
- It can significantly improve frame rate with a visual notice.
18. Sharpening
Focus or soften all elements on-screen. This is totally a preference for players but may help improve visual gameplay.
How to Apply Sharpening:
- Adjustable in settings.
- For PC.
How Sharpening will give the user an advantage:
- Updates in realtime.
- May give players a visual advantage.
19. Volumetric Fog
This sets the rendering quality of fog volumes. The higher the setting, the better the fog quality. This does not have an effect on the fog in the game.
How to Apply Volumetric Fog:
- Adjustable in settings.
- For PC.
How Volumetric Fog will give the user an advantage:
- Having this set on high will help FPS.
20. Reflection Quality
Set the rendering frequency and resolution of global scene reflections produced by large scene objects, such as skyscrapers, mountains, etc.
How to Apply Reflection Quality:
- Adjustable in settings.
- For PC.
How Reflection Quality will give the user an advantage:
- It does not have a big impact on FPS.
- Increases the reflection on skyscrapers and landmarks.
21. Vegetation Quality
Set the level of quality for vegetation in The Division 2.
How to Apply Vegetation Quality:
- Adjustable in settings.
- For PC.
How Vegetation Quality will give the user an advantage:
- It does not have a huge impact on the game or player performance.
22. Anisotropic Filtering
Enhanced the image quality of textures on surfaces that are at oblique angles relative to the camera. This setting is safe at around x4 as it can impact the frame rate at around x6.
How to Apply Anisotropic Filtering:
- Adjustable in settings.
- For PC.
How Anisotropic Filtering will give the user an advantage:
- Has impacts on the frame rate
- It helps the visual aspect of the game.
23. Parallax Mapping
It provides textures with a sense of depth without additional geometry. This is applied to places like brick walls, giving the appearance of 3D brickwork from a 2D texture.
How to Apply Parallax Mapping:
- Adjustable in settings.
- For PC.
How Parallax Mapping will give the user an advantage:
- Without this setting certain things can appear as flat and lack depth, so it is best when turned on.
24. Depth of Field
This setting turns on or off the simulation of a camera's range of focus. Objects outside the range of focus are blurred. This setting is best turned on.
How to Apply Depth of Field:
- Adjustable in settings.
- For PC.
How Depth of Field will give the user an advantage:
- The only true difference depth of field makes for the player is in the scopes. When this is turned on, it does have an initial blur when a scope is first pulled up.
25. Object Detail
Object Detail adjusts the geometric complexity of in-game objects. The higher this setting is, the more detailed the objects become. Visuals are improved around putting this at 60 or 80.
How to Apply Object Detail Name :
- Adjustable in settings.
How Object Detail will give the user an advantage :
- This setting offers the player a clear viewpoint, giving them a visual advantage.
- May help players aim from very far distances if the enemy is clear.
Here are some videos that will go into these in more detail and will provide visual examples to some of the settings that affect the game visually:
- Tom Clancy's The Division 2 Best Graphics Settings for Mid/High PC's [Ultra HD]
- Best Settings to Change in the Division 2 for Console Players | Better Overall Aiming & Gameplay
You may also be interested in:
- [Top 10] The Division 2 Best Weapons and How To Get Them
- The Division 2: Best Specializations Revealed
- [Top 10] The Division 2 Best Builds
- [Top 10] The Division 2 Best PvP Builds
- [Top 10] The Division 2 Best PvE Builds
- [Top 10] The Division 2 Best Exotic Weapons
- [Top 5] The Division 2 Best Solo Builds
- [Top 5] The Division 2 Best Crit Builds

