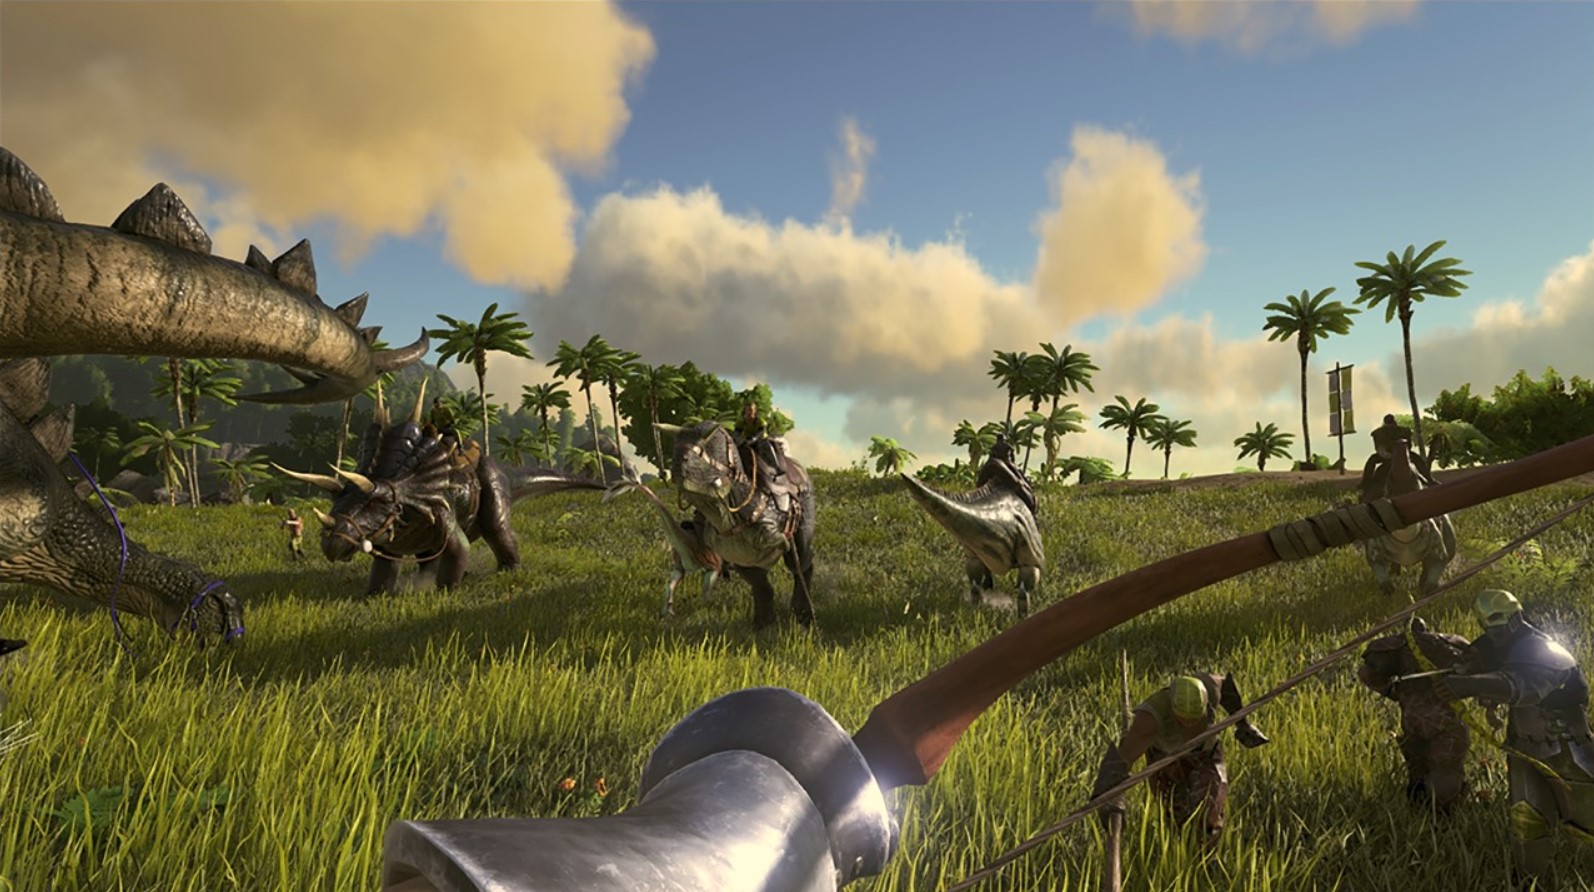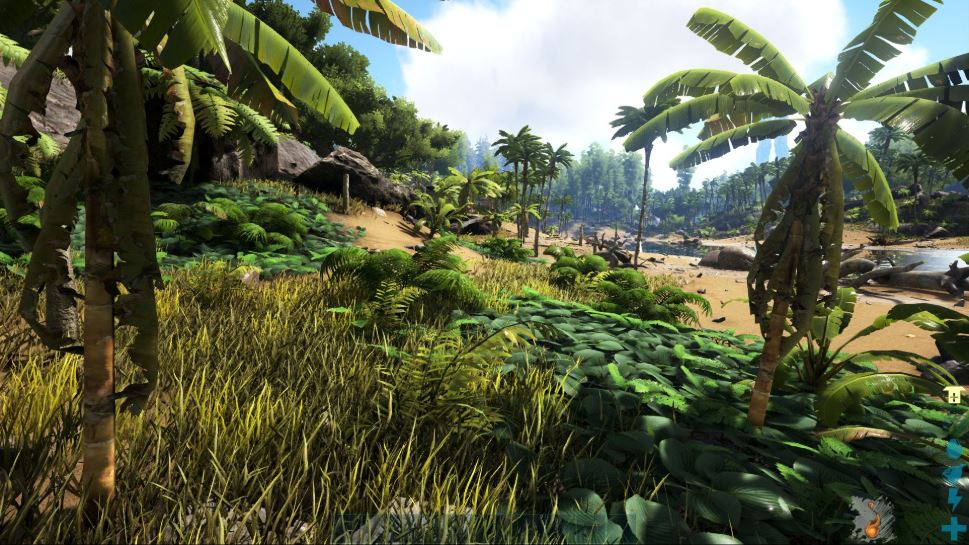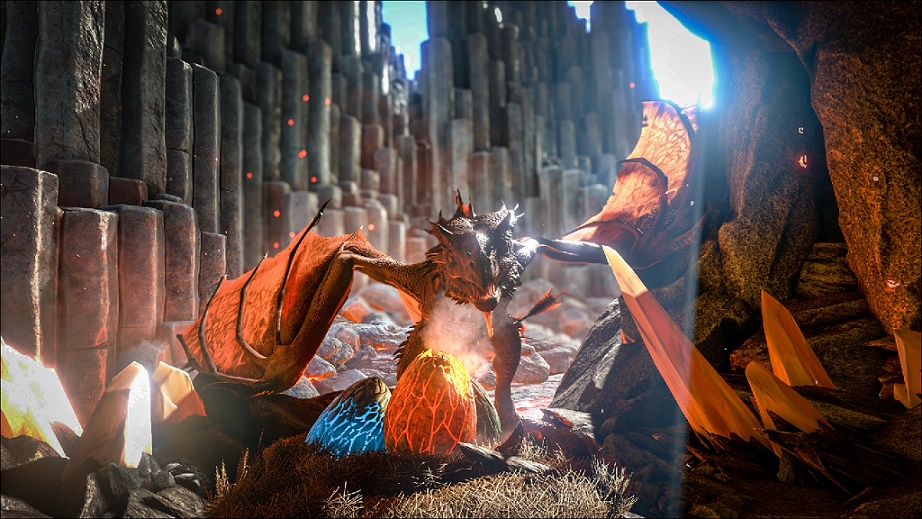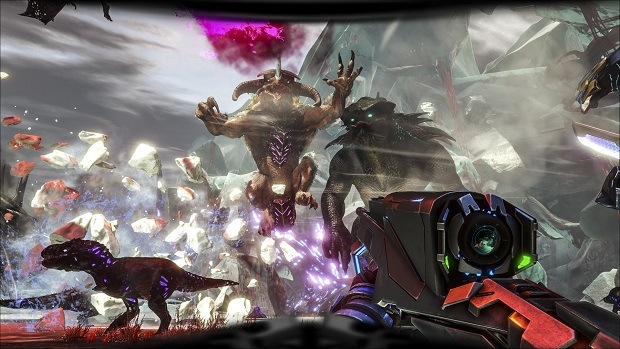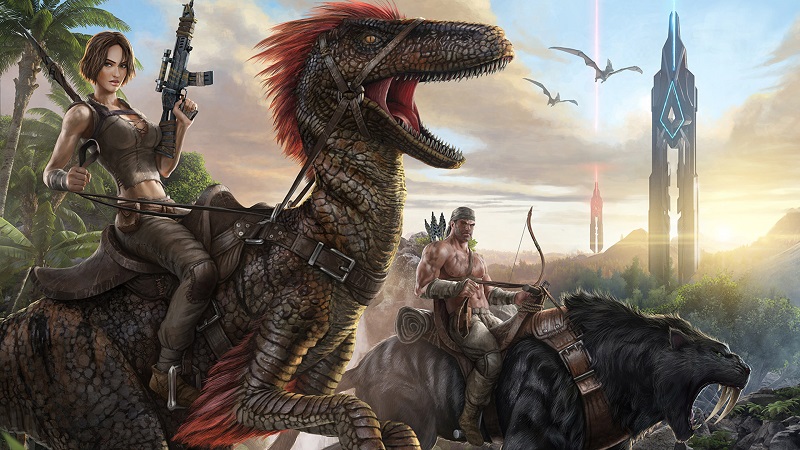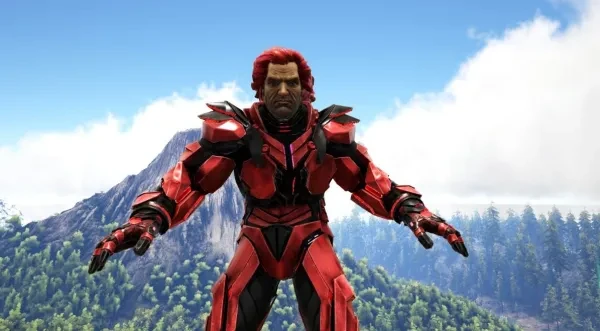
There’s no question that Ark: Survival Evolved gives you an adventure like none other. From waking up to a blinding sun and wondering what this weird stone carved into your arm is, to flying high above the vast, prehistoric world, to building an army of dinosaurs and charging into the heart of a volcano and demanding answers. It’s a journey of a lifetime from the second you spawn, a journey you can easily lose yourself in for hundreds of hours. However, if you don’t want to smash your face into your keyboard as you spend 8 years training for a boss fight only to lose, then enjoy these tips.
Ark: Survival Evolved is a very lengthy game with its share of problems, like any other game. But by simply changing a few settings, you can avoid a lot of those problems, save yourself hundreds of long hours, and have A LOT more fun.
Here are the top 15 best Ark: Survival Evolved settings for single player:
To make things easier, I’ve put the 15 settings in order of how they appear in the game, so you can just follow along with me. To change the single player settings in your game, launch ark and press Host/Local, you should see the settings on the left.
Difficulty - set difficulty to 1.0:
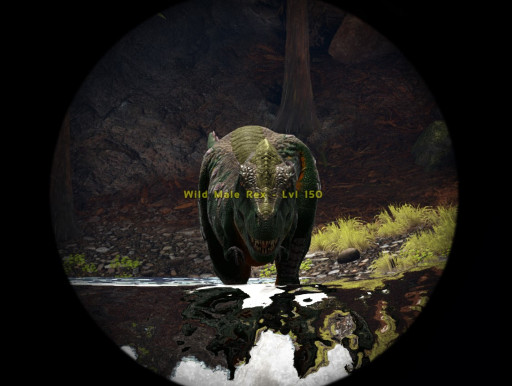
While it may seem like changing difficulty should be personal preference, it’s incredibly important that you change this setting no matter what. By changing the difficulty to 1.0, you’re not actually changing the difficulty of the game. You’re just changing the max spawn level of wild dinosaurs from level 30 to level 150.
While it’s a lot scarier to be chased by a level 150 T-Rex than a level 30, changing the difficulty is worth it. It’ll save you a lot of time, and make the game a lot more fun. There’s a limit to what any tamed dinosaur can do when their spawn level is capped at 30. It’ll make survival a lot more difficult, and it’ll force you to spend a lot more time training your dinosaurs than you should have to.
To change the difficulty level, go to general settings before you join your world, and slide the difficulty bar all the way to the right. It should be the first setting listed.
If you change this setting before you’ve generated the world, then don’t worry. But if you’ve already created the world and then want to change the level caps, then you’ll want to press the tab button in game, and type the admin command: DestroyWildDinos. By doing this, it erases every non-tamed dinosaur currently in your world. From there it should take around a half an hour to repopulate the world with proper levels.
XP Multiplier: 1.0
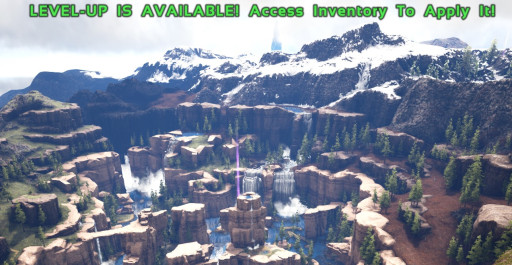
The XP Multiplier setting does exactly what it sounds like, it determines how quickly or slowly you’ll gain experience. It’s important to consider this setting carefully, because if you set it incorrectly, it could take what feels like 2 seconds, or 2 years to reach max level.
When I was playing Ark for the first time, I didn’t know what I was doing, and I turned this setting up way too high, and the next thing I knew, I picked up one rock on the beach and became maxed level. I didn’t know what to do with that power, and it just took the fun out of the game.
The default setting used to be 0.25, and then it doubled twice over the years. So technically, you’re playing on 4 times XP at 1.0 (the current default). You can definitely get by just fine at 1.0, but if you want to slow down and enjoy the journey a little bit more, then you should consider lowering the XP multiplier in the early game.
Taming Speed: 3.0
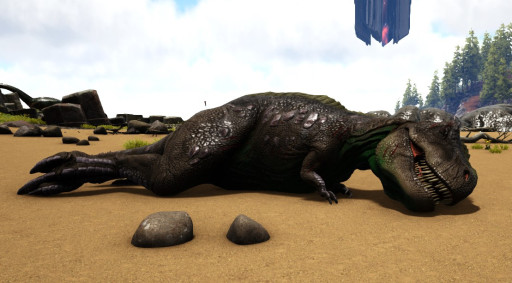
This may be one of the most important settings for you to adjust if you want to save time. Taming dinosaurs is what Ark is all about, but can also be stressful. Imagine you’re taming your first T-Rex. You give it food, and watch it for what feels like hours, as the taming bar slowly goes up. You’ve been there guarding him for 2 hours, and you decide to go grab a quick snack. You come back 30 seconds later, and he got killed by a raptor… Let’s avoid that.
The default for this setting is 1.0, and I personally find that to be very low. However you don’t want to set it too high, because that can take the challenge out of the game, making it less fun, and it can cause problems with passive tames (tames that don’t require you to knock them out).
There’s a little bit of wiggle room, you could set it between 3.0 and 6.0, depending on how fast you want to tame your dinosaurs, but I personally wouldn’t recommend adjusting beyond that.
Harvest Amount: 2.0 - 3.0
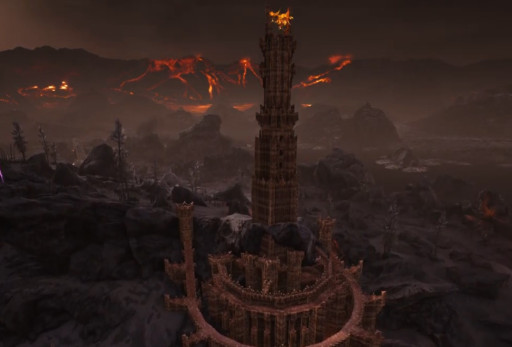
Building is a very underrated part of the game. You can make extraordinary, lifelike buildings, but it just takes so long, and takes so many resources. This often discourages people from focusing on building during their adventures.
That’s why I highly recommend setting the harvest amount to at least 2.0. By turning this setting up, you increase the amount of materials you get. For example, if you go on the beach and pick up a rock with this setting turned to 2.0, you’ll get 2 rocks instead of 1. It just saves you a lot of time and headaches.
Now that resources are a lot easier to collect, it doesn’t seem like such a burden to build some pretty fantastic designs.
Show Map Player Location: On
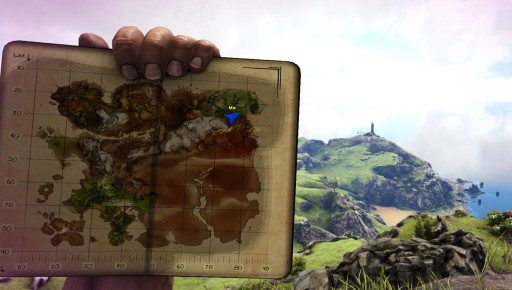
This setting may be easy to overlook at first, but it’s one of the most amazing settings. This setting will show you where you are on the map as well as an arrow indicating the direction that you’re going.
There’s countless times that I wouldn’t have survived without this setting. I remember one time getting stranded in the middle of the swamp. There I was with a nearly broken sword and hide armour. Surrounded by giant snakes, crocodiles, and leeches, all hunting me for invading their home. The fear of dying and losing everything forced me to pause my game while I took a moment to breathe and think. Luckily I knew roughly where my base was on the map, so with the ability to see my player location, I just ran towards home, and somehow I made it out alive.
Not only is this setting a life saver, it’ll also become your best friend. The maps on Ark: Survival Evolved are EXTREMELY BIG. Even expert players who know the maps like the back of their hand rely on this. It saves you a lot of time and confusion by giving you the easiest way to get from point A to point B.
I’ve fallen victim to using this a little too much. Recently I hopped on my bird, and started flying towards the glacier that was right in front of me, and I pulled out my map just out of habit.
Enable PVP Gamma: On
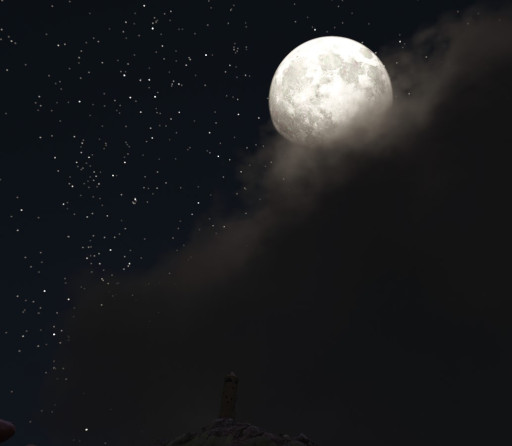
Ark: Survival Evolved is full of dangerous challenges, from fighting ferocious reptiles, to diving into the deepest depths of the ocean. The game has enough challenges without adding vision problems to it.
Ark can be way too dark sometimes, too dark to see anything even with a torch or a flashlight. Gamma is basically just a brightness control. With Gamma turned on, you don’t have to worry about dying in the dark to something you can’t see.
Some players view this as an unfair advantage. There’s a little bit of truth to that, but in single player, it shouldn’t really matter. It’s up to you, without it you’ll just have to put a lot more faith in torches, flashlights, or night vision helmets.
To use this setting, press the tab key, and type: gamma, followed by a number, for example “gamma 2”. Bigger numbers equal higher brightness. To set it back to normal brightness, just type “gamma”. You can also set specific key binds so you don’t have to type it every time.
Use Corpse Locator: On

There have been MANY times that I couldn’t recover my items while playing Ark. It’s always frustrating, and you tell yourself “I won’t let this happen again.” but here we are. It’s just a part of the game, sometimes you can’t recover your belongings, but this setting will help you reduce how often it happens.
By turning this on, a giant green beacon will shoot up into the sky over your items when you die, making them easy to find. Without this setting, you would be searching the world for a little brown bag, it would be like searching for a needle in a haystack.
Allow Flyer Speed Levelling: Your Choice
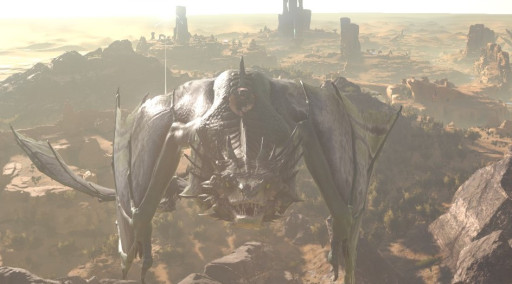
The Ark maps are BIG. I’ve found that one of the only parts of the game that can get exhausting is travel. One of the main ways to travel is by flying, but on most maps, the flying dinosaurs are slow. That’s why this setting is worth consideration. Personally, I wish you could just tell your dinosaurs where you want to go, and they can auto-pilot you there while you go make lunch. It really does feel like it takes that long.
This setting allows you to upgrade the speed of your flying dinosaurs, allowing you to get around the map a lot faster.
A long time ago, being able to upgrade the speed of your flying dinosaurs was a default part of the Ark experience, until they removed it. Now you have to turn on a setting specifically for it. Some people don’t like to turn it on, because it’s not a main part of the game anymore, but I think if you want to save a bit more time by moving swiftly through the air, then you should definitely consider turning this setting on.
Allow Cave Building PVE: On
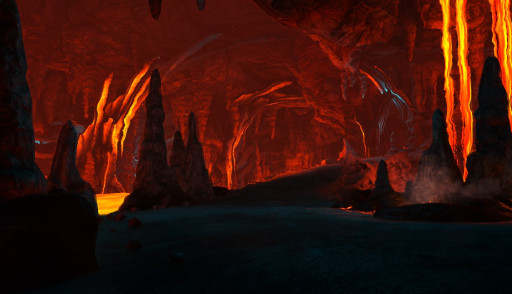
Exploring caves is a really big part of Ark. It’s also a really dangerous part. Your entire goal in Ark is to battle your way through them and come out victorious with an artifact so that you can fight the bosses.
By making sure that this setting is turned on, it can make exploring caves a lot easier. You’ll be able to set up small bases with beds at the start of caves, so that you can respawn if the worst should happen. Not to mention, you can set up some really cool cave bases if you wanna feel like Batman.
Allow Flyer Carry PVE: On
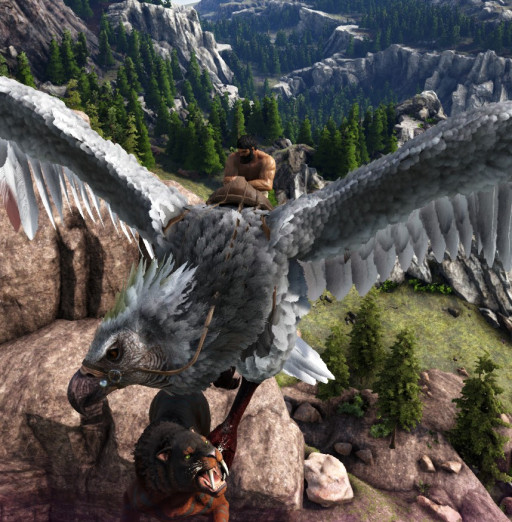
Ark doesn’t feel like Ark without this setting turned on. This setting allows your flying dinosaurs to pick up some other types of dinosaurs (or players in PVP).
There are many times you’ll find yourself relying on this one. For example, collecting Metal. Metal is a very important material for mid to late game. It’s the material you use for machinery and weaponry. One of the best ways to collect Metal is to use an Ankylosaurus (A Metal collecting dino), and an Argentavis (flying dinosaur). You can pick up the Anky, and fly him to a Metal rich area, and come home with massive amounts of Metal. If this setting is turned off, then you’ll miss out on that opportunity, as well as countless more.
Non Permanent Diseases: On
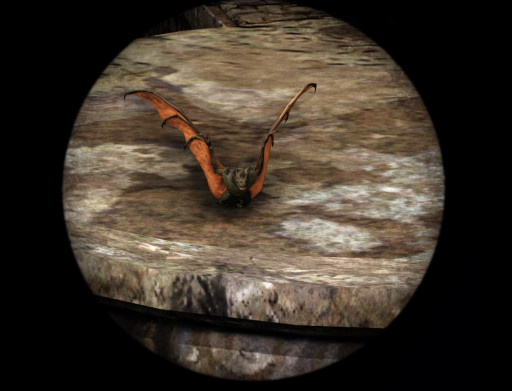
As weird as it may sound, diseases are important to Ark. It’s an interesting part of the game, and forces you to prepare for them more, it just makes the game more interesting. However permanent diseases can be unfairly brutal.
An example of a permanent disease is Swamp Fever. You can contract this by other players, or from leeches. Swamp Fever reduces your health, stamina, and weight by 20%, and increases your movement speed by 20%. However, the worst thing about Swamp Fever, is that it’s permanent. You’ll slowly die from it and when you respawn, you’ll still have it. This forces you to go out of your way to find a way to cure it.
Might as well just turn this off so you don’t have to worry about that. However you’ll still be able to contract non permanent diseases, such as Mega Rabies. Mega Rabies are often contracted by certain creatures in caves, and I think it’s an important part of the game.
Breeding Settings:
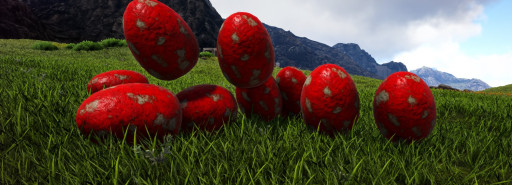
Breeding dinosaurs is possibly one of the most confusing things in Ark. Especially if you’re trying to get specific mutations, which I won’t even get into. It’s just a very complicated and lengthy process.
Let’s simplify it. I recommend strictly following the settings listed below, to keep it simple. With the settings below, your dinosaurs will be able to mate a lot more often, eggs will hatch in about ten minutes instead of ten hours, and you’ll still get to imprint on your baby dinosaurs. Imprinting basically just improves the stats of the dinosaur when they reach adulthood.
Make sure that you turn off “Use Singleplayer Settings'', located in general. If it’s turned on, it will mess with these breeding settings.
Mating Interval: 0.01
Egg Hatch Speed: 30.0
Baby Mature Speed: 42.5
Baby Cuddle Interval Multiplier: 0.035
Day/Night Time Speed: Player Preference
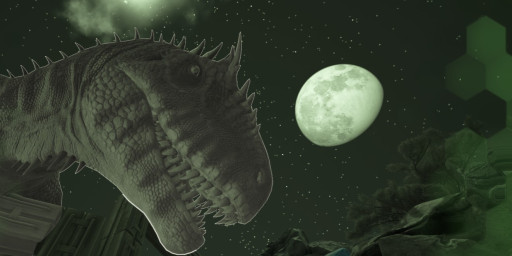
These settings are completely up to personal preference, but I’d like to share my thoughts on them. As I mentioned earlier, sometimes the game gets really dark. I find that night time can sometimes be too dark to do anything. So why not just make night time shorter, and daytime longer.
I personally like to set day time to 0.5, and night time to 2.0. This creates a 48 hour day, and vastly limits the time you have to spend at night. Of course it’s completely up to your preference. The lower the number, the longer the day/night, and vice versa.
Show Floating Damage Text: On
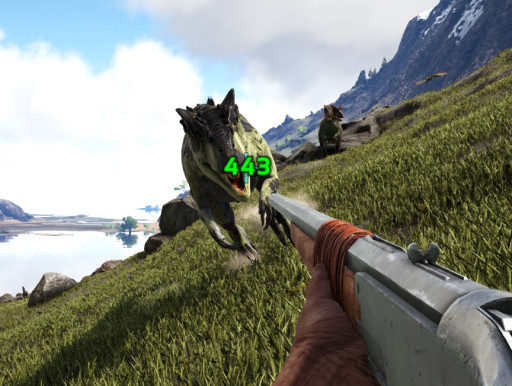
While this setting isn’t absolutely necessary, I find that once you’ve tried it once, you can never go back. With this setting turned on, every time you or your dinosaurs deal damage it will show you exactly how much damage was dealt, by displaying a floating green text on your screen for a moment.
This feature is extremely satisfying. When you take your favourite rifle, aim it right at a T-Rex’s head and then BANG. Followed by a text that reads, 500 damage. It might as well say Clean Kill.
Not only is this feature satisfying, but it’s also a very good way of mapping your progress, and understanding your weapons and dinosaurs better. It also lets you know if you landed a headshot, as headshots will do more damage than body shots.
Allow Custom Recipes: On
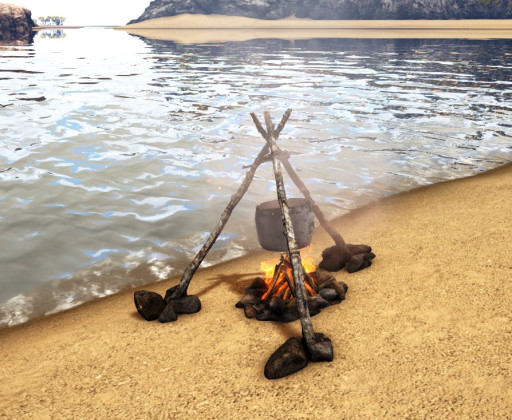
Custom recipes are some of the best recipes in the game. You can create super foods or super drinks that give you a lot of benefits. From increased stamina and health, to making you feel full. Custom recipes bring a lot of variety and personal choice to the game, and can make boss fights or dangerous adventures a lot easier.
To make a custom recipe, you’ll need a blank note, some ingredients, and a cooking pot. Put your ingredients and the blank note into the cooking pot, and you’ll have the recipe forever. This can make for a lot of fun experimentation, so make sure this setting is turned on.
You may also be interested in:
[Top 15] Ark Survival Evolved Best Dinos
[Top 10] Ark Survival Evolved Best Base Locations And Why They're Great


